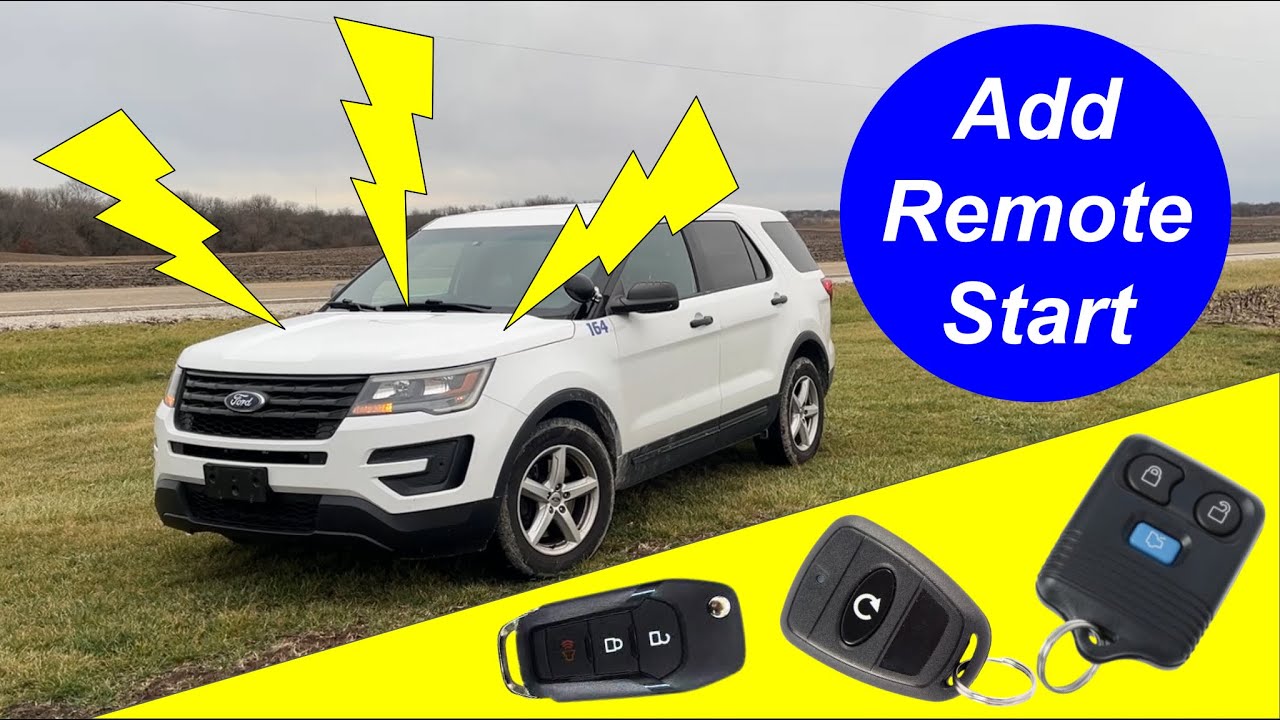
Install compatible kit, add hood switch, plug T-harness, program module, test on Ford Explorer.
If you want a clean, reliable setup, you are in the right place. I have set up remote starts on many Explorers, from older keyed models to newer push-button trims with FordPass. This guide explains How to install remote start on Ford Explorer with simple steps, clear checks, and pro tips you can trust.
What you need to know before you start
Before you buy parts, confirm that your Explorer can support remote start. Some trims have the hardware already. Others need a kit. Knowing this now saves time and money.
- Check your key type. Keyed ignition and push-button start use different kits and steps.
- Open your cluster menu. If you see Remote Start settings, the vehicle likely supports it.
- Confirm you have an automatic transmission. Remote start is not for manual units.
- Look for a hood switch near the hood latch. Many models need this for safety.
- Note your model year. Wiring and modules changed over generations.
Here is how to install remote start on Ford Explorer the smart way. Verify parts, plan the method, and only then begin. Doing it in this order prevents rework and avoids damage.
Tools and parts checklist
Gather parts and tools before you start. You can use OEM or aftermarket parts.
- OEM path: factory remote start kit for your year, hood switch, new fobs or enable via cluster, and dealer or pro-level programming.
- Aftermarket path: data module with a Ford T-harness, hood pin or hood switch, antennas or smartphone add-on if desired.
- Tools: trim tool, small ratchet set, Torx bits, wire strippers, crimp tool, multimeter, zip ties, electrical tape, panel clips, and safety glasses.
- Optional: OBD-II interface for configuration and a battery maintainer.
Having the right tools shortens the process. It also helps you avoid broken clips and wiring errors. This is key to How to install remote start on Ford Explorer without stress.
Method 1: Enable and install Ford factory remote start
If your Explorer has the right hardware, the factory method is clean and looks stock. Many owners prefer this for reliability and resale value.
- Verify support. Check the cluster menu for Remote Start. If not present, it may need to be enabled by a dealer or a qualified shop using factory-level software.
- Install a hood switch. If missing, install the switch near the hood latch. It must read open when the hood is up.
- Add the antenna or updated fobs if your kit requires them. Mount the antenna high behind the upper trim for range.
- Program the vehicle. A dealer or certified tech can enable remote start in the body control module. They also pair the remotes if needed.
- Set climate options. In the cluster, set remote start climate to auto or last setting. This helps with ice and heat.
In my shop, OEM setups take less time when the hardware is present. The wiring is tidy and the system blends with factory controls. This is a solid answer to How to install remote start on Ford Explorer if you value factory integration.
Read More: Remote Starter For Car
Method 2: Install an aftermarket remote start on Ford Explorer
Aftermarket kits work great when you pick a data module with a Ford-specific T-harness. This reduces cutting and keeps the job neat.
- Choose a kit made for your model year. Look for a data module and matching T-harness for Ford CAN systems. Many units support 3x lock start on factory fobs.
- Disconnect the battery. This protects airbags and modules while you work.
- Remove panels. Pull the lower dash panel and knee bolster. Use a trim tool to avoid marks. Keep track of screws and clips.
- Mount the module. Place it above the kick panel or behind the knee bolster, away from moving parts and heat. Zip tie it in place.
- Connect the T-harness. Plug inline at the ignition or BCM connectors per the guide. Ensure the connectors click and lock.
- Add key wires if needed. Some years need brake, parking light, or tach sense wires. Use a multimeter to confirm each wire.
- Install the hood pin or switch. Mount it so the hood triggers the switch cleanly. Route the wire away from sharp edges.
- Add the antenna. Run the cable to the top of the windshield behind trim for better range.
This is the most flexible way for How to install remote start on Ford Explorer if you want features like long range or app control. Pick a kit with good support docs and clear wiring charts.
Programming and testing
Programming sets the module to your Explorer and confirms all safety checks.
- Follow the module guide. Many Ford data modules need key cycles or lock button sequences.
- If the system asks for two keys, use two unique keys to teach the bypass.
- Restore battery power and turn the ignition on as prompted.
- Test start. Press lock three times or use the remote to start. The engine should crank and settle to idle.
- Press the brake without the key. The engine should shut down. This proves the safety path works.
- Test hood. Open the hood and try to remote start. It should not start with the hood open.
- Check range. Step back and confirm you can start and stop from typical distances.
These testing steps are the heart of How to install remote start on Ford Explorer. Do not skip them. They make sure the system is safe and solid.

Common mistakes and how to avoid them
Small mistakes can cause big headaches. These fixes come from real jobs I have seen.
- Missing hood switch. Add it first. The car will refuse to remote start without it.
- Loose grounds. A poor ground causes random failure. Use clean metal and tight fasteners.
- Wrong wire at the brake input. Always verify with a meter. Do not guess by color alone.
- Crushed antenna cable. Do not pinch it under trim. Range drops fast if the cable is damaged.
- Mounting a module near pedals. Keep modules away from moving parts to avoid noise and harm.
Use a checklist and take photos as you go. This is my secret to smooth work on How to install remote start on Ford Explorer for clients.
Cost, time, and skill level
Plan your budget and time. This helps set the right path.
- OEM activation with parts and programming can range from moderate to higher cost, depending on year and parts on hand.
- Aftermarket kits often cost less, with strong features and range options.
- Time: a simple T-harness job may take 1 to 2 hours. Complex wiring can take 3 to 4 hours.
- Skill: basic trim work and 12-volt wiring skills are enough for many kits. If you are new, go slow and verify each step.
Your choice comes down to what you value: factory look, long range, app control, or price. That is the real trade-off in How to install remote start on Ford Explorer.
Troubleshooting guide
If it does not start, work through these quick checks.
- No crank at all. Check the hood switch input, brake input, and door status. Confirm the module is powered and grounded.
- Starts then dies. The bypass did not learn the key. Redo the key learn steps.
- Works but poor range. Reposition the antenna higher and away from metal.
- Parking lights do not flash. Recheck the light output wire or programming option.
- App not working. Confirm cell coverage, module subscription, and correct pairing steps.
Keep notes of each test. This log helps you or a tech solve it fast. These steps are common in How to install remote start on Ford Explorer across model years.
Safety, warranty, and legal notes
Remote start must respect safety rules. Do not skip this part.
- Never bypass the hood switch. It protects anyone working near the engine bay.
- Use fuses as directed. Fuse any constant power feed to prevent damage.
- Keep wires clear of pedals, steering shafts, and airbag zones.
- Check local laws on remote start idle rules.
- Warranty varies. OEM installs often integrate better. Aftermarket work does not void a vehicle warranty on unrelated systems, but poor installs can cause issues.
Be open about limits. If you feel unsure, a certified installer can finish the job. Safe work is part of How to install remote start on Ford Explorer you can trust.
Conclusion
You now have a clear plan for How to install remote start on Ford Explorer, from checking support and parts to wiring, programming, and testing. The factory route offers seamless integration, while aftermarket kits add range and features at a fair price. Focus on safety, use the right tools, and verify each step.
Ready to start your build today? Save this guide, pick your method, and take it one step at a time. Have a question or a win to share? Drop a comment so others can learn from your experience.
FAQs of How to install remote start on Ford Explorer
Does my Ford Explorer already have remote start hardware?
Many trims have the wiring and may only need activation and a hood switch. Check your cluster menu for Remote Start settings and confirm with a qualified shop.
Can I use my factory key fob to remote start?
Many kits support 3x lock to start with the stock fob. If not, you can add a separate long-range remote or a phone app.
Do I need two keys to program the bypass?
Some model years need two unique keys to teach the immobilizer bypass. Push-button start models often use a different learning path via the module guide.
Will remote start drain my battery?
A healthy battery can handle short remote start cycles. If you do many starts in cold weather, use a battery maintainer and limit idle time.
Can I install remote start on a leased Ford Explorer?
Often yes, if the install is clean and reversible. Use a T-harness and avoid cutting wires to keep it lease-friendly.
Will climate controls work during remote start?
Yes. Set climate to auto or last setting in the cluster menu. The vehicle will adjust heat or A/C based on that choice.
Disclosure: As an Amazon Associate, I may earn from qualifying purchases at no extra cost to you. Amazon and the Amazon logo are trademarks of Amazon.com, Inc, or its affiliates.
- Amazon, Amazon Prime, the Amazon logo and Amazon Prime logo are trademarks of Amazon. com, Inc. or its affiliates.

Hi, I am AKM Sad. I’m a car enthusiast and reviewer who loves exploring gadgets and accessories. I share honest reviews and practical tips to help you get the best products and enjoy a safer, smoother ride.