If you drive a Ford Super Duty, you know how important every part is to keep your truck running smoothly. Your factory antenna might seem small, but it plays a big role in keeping your radio clear and your communications strong.
When it starts acting up or breaks, it can be frustrating and confusing to figure out the right way to replace it. This guide is made just for you—to help you easily understand how to replace your Ford Super Duty factory antenna without any guesswork.
By the end, you’ll feel confident handling the replacement yourself and getting back on the road with clear signals. Keep reading to find out everything you need to know!

Credit: www.rightchannelradios.com
Tools And Materials Needed
Replacing the factory antenna on your Ford Super Duty requires some basic tools and materials. Having these ready will make the process smooth and quick. This guide lists all the essentials you need before starting the job.
Essential Tools
You will need a few simple tools to remove the old antenna and install the new one. A socket wrench set is necessary for loosening nuts. A flathead screwdriver helps to pry off parts carefully. Needle-nose pliers are useful for gripping small components. A clean cloth will keep the area free of dirt. Finally, a flashlight can improve visibility in tight spaces.
Replacement Antenna Options
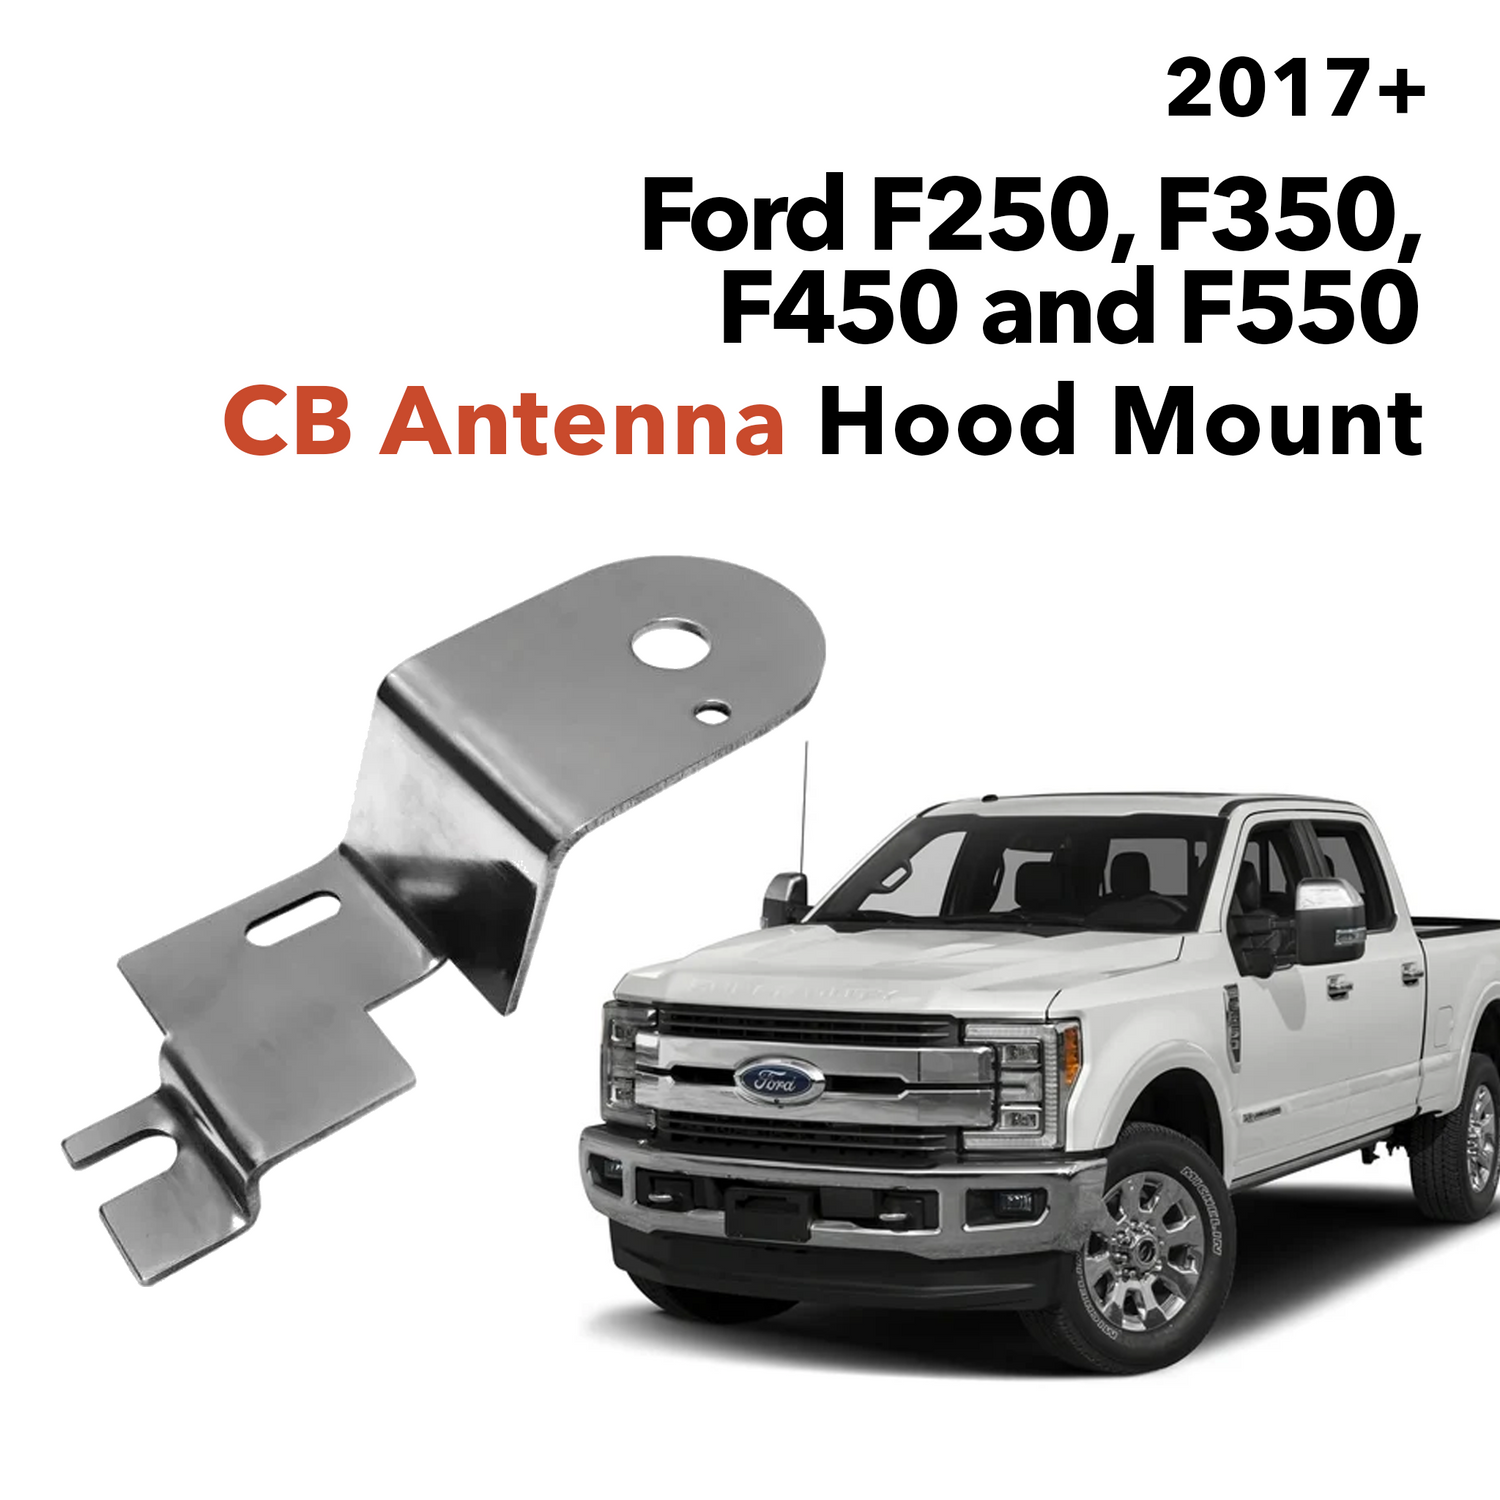
Choose an antenna that fits your Ford Super Duty model. Factory-style antennas match the original look and fit perfectly. Short antennas offer a modern, low-profile design. Telescoping antennas extend for better signal reception. Make sure the replacement has the correct base size. Check if the antenna supports AM/FM or other frequencies you use.
Preparing Your Ford Super Duty
Before starting the antenna replacement, prepare your Ford Super Duty carefully. Preparation helps the process go smoothly. It also keeps your truck safe from damage.
Taking time to get ready saves effort later. You will find the antenna easily. You will also avoid common problems during replacement.
Locating The Factory Antenna
Locate the factory antenna on your Ford Super Duty first. Most models have the antenna on the front fender or roof. Check your truck’s manual for exact location. Knowing where it is helps you remove it without trouble.
Look closely at the base of the antenna. It connects to the vehicle’s body with screws or clips. Identifying these parts makes removal easier. Keep the antenna location in mind for a smooth swap.
Ensuring Vehicle Safety
Safety comes first while working on your truck. Park your Ford Super Duty on flat ground. Engage the parking brake. Turn off the engine and remove the keys.
Wear gloves to protect your hands from sharp edges. Avoid scratching the vehicle’s paint by placing a cloth nearby. Keep small parts like screws in a safe place. This prevents losing them during replacement.
Removing The Old Antenna
Removing the old antenna from your Ford Super Duty is the first step in installing a new one. This process requires care to avoid damaging the vehicle or the antenna parts. Start by accessing the antenna base and cable. These parts connect the antenna to the truck’s radio system.
Take your time during removal to ensure a smooth replacement. Follow each step carefully for best results.
Disconnecting The Antenna Cable
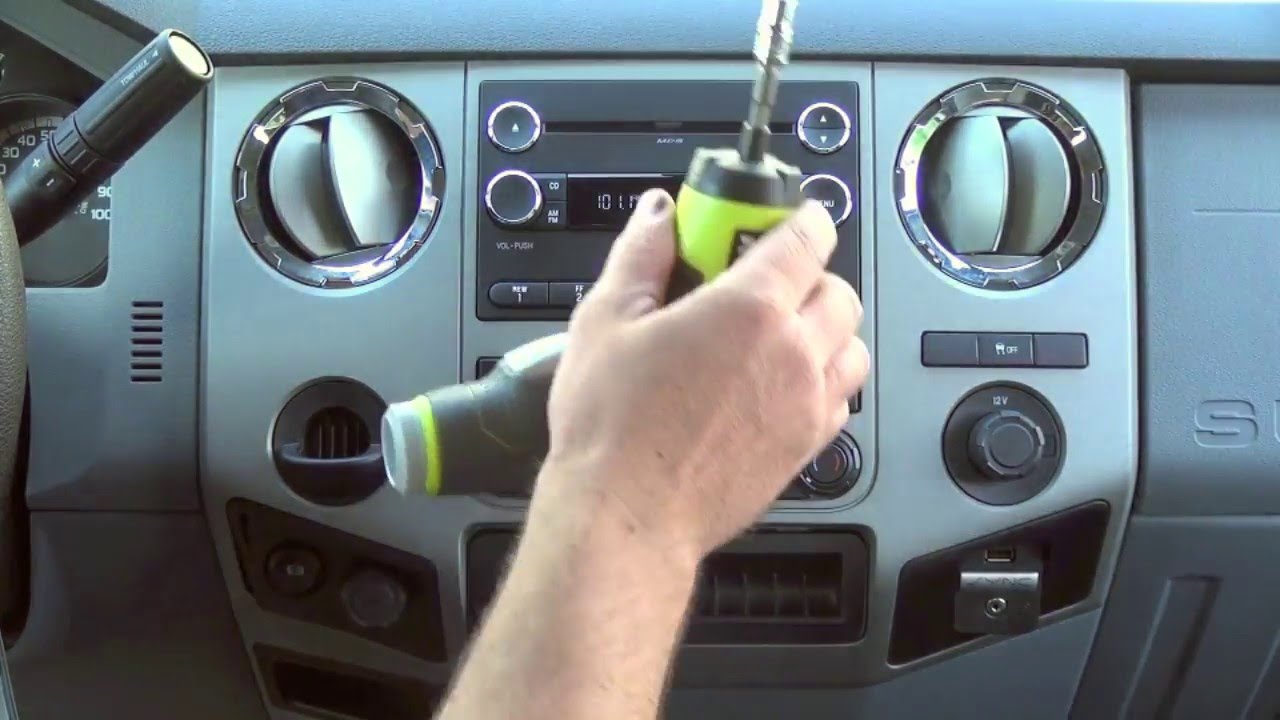
Locate the antenna cable inside the truck’s body panel. It usually runs from the antenna base to the radio unit. Gently pull back any covering or trim to expose the cable connection. Use your fingers or a small tool to unplug the cable connector. Avoid pulling on the cable itself. Disconnecting this cable frees the antenna from the truck’s electrical system.
Unscrewing The Antenna Base
Next, move to the antenna base on the exterior of the truck. Use a wrench or a socket set to turn the base counterclockwise. Keep a firm grip to avoid slipping. Some bases may have a locking nut underneath. Remove this nut first if present. Unscrewing the base releases the antenna mast from the truck’s body. Lift the old antenna away carefully once loose.
Credit: www.youtube.com
Installing The New Antenna
Installing the new Ford Super Duty factory antenna is straightforward. Follow each step carefully for a secure fit and clear signal. A proper installation ensures better reception and durability.
Positioning The Replacement Antenna
Place the new antenna in the same spot as the old one. Align it with the mounting hole on the truck’s body. Ensure the antenna shaft fits smoothly through the hole without force.
Check the antenna angle. It should stand straight up for best performance. Adjust if needed before moving to the next step.
Securing The Antenna Base
Use the supplied mounting hardware to hold the antenna base firmly. Tighten the screws or nuts by hand first to avoid cross-threading. Then, use a wrench to secure it firmly but not too tight.
The base must sit flush against the truck’s surface. This prevents water leaks and loosening over time. Double-check the stability by gently shaking the antenna.
Connecting The Antenna Cable
Locate the antenna cable inside the truck’s body panel or under the dashboard. Connect the new antenna cable by pushing the connector into the socket until it clicks. A firm connection ensures a strong radio signal.
Route the cable carefully to avoid sharp bends or pinching. Use cable clips or ties to keep it secure and neat. Test the radio signal before reassembling panels to confirm proper connection.
Testing The New Antenna
After installing the new antenna on your Ford Super Duty, it is important to test it. Testing ensures the antenna works correctly and provides clear radio signals. This step helps avoid problems later on. Follow simple tests to confirm the antenna’s performance.
Start by checking the radio reception and then move to troubleshoot common issues if needed. These checks are easy and save time.
Checking Radio Reception
Turn on your vehicle’s radio and select a familiar station. Listen carefully to the sound quality. A strong signal means the antenna is working well.
Try different stations, including AM and FM. Check if the signal stays clear without static or interruptions. Move the vehicle slightly to see if the signal changes. This helps test the antenna’s range and strength.
Troubleshooting Common Issues
If the radio signal is weak or missing, first check the antenna connection. Make sure it is tight and secure. Look for any visible damage on the antenna or cable.
Try adjusting the antenna’s position. Some models work better when fully extended or angled differently. Also, inspect the antenna base for corrosion or dirt.
Test the radio with another antenna if available. This can identify if the problem is the antenna or the radio unit itself. If issues continue, consider consulting a professional for further diagnosis.
Credit: www.rightchannelradios.com
Maintenance Tips For Longevity
Maintaining your Ford Super Duty factory antenna helps it last longer and work better. Small efforts keep the antenna strong and clear. These simple maintenance tips prevent damage and save repair costs.
Regular Cleaning
Clean the antenna often to remove dirt and grime. Use a soft cloth with mild soap and water. Avoid harsh chemicals that can damage the surface. Dry the antenna gently after cleaning. Regular cleaning stops buildup that blocks signals.
Protecting From Weather Damage
Weather can harm your antenna over time. Strong sun rays may cause fading or cracking. Rain and snow can lead to rust or corrosion. Cover your antenna during storms or park in a garage if possible. Check it regularly for signs of wear or damage.
Frequently Asked Questions
How Do I Remove The Factory Antenna On A Ford Super Duty?
To remove the factory antenna, first, unscrew the antenna mast by turning it counterclockwise. Next, disconnect the antenna cable from the base inside the vehicle. Finally, remove the mounting hardware to free the antenna assembly from the truck.
What Tools Are Needed For Ford Super Duty Antenna Replacement?
You will need a flathead screwdriver, a socket wrench set, and possibly pliers. These tools help remove the antenna mast, disconnect cables, and detach mounting hardware safely and efficiently.
Can I Replace The Ford Super Duty Antenna Myself?
Yes, replacing the antenna is a simple DIY task. Follow the removal steps, install the new antenna, reconnect cables, and secure the mount. It usually takes under 30 minutes with basic tools.
How Do I Choose The Right Replacement Antenna?
Choose an antenna designed specifically for Ford Super Duty models. Check compatibility with your truck’s year and model to ensure proper fit and optimal radio reception.
Conclusion
Replacing your Ford Super Duty factory antenna is easier than you think. Follow the steps carefully for a smooth swap. Use the right tools to avoid damage and ensure a good fit. A new antenna can improve radio reception and truck appearance.
Take your time and double-check each step. You’ll save money by doing it yourself. Enjoy clear signals on your next drive. Your truck deserves the best care and simple upgrades.
Disclosure: As an Amazon Associate, I may earn from qualifying purchases at no extra cost to you. Amazon and the Amazon logo are trademarks of Amazon.com, Inc, or its affiliates.
- Amazon, Amazon Prime, the Amazon logo and Amazon Prime logo are trademarks of Amazon. com, Inc. or its affiliates.

I am Sadman, the founder of CarSensorHub.com, where I share my passion for cars and technology. I specialize in writing detailed reviews and helpful guides on car gadgets, accessories, safety tools and many more. My mission is to help car owners discover the best products and tips to improve their driving experience and stay safe on the road.