Automotive wire soldering techniques come down to five things: a clean joint, the right flux, enough heat, a good mechanical connection, and heat shrink over the top. Use a 60/40 or lead-free rosin-core solder with the iron tip at about 350–370°F (175–190°C). A single splice takes 2–4 minutes. This suits anyone repairing a harness, a light, or a stereo lead with basic hand tools.
Essential automotive wire soldering techniques supplies
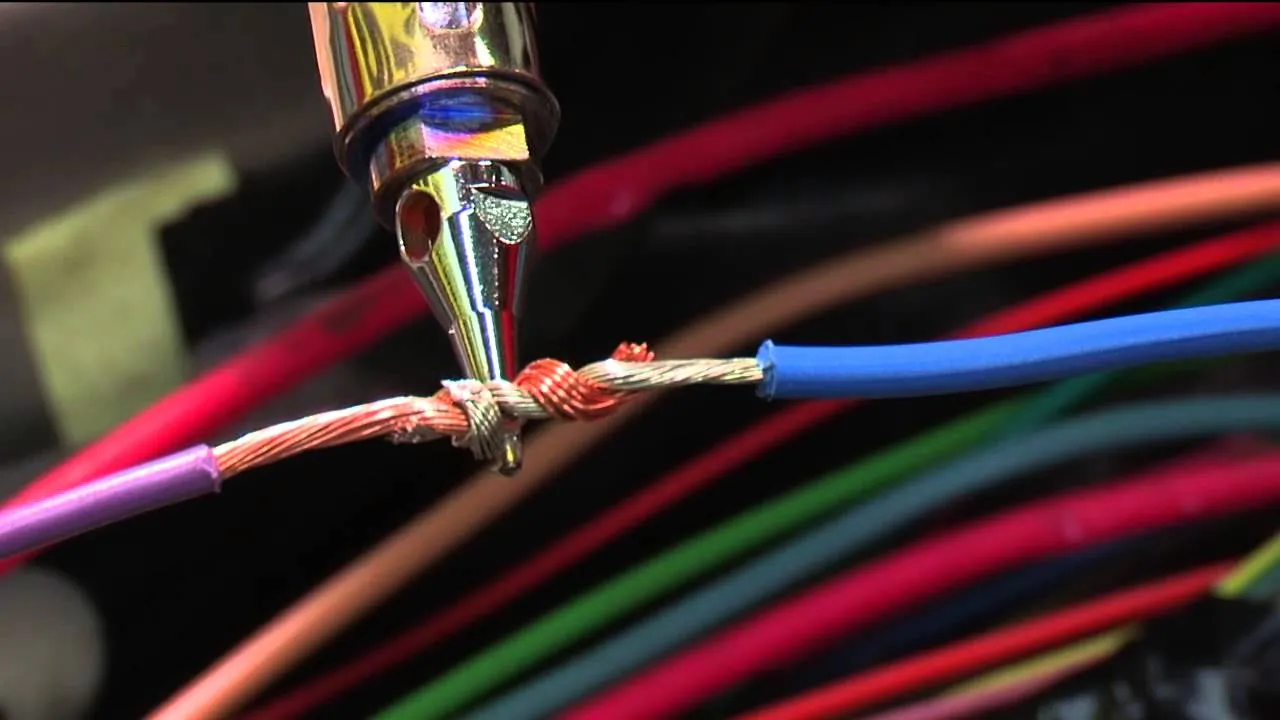
Gather everything before you cut anything. A missing item halfway through a splice is how cold joints happen — the wire cools while you search for the flux.
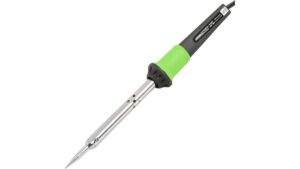
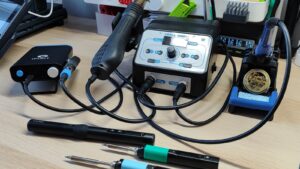
- Soldering iron — 30–60 watts, or a temperature-controlled station set to about 350–370°F (175–190°C). A tiny 15-watt pencil won’t heat a thick wire fast enough.
- Rosin-core solder — 60/40 tin-lead, or lead-free if you prefer. 0.8 mm is a good general size for auto wire.
- Flux paste or pen — rosin type only. Acid flux is for plumbing and will corrode copper.
- Heat shrink tubing — 2:1 or 3:1 ratio, sized to slide over the splice. Slide it on before you solder.
- Wire strippers, side cutters, and a lighter or heat gun — for stripping and shrinking.
- Isopropyl alcohol and a small brush — to clean the joint before you cover it.
- Safety glasses and a well-ventilated space — solder fumes and hot flux spit.
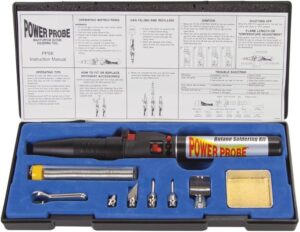
A crimp connector works fine as a substitute for solder on most low-current wires. What doesn’t work is acid-core flux or a butane torch on thin wire — both destroy insulation and copper.
Step-by-step soldering for auto wiring
- Disconnect the battery — pull the negative terminal first. This stops a live short if your iron touches two wires at once.
-
Cut and strip 3/8 to 1/2 inch of insulation from each wire end. For 18-gauge wire, 3/8 inch is plenty; for 12-gauge, go to 1/2 inch so the joint has more contact area. Careful: don’t nick the copper strands. A cut strand weakens the joint and can snap later.
-
Slide the heat shrink on now — before you join anything. Forgetting this is the single most common mistake, and it costs you the whole splice.
-
Twist or overlap the wires into a firm mechanical joint. A lineman’s splice or a simple hook-and-twist both work. The wire should hold together on its own before any solder touches it. Tip: a good mechanical joint means the solder only fills gaps — it doesn’t carry the load.
-
Heat the joint, not the solder — touch the iron to the wire for 2–3 seconds, then feed solder into the hot joint. It should flow in and look shiny. If it balls up, the wire isn’t hot enough yet.
-
Pull the solder away first, then the iron. Let the joint cool for a few seconds without moving it. Careful: a dull, grainy joint is a cold joint. Reheat it and add a touch more solder.
-
Clean the joint with isopropyl alcohol and a brush, then slide the heat shrink over it and shrink it with a heat gun or lighter.
- Reconnect the battery — negative terminal last — and test the circuit.
If the wire is a main power feed, an airbag circuit, or anything over about 10 gauge, this stops being a do-it-yourself job. Those carry enough current or safety risk that a qualified auto electrician should handle them.
How the job changes with the wire
The time and effort shift a lot with wire size and where the wire sits. A thin signal wire in the dash is a five-minute job; a thick charging cable under the hood is not.
| Situation | Time and effort | What’s different | What to watch |
|---|---|---|---|
| 18–22 gauge signal wire | 2–3 minutes | Thin copper, low heat | Don’t overheat — insulation melts fast |
| 14–16 gauge general wire | 3–5 minutes | Standard auto size | Keep the iron on the joint, not the insulation |
| 10–12 gauge power wire | 5–10 minutes | Needs more heat and a bigger tip | A 30-watt iron may not be enough |
| Under the hood | Add 5–10 minutes | Heat, dirt, tight space | Clean the area first; heat shrink must be fuel- and oil-resistant |
| Near a fuel line or tank | Stop and reassess | Fire risk | This isn’t a DIY job — get a professional |
Start with a short test splice on scrap wire of the same gauge. It’s safer to learn the right heat on a spare piece than to overshoot on the wire you actually need.
How to tell the joint is good
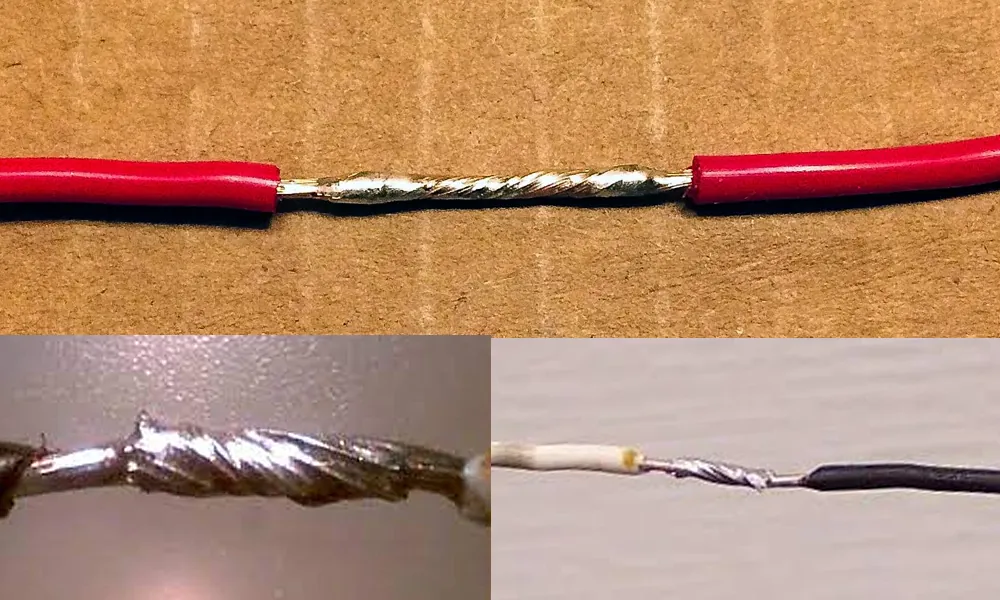
A good joint looks smooth, shiny, and slightly concave — the solder flows into the strands and forms a small fillet at each end. A poor joint looks dull, grainy, or lumpy, and the solder sits on top instead of inside the wire.
The quality problem this method is prone to is the cold joint. It happens when the wire isn’t hot enough, so the solder never bonds properly with the copper. The joint may look connected and even pass a quick tug test, then fail weeks later when vibration and current work it loose.
Three things prevent it: heat the wire — not the solder — until it’s hot enough to melt solder on contact; keep the joint still while it cools; and use rosin flux so the copper is clean. A fourth habit helps too — clean the copper with isopropyl alcohol before you start, because oil and road grime stop solder from wetting the surface.
Standards, cleanup, and how long it lasts
For any repair on a road vehicle, the relevant engineering standards are published by SAE International. Their J-standard series covers automotive wire and connection practice, though these are voluntary industry standards rather than legal requirements. You can look up the current document through SAE directly.
After you finish, clear away flux residue with isopropyl alcohol, put the heat shrink in place, and reconnect the battery. Record what you repaired — a photo and a note in the service log help the next person.
A properly soldered, sealed splice on a fixed wire can last the life of the vehicle, but a joint that flexes or sits in road spray needs checking after a few months. For anything involving a vehicle safety system, have a qualified technician inspect it.
Other ways to make the connection
Crimp connectors
A crimp is faster than solder — under a minute per joint — and needs no heat. It’s the right choice for most low-current wires and where you can’t safely use an iron. The trade-off is a slightly bulkier joint and a tool you must squeeze properly, or the crimp loosens over time.
Solder seal connectors
These are heat-shrink tubes with a ring of solder and sealant inside. You slide one over the splice and heat it with a heat gun. One step does the join and the seal. They cost more per connector but save time and work well in tight spots.
Professional auto electrician
For main power feeds, airbag wiring, or anything near fuel, hand it to a qualified auto electrician. It costs more, but those circuits carry real risk, and a bad repair there can damage the vehicle or cause injury.
FAQs About Automotive Wire Soldering Techniques
Can you solder automotive wire without flux?
Yes, if you use rosin-core solder — the flux is already inside the wire. You only need extra flux paste on dirty or oxidized copper. Never use acid-core flux on auto wiring; it eats the copper over time and causes the joint to fail.
Why does my solder not stick to the wire?
The wire is either not hot enough or not clean. Heat the wire for 2–3 seconds before feeding solder, and clean the copper with isopropyl alcohol first. Solder flows onto hot, clean metal — it won’t bond to a cold or greasy surface.
How long does a soldered wire joint last?
A properly soldered, sealed splice on a fixed wire can last the life of the vehicle. A joint that flexes or sits in road spray may need checking after a few months. The two things that shorten it are a cold joint and missing heat shrink.
Is soldering car wires safe?
It’s safe when you disconnect the battery, work in a ventilated space, and wear safety glasses. It’s not safe on live circuits, near fuel lines, or on airbag wiring. Those jobs need a qualified auto electrician, not a DIY iron.
What happens if I use the wrong solder?
Lead-free solder needs a higher iron temperature than 60/40 — so a cold joint is more likely if you don’t adjust. Acid-core solder corrodes copper and will fail over time. Stick to rosin-core in the right type for your iron.
How often should I check a repaired wire?
Check it after the first week, then again after a month, then once a year. Look for a dull joint, cracked heat shrink, or green corrosion. A joint that flexes or sits in road spray needs the closest watch.
Can I solder two different wire sizes together?
Yes, but strip more insulation on the thicker wire — about 1/2 inch versus 3/8 inch — so both have enough contact area. Heat the thicker wire a little longer, since it takes more heat to reach soldering temperature.
Conclusion
Take your first repair to a bench before you touch the car. Grab a scrap wire, practice the splice until it feels natural, then move to the real harness. You’ll make mistakes, and that’s fine—they’re cheap on scrap and expensive on a live circuit.
Disclosure: As an Amazon Associate, I may earn from qualifying purchases at no extra cost to you. Amazon and the Amazon logo are trademarks of Amazon.com, Inc, or its affiliates.
- Amazon, Amazon Prime, the Amazon logo and Amazon Prime logo are trademarks of Amazon. com, Inc. or its affiliates.

I am Sadman, the founder of CarSensorHub.com, where I share my passion for cars and technology. I specialize in writing detailed reviews and helpful guides on car gadgets, accessories, safety tools and many more. My mission is to help car owners discover the best products and tips to improve their driving experience and stay safe on the road.