If you own a Tesla Model Y, you might be thinking about adding a tow hitch to increase its versatility. Whether you want to haul a bike rack, a small trailer, or extra cargo, installing a tow hitch yourself can save you time and money.
But where do you start? This guide breaks down the steps in a simple, straightforward way so you can confidently tackle the job. By the end, you’ll have the knowledge to upgrade your Model Y and make it ready for any adventure.
Keep reading to discover how easy it can be to add a tow hitch on your own.

Credit: www.youtube.com
Choosing The Right Tow Hitch
Choosing the right tow hitch for your Tesla Model Y is important. It affects safety, towing capacity, and vehicle performance. You need to know the types available, what fits your car, and where to find good deals. This guide helps you make a smart choice for your DIY project.
Types Of Tow Hitches For Model Y
Tesla Model Y supports several tow hitch types. The most common are receiver hitches with different classes. Class 1 hitches handle light loads, while Class 2 and Class 3 are for heavier towing. Ball mount hitches are popular for trailers. Choose one that matches your towing needs and car design.
Compatibility And Weight Ratings
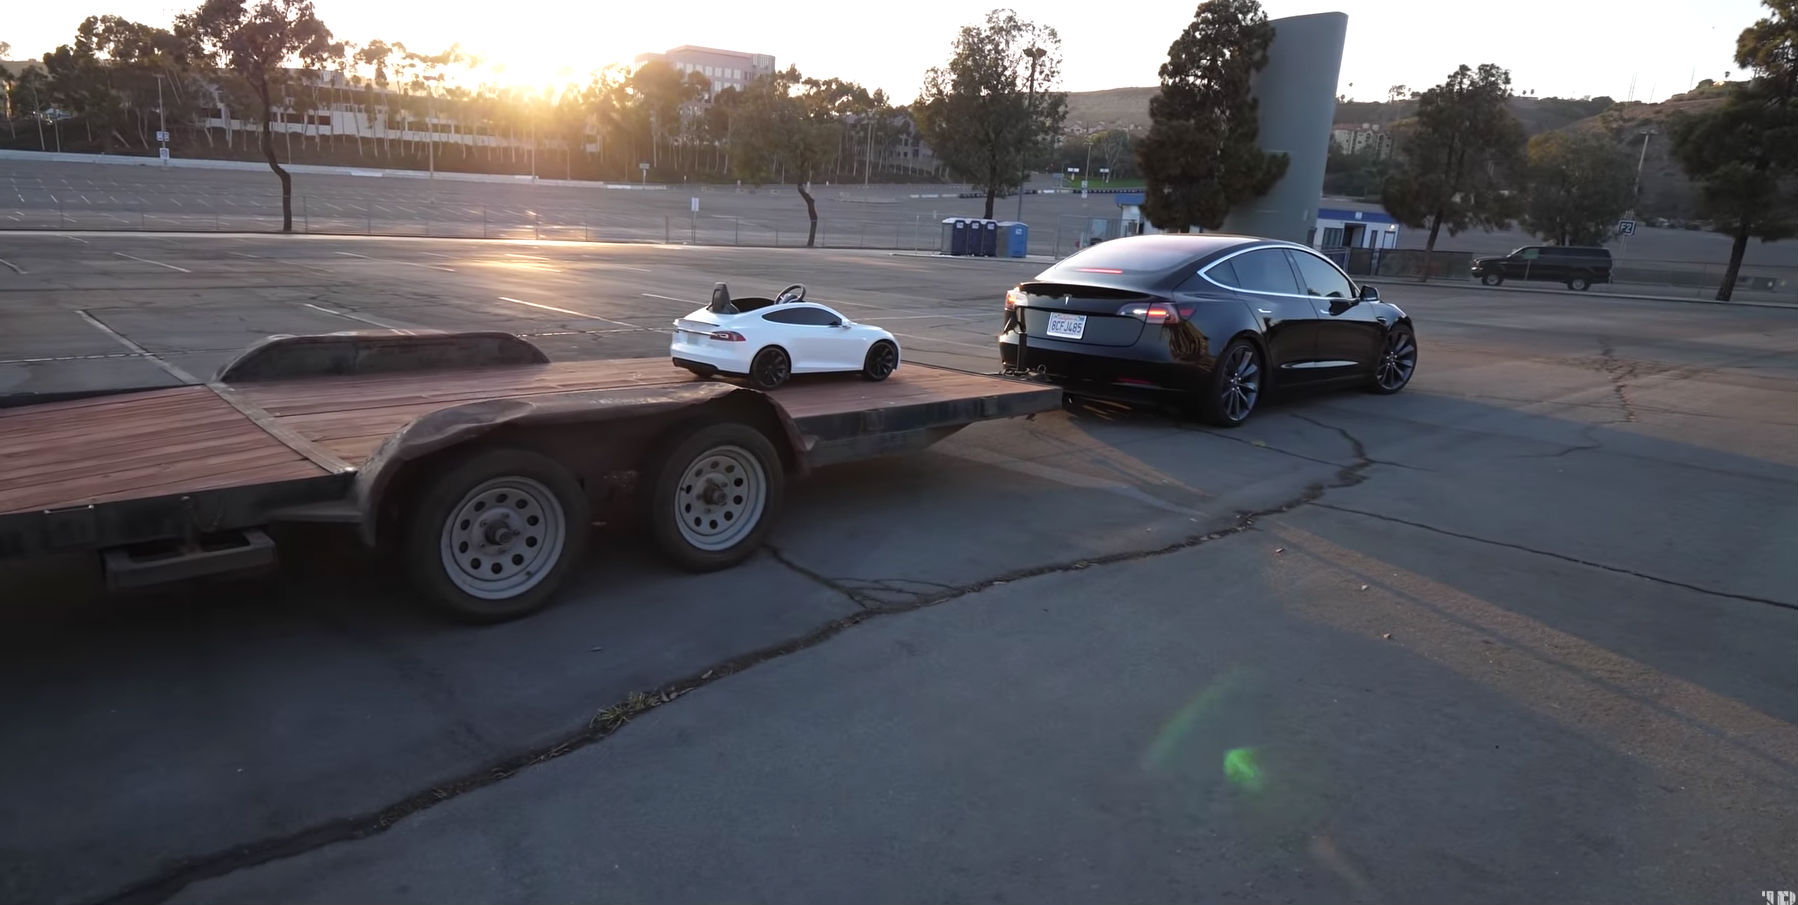
Check if the hitch fits your Model Y’s frame and mounting points. Each hitch has a weight rating for tongue weight and towing capacity. Stay within these limits to avoid damage. Tesla Model Y usually supports up to 3,500 pounds towing with the right hitch. Use hitches that meet or exceed these ratings.
Where To Buy Affordable Hitches
Find tow hitches online or at local auto parts stores. Online stores offer a wide range and competitive prices. Look for brands with good reviews and warranty. Some sellers specialize in Tesla parts, ensuring fit and quality. Compare prices and check return policies before buying.
Tools And Materials Needed
Installing a tow hitch on your Tesla Model Y requires the right tools and materials. Preparation is key for a smooth and safe installation. Gathering everything beforehand saves time and avoids interruptions.
This section lists all the tools and supplies needed. Follow it closely to ensure you have what is necessary before starting your project.
Read More: Roof Rack Vs Hitch Carrier Comparison
Essential Tools List
- Socket wrench set
- Torque wrench
- Flathead screwdriver
- Phillips screwdriver
- Drill with drill bits
- Measuring tape
- Jack and jack stands
- Safety gloves
- Safety glasses
Additional Supplies To Have Ready
- Tow hitch kit compatible with Tesla Model Y
- Rust-resistant spray or paint
- Thread locker (medium strength)
- Rags for cleaning
- Grease or anti-seize lubricant
- Work light for better visibility
- Owner’s manual or installation guide
Preparing Your Tesla Model Y
Preparing your Tesla Model Y for a tow hitch installation takes careful steps. Proper preparation helps ensure a smooth and safe process. It also protects your vehicle from damage during the installation.
Start by understanding the key areas you will work on. Clear space around the rear bumper and undercarriage. Gather all tools and parts before you begin. This saves time and prevents interruptions.
Safety Precautions
Always prioritize safety. Wear gloves and safety glasses to protect your hands and eyes. Make sure the car is parked on a flat surface. Engage the parking brake to keep the vehicle steady. Disconnect the 12-volt battery to avoid electrical issues. Keep a fire extinguisher nearby in case of emergencies.
Accessing The Installation Area
Remove the rear bumper carefully to reach the mounting points. Use a plastic trim tool to avoid scratching. Detach any sensors or wiring harnesses gently. Keep screws and clips in a safe place. Check for any hidden fasteners under the bumper. Clean the area to remove dirt and debris. This helps secure the tow hitch firmly.
Credit: www.teslarati.com
Step-by-step Tow Hitch Installation
Installing a tow hitch on your Tesla Model Y can seem tough. Breaking it down into clear steps helps. Follow this simple guide to add a tow hitch yourself. It saves time and money. Each step is easy to follow and uses common tools.
Removing The Rear Bumper
Start by parking your Model Y on flat ground. Turn off the car and open the trunk. Remove all screws and clips holding the rear bumper. Use a screwdriver and trim removal tool. Gently pull the bumper away from the car. Keep the screws safe for later. Avoid forcing the bumper to prevent damage.
Aligning The Tow Hitch
Place the tow hitch under the car’s frame. Match the hitch holes with the frame holes. Ask a helper to hold the hitch steady. Adjust the position until all holes line up. This step ensures a secure and safe fit. Take your time to get it right.
Securing The Hitch With Bolts
Insert the bolts through the hitch and frame holes. Use washers to protect the surfaces. Tighten the bolts with a wrench or socket set. Check that the hitch is firm and does not move. Do not overtighten to avoid stripping the bolts. Double-check all bolts before moving on.
Reattaching The Bumper
Carefully place the bumper back on the car. Align it with the original mounting points. Reinsert all screws and clips removed earlier. Tighten the screws securely but gently. Check the bumper fits well and has no gaps. Your Model Y is now ready for towing.
Wiring The Tow Hitch
Wiring the tow hitch on your Tesla Model Y ensures the trailer’s lights work correctly. This step is key for safety and legal towing. The process involves finding the right connectors, attaching the wiring harness, and testing all signals.
Locating The Electrical Connectors
Start by opening the rear hatch of your Model Y. Look for the vehicle’s main wiring harness near the bumper. The connectors usually sit behind a panel or cover. Remove any clips or screws gently. Locate the tow hitch electrical plug among the wires.
Connecting The Wiring Harness
Take the tow hitch wiring harness and match its connectors to the vehicle’s plugs. They should fit snugly without force. Secure the connections with clips or tape if needed. Route the wires away from moving parts and heat sources. This prevents damage over time.
Testing The Lights And Signals
After wiring, test the trailer’s lights. Turn on the car’s headlights and check the trailer’s tail lights. Activate the brake lights by pressing the brake pedal. Finally, test the turn signals on both sides. Ensure all lights work properly before driving.
Tips For A Smooth Installation
Installing a tow hitch on your Tesla Model Y can be a simple task with the right approach. Careful preparation helps avoid delays and mistakes. Follow these tips to ensure a smooth installation process. A little patience and attention to detail will make the job easier and safer.
Common Mistakes To Avoid
Do not rush the installation. Take your time and read the instructions carefully. Avoid using the wrong tools, as this can damage parts. Make sure to remove all protective covers before starting. Do not tighten bolts too early; wait until all parts are in place. Forgetting to check the wiring can cause electrical problems later. Avoid working in poor light or bad weather to see everything clearly.
Helpful Tricks And Hacks
Use a magnetic tray to keep bolts and screws safe. Label each part during disassembly to make reassembly easier. Have a helper hold the hitch while you secure it. Use a torque wrench to tighten bolts to the correct level. Test the hitch connection before loading any weight. Clean the mounting area to remove dirt and debris for better fit. Keep all tools organized to save time during the job.
Maintaining Your Tow Hitch
Maintaining your Tesla Model Y tow hitch is important for safety and durability. Regular care keeps the hitch working well and prevents damage. Simple steps help extend its life and keep it reliable.
Regular Inspections
Check your tow hitch often for any signs of wear or damage. Look for cracks, loose bolts, or bends. Inspect the wiring connections to ensure they are secure. Early detection helps avoid bigger problems later. Make inspections part of your routine car care.
Cleaning And Rust Prevention
Clean the tow hitch after every use, especially after exposure to dirt or salt. Use mild soap and water to remove grime. Dry it thoroughly to prevent moisture buildup. Apply a rust-preventive spray or grease to metal parts. This stops rust and keeps the hitch strong over time.

Credit: driveteslacanada.ca
Final Tone
Installing a tow hitch on your Tesla Model Y can save money and add convenience. You only need basic tools and clear steps to complete the job. Take your time and follow safety instructions closely. This DIY project helps you carry extra gear or small trailers easily.
Enjoy the freedom of towing without paying for professional installation. Your Model Y becomes more practical and ready for adventures. Try this simple upgrade and see how it fits your needs.
FAQs About Tesla Model Y Tow Hitch DIY
What Tools Are Needed For Tesla Model Y Tow Hitch Diy?
You will need a torque wrench, socket set, screwdriver, and jack stands. These tools ensure a safe and secure tow hitch installation. Always use Tesla-approved parts to maintain warranty and performance.
How Long Does Tesla Model Y Tow Hitch Installation Take?
The installation typically takes 1 to 2 hours. Time varies based on experience and tools available. Following the instructions carefully helps avoid mistakes and speeds up the process.
Is Tesla Model Y Tow Hitch Diy Safe For Beginners?
Yes, if you follow detailed instructions and safety precautions. Beginners should take time and double-check each step. For best results, watch tutorial videos or seek professional advice.
Can I Tow Heavy Loads With Tesla Model Y Hitch?
Tesla Model Y’s tow hitch supports up to 3,500 pounds. Always check Tesla’s official guidelines for specific towing limits. Overloading can damage your vehicle and void the warranty.
Disclosure: As an Amazon Associate, I may earn from qualifying purchases at no extra cost to you. Amazon and the Amazon logo are trademarks of Amazon.com, Inc, or its affiliates.
- Amazon, Amazon Prime, the Amazon logo and Amazon Prime logo are trademarks of Amazon. com, Inc. or its affiliates.

I am Sadman, the founder of CarSensorHub.com, where I share my passion for cars and technology. I specialize in writing detailed reviews and helpful guides on car gadgets, accessories, safety tools and many more. My mission is to help car owners discover the best products and tips to improve their driving experience and stay safe on the road.