Are you ready to upgrade your gear with Maverick Fits but don’t know where to start? Installing Maverick Fits can seem tricky at first, but once you know the simple steps, it becomes quick and easy.
Imagine enjoying a perfect fit that feels comfortable and lasts longer. In this guide, you’ll discover exactly how to install Maverick Fits without any hassle. Keep reading, and by the end, you’ll have the confidence to get it right the first time.
Your perfect fit is just a few steps away!
Credit: navigatepa.com
Ford Maverick Fits Essentials
Gather all tools needed before starting. Basic tools include a screwdriver, wrench, and measuring tape. A level helps ensure perfect fitting. Keep a clean cloth handy for wiping surfaces.
Clear the installation area fully. Remove any dirt, dust, or debris. A clean space ensures better adhesion and fitting. Measure the space carefully to avoid mistakes. Mark the spots where pieces will go. This saves time and effort during installation.
Step-by-step Installation
Carefully open the package and check all parts for damage or missing pieces. Make sure every component matches the list. Keep the instructions handy for reference.
Place the main part where it fits best. Align it gently to avoid scratches or breaks. Check that it sits evenly and firmly.
Use the screws and bolts provided to fix parts together. Tighten them well but do not force. Loose parts can cause problems later.
Check all connections and make small changes to fit perfectly. Ensure moving parts work smoothly without rubbing. Test the setup before using it fully.
Common Mistakes To Avoid
Misalignment can cause poor fit and damage parts. Check the parts before tightening. Align everything carefully for smooth installation. Use guides or marks to help position parts correctly.
Overtightening can strip screws or break components. Tighten screws just enough to hold parts firmly. Use a torque wrench if possible. Stop tightening when you feel resistance. Too much force can cause cracks or wear.

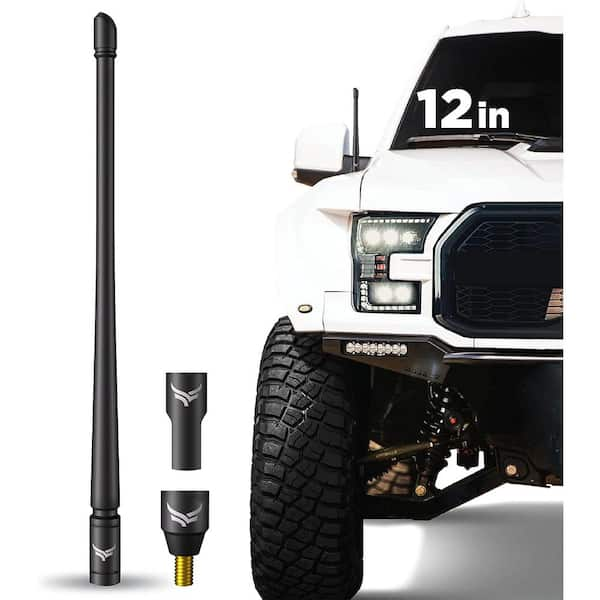
Credit: www.putco.com
Tips For Maintenance
Cleaning techniques help keep Maverick Fits working well. Use a soft cloth to wipe dirt and dust gently. Avoid harsh chemicals that may damage the material. For tougher stains, use warm water with mild soap. Dry the fits completely before using them again to prevent moisture damage.
Routine checks catch small problems early. Look for cracks or loose parts regularly. Tighten any screws or fasteners carefully. Test the fit to ensure it stays secure and comfortable. Regular maintenance can extend the life of your Maverick Fits and keep them safe.
Troubleshooting Guide
Fit looseness can cause issues with Maverick installation. Tighten all screws and bolts securely. Use a thread locker to prevent parts from moving. Check if any parts are worn out or damaged. Replace worn parts to maintain a snug fit.
Wear and tear is normal over time. Inspect Maverick parts regularly for cracks or bends. Clean components to avoid dirt build-up, which can cause looseness. Lubricate moving parts to keep them working smoothly. Proper care extends the product’s life and keeps the fit tight.
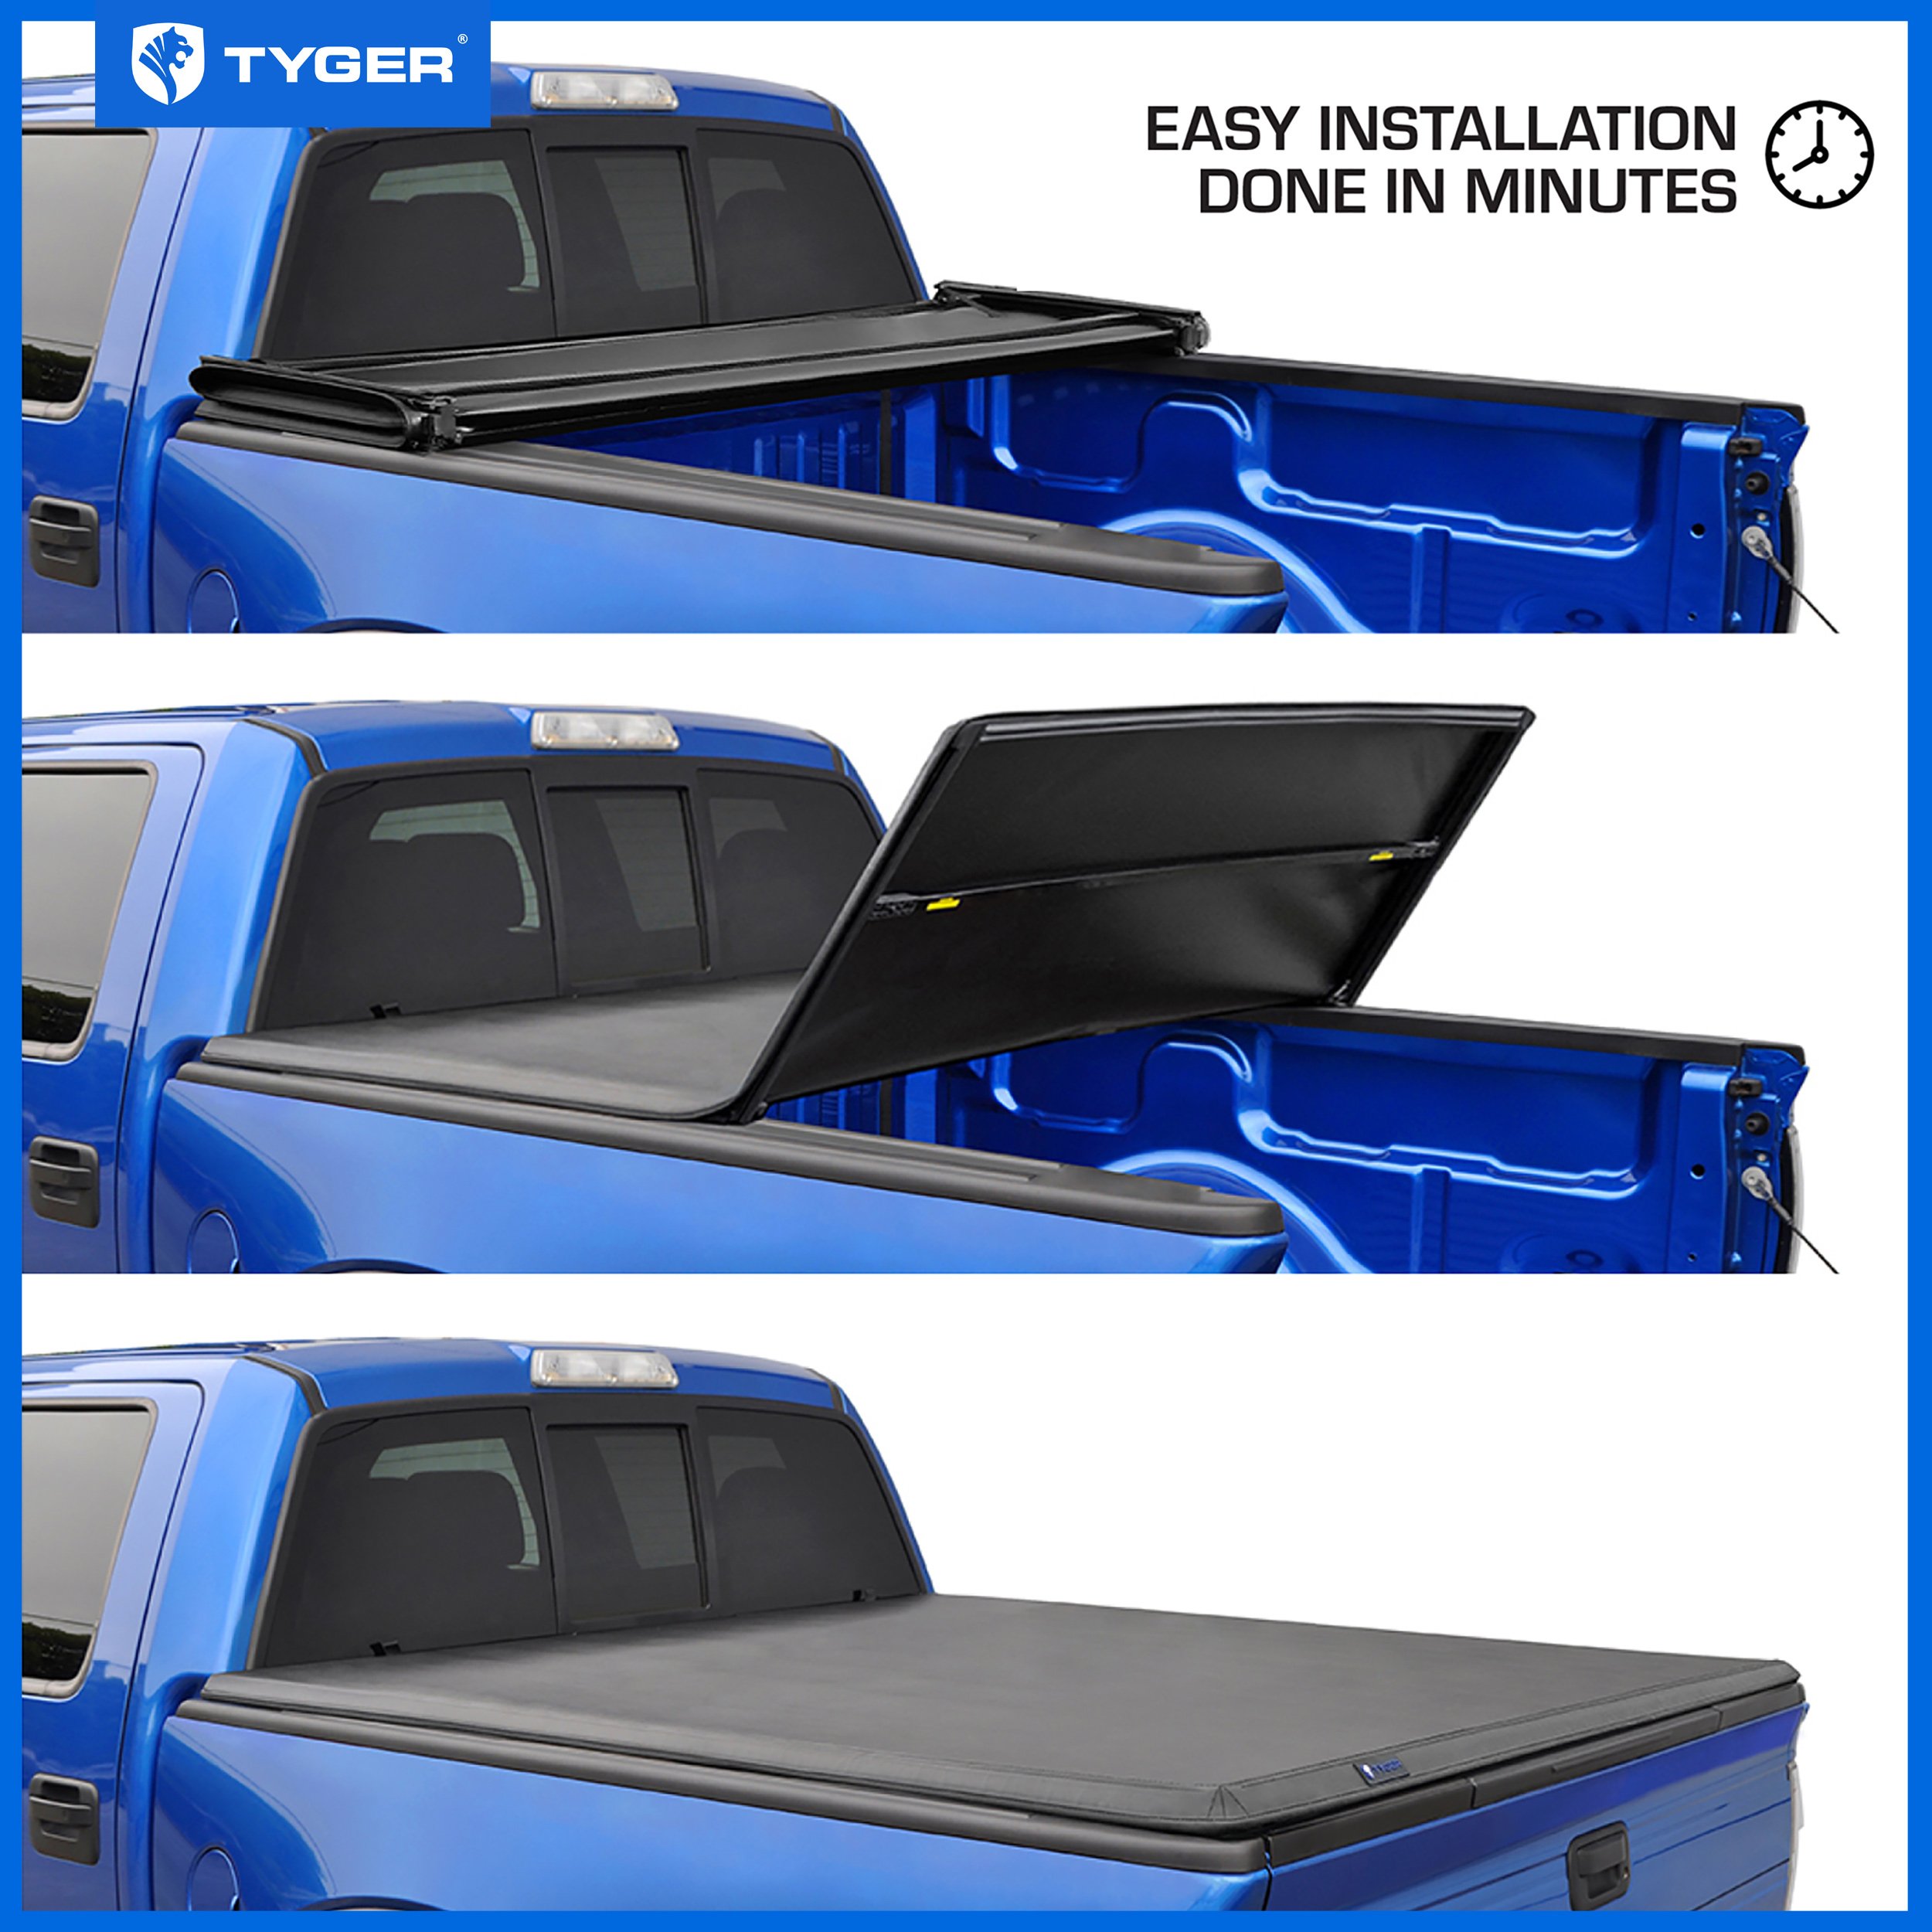
Credit: www.tygerauto.com
Frequently Asked Questions
What Tools Are Needed To Install Ford Maverick Fits?
You need a screwdriver, measuring tape, and mounting hardware. These tools ensure a secure and precise installation of Maverick Fits.
How Long Does Maverick Fits Installation Usually Take?
Installation typically takes 30 to 45 minutes. It depends on your experience and the specific model you have.
Can I Install Maverick Fits Without Professional Help?
Yes, Maverick Fits are designed for easy DIY installation. Follow the step-by-step guide included for best results.
What Are Common Installation Mistakes To Avoid?
Avoid improper alignment, loose screws, and ignoring instructions. These errors can cause poor fit and reduce product durability.
Conclusion
Installing Maverick Fits is easier than it seems. Follow each step with care and patience. Use the right tools and check your work often. Small mistakes can cause big problems later. Take your time and stay focused on the process.
Soon, your Maverick Fits will be ready to use. Enjoy the comfort and style it brings. Remember, practice makes perfect. Keep trying, and you will get better every time.
Disclosure: As an Amazon Associate, I may earn from qualifying purchases at no extra cost to you. Amazon and the Amazon logo are trademarks of Amazon.com, Inc, or its affiliates.
- Amazon, Amazon Prime, the Amazon logo and Amazon Prime logo are trademarks of Amazon. com, Inc. or its affiliates.

I am Sadman, the founder of CarSensorHub.com, where I share my passion for cars and technology. I specialize in writing detailed reviews and helpful guides on car gadgets, accessories, safety tools and many more. My mission is to help car owners discover the best products and tips to improve their driving experience and stay safe on the road.