For most automotive wiring harness work, set your soldering iron to 600–650°F (315–340°C). Use 60/40 or lead-free rosin-core solder, and pick a 40–60 watt iron. This range melts solder fast without burning insulation or damaging the copper strands inside the wire.
How temperature decides a soldering joint on an automotive wiring harness
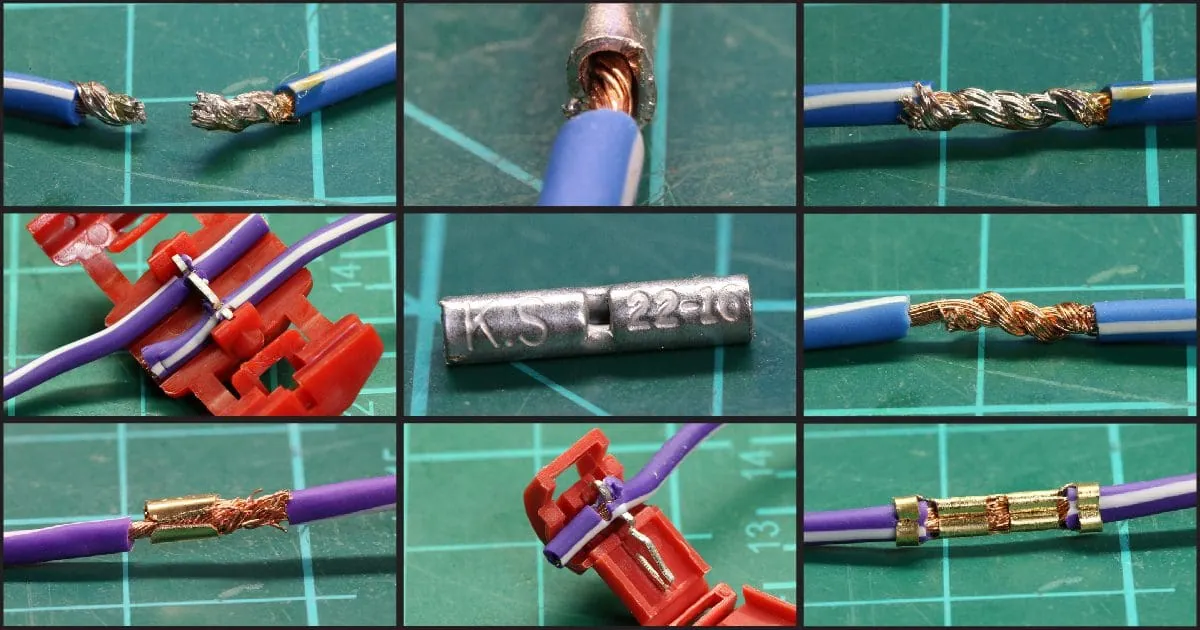
The temperature matters less than how fast you work. A hot iron touching the wire for 2–3 seconds makes a clean joint. A cool iron forces you to hold it there longer, and that heat travels up the wire and melts the insulation.
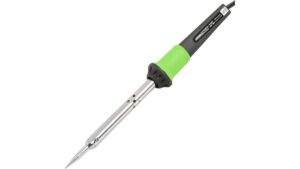
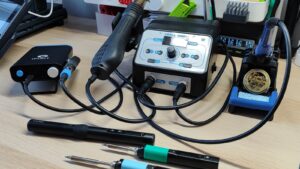
The most common mistake is grabbing a low-wattage pencil iron from a hobby kit. It can’t hold its heat when it touches thick automotive wire, so the tip cools down and you end up cooking the joint. A 40–60 watt iron with a chisel tip holds temperature much better.
Also check the wire itself before you start. Automotive wire is often stranded copper with PVC or cross-linked insulation. PVC starts to soften around 176°F (80°C), so keep the iron on the joint, not the plastic.
A joint that looks dull and grainy instead of shiny was moved before it cooled. Hold the wire still for a second or two after you pull the iron away. If you bump it while the solder is still slushy, you get a cold joint that conducts poorly and breaks under vibration.
Solder gauge follows the wire, not the iron. For most automotive work, 0.8 mm rosin-core solder feeds fast enough to fill a joint in one pass without flooding it.
If the wire is oxidized or greasy, no iron will save the joint. Clean the copper to bright metal first.
Steps for a clean harness joint
- Strip 3/8 inch of insulation from each wire end using wire strippers sized for your gauge. Don’t nick the copper strands — a cut strand weakens the joint and can break later.
- Slide a piece of heat-shrink tubing onto one wire first, about 1 inch long, and push it well away from the joint. You can’t add it after soldering.
- Set the iron to 600–650°F (315–340°C) and let it fully heat for 3–5 minutes. A cold tip gives a dull, lumpy joint.
- Tin the tip with a small amount of rosin-core solder. A shiny, wet-looking tip transfers heat far better than a dry one.
- Twist the strands together in a neat line splice, then touch the iron to the joint for 2–3 seconds. Feed solder into the joint, not onto the iron tip.
- Pull the iron away and don’t move the wire for about 3 seconds while the solder sets. A joint that moves while cooling looks grainy and can crack.
- Slide the heat-shrink over the joint and shrink it with a heat gun, not the soldering iron. The tubing should seal tight around the wire.
Tip: If the insulation starts to bubble or pull back, your iron is too hot or you’re holding it too long. Drop the temperature by 25°F (15°C) and work faster.
Tip: For wires thicker than 10 AWG, a soldering iron often can’t deliver enough heat. Use a crimped butt connector with the right tool instead.
For safety standards on automotive wiring, the Society of Automotive Engineers publishes J-standard wiring guidance that covers conductor and insulation ratings.
How long a harness repair takes
A single splice takes about 2 minutes from strip to shrink. A full harness repair with many joints takes much longer, and the table below shows what changes the time.
| Situation | How long | What changes it | What to watch for |
|---|---|---|---|
| One wire splice | 2–3 min | Your iron’s recovery speed | Cold joints if you rush |
| 5–10 splices in a bundle | 20–30 min | Spacing between joints | Heat building up in the bundle |
| Thick wire (8 AWG or lower) | 5–10 min per joint | Iron wattage | Insulation melting |
| Corroded or oxidized wire | Double the time | How much you clean first | Solder refusing to stick |
| Full harness rebuild | Several hours | Number of circuits | Mixing up wire colors |
If a joint is taking far longer than the table says, stop and check your tip. A dirty or oxidized tip is the usual cause, and cleaning it with a brass sponge fixes it in seconds.
Signs the joint is good
A good solder joint looks shiny and smooth, like a small silver bead that flows into the wire. A bad one looks dull, grainy, or lumpy — that’s a cold joint, and it will fail.
Run your fingernail along the joint. It should feel smooth with no bumps. Then give the wire a gentle tug — a solid joint won’t move. If the solder cracks or the wire pulls free, redo it.
The one test that settles it: measure resistance across the joint with a multimeter. A clean joint reads close to zero ohms, the same as the wire itself. A cold joint reads higher, and that extra resistance makes heat when current flows.
For aerospace-grade soldering standards that many industries follow, NASA’s workmanship standards (NASA-STD-8739.3) describe what a passing solder joint looks like. You can find them on NASA’s technical standards site.
Mistakes that ruin a harness joint
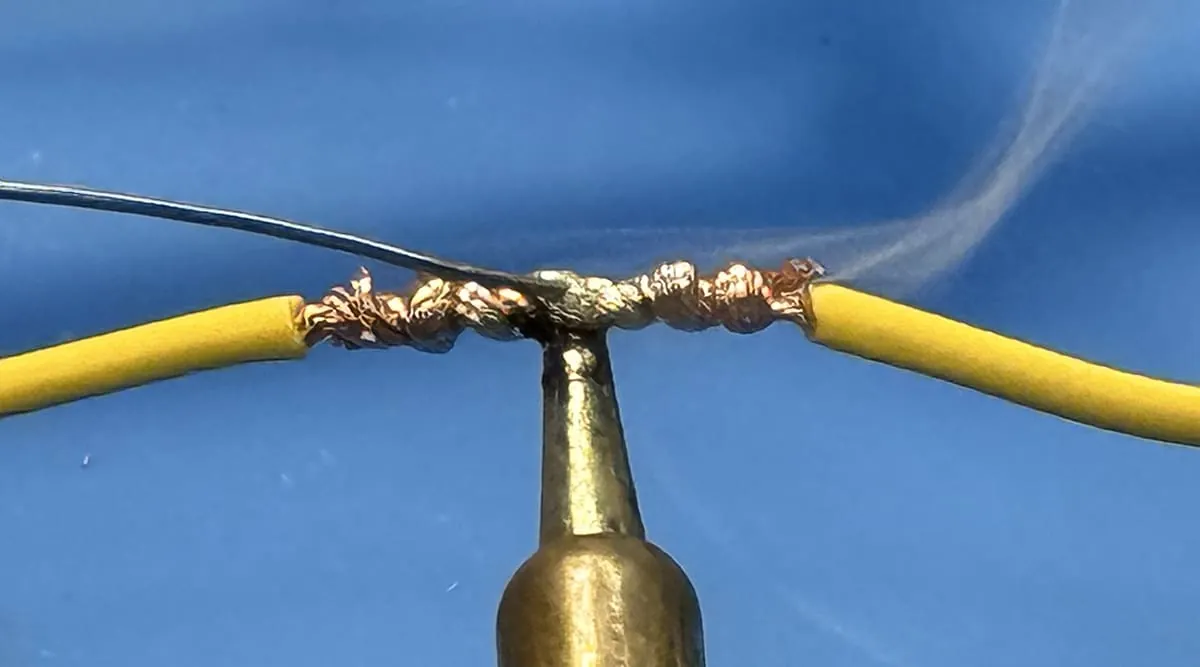
- Using too much solder. A blob hides a cold joint underneath and adds weight that can crack. Use just enough to flow into the strands and form a smooth fillet.
- Moving the wire while it cools. This makes the solder grainy and weak. Hold it still for about 3 seconds after you pull the iron away.
- Skipping flux or using the wrong kind. Rosin-core solder already has flux inside. Acid-core flux corrodes copper and will eat through your harness over time — never use it on wiring.
- Overheating the insulation. Holding the iron too long melts the plastic and exposes bare copper. Work in 2–3 second bursts and let the wire cool between them.
- Soldering a joint that should be crimped. In high-vibration spots like engine mounts, a proper crimp with a strain-relief boot often outlasts solder. Solder can wick up the strands and create a stiff spot that cracks.
Related guides
- Best Chevrolet Suburban Trailer Wiring Harness: Honest Review
- How to Fix Oil Pressure Sensor Wiring Harness: Quick & Easy Guide
- Best Trailer Wiring Harness For Ford Super Duty | Budget Friendly
FAQs Of Best Temperature for Soldering Automotive Wiring Harness
What temperature should I set my soldering iron for car wiring?
Set it to 600–650°F (315–340°C) for standard automotive wire. This range melts 60/40 and lead-free solder quickly without burning PVC insulation. For very thin wire (22 AWG or smaller), drop to 550–600°F (290–315°C) so you don’t overheat the strands.
Can I solder car wiring with a 30 watt iron?
Usually no, not well. A 30 watt iron can’t hold its heat when it touches 16–18 AWG automotive wire, so the tip cools and you end up with a cold joint. Use a 40–60 watt iron, or a temperature-controlled station, for reliable results.
Is it safe to solder wires near the car’s fuel system?
No — never solder near fuel lines, the tank, or fuel vapor. Solder irons and heat guns can ignite fuel vapor. Disconnect the battery, work in a ventilated area away from fuel, and if the repair touches a fuel-related circuit, have a qualified mechanic handle it.
How long should I hold the iron on the joint?
About 2–3 seconds. Touch the iron to the joint, feed in solder, and pull away as soon as the solder flows. Holding longer than 5 seconds usually means your iron is too cool or the tip is dirty, and it risks melting the insulation.
What solder is best for automotive wiring?
Rosin-core solder works best. Use 60/40 tin-lead for easy flowing, or lead-free ( SAC305) if you want to avoid lead. Avoid acid-core solder entirely — its flux corrodes copper and will damage the harness over time.
Why won’t solder stick to my wire?
The wire is probably oxidized or dirty. Clean the bare copper with fine sandpaper or steel wool until it shines, then re-tin it. Old or corroded wire often needs this step, and skipping it leaves you with a joint that never bonds properly.
Can I use a heat gun instead of a soldering iron?
No. A heat gun shrinks tubing and softens insulation, but it can’t melt solder into a joint. Use the heat gun only for the heat-shrink step, after the joint is soldered and cool. Some connectors are designed for heat-gun-only use, so check the connector type first.
Conclusion
Get the temperature right, keep the iron on the joint for just a few seconds, and check your work with a tug and a resistance reading. That’s what separates a harness repair that lasts from one that fails on the road.
Disclosure: As an Amazon Associate, I may earn from qualifying purchases at no extra cost to you. Amazon and the Amazon logo are trademarks of Amazon.com, Inc, or its affiliates.
- Amazon, Amazon Prime, the Amazon logo and Amazon Prime logo are trademarks of Amazon. com, Inc. or its affiliates.

I am Sadman, the founder of CarSensorHub.com, where I share my passion for cars and technology. I specialize in writing detailed reviews and helpful guides on car gadgets, accessories, safety tools and many more. My mission is to help car owners discover the best products and tips to improve their driving experience and stay safe on the road.