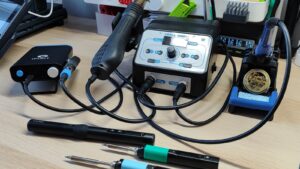
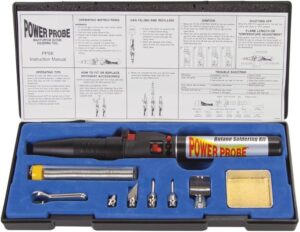
For most automotive wiring, a 60-watt soldering iron with a temperature control is the right choice. It heats 14–18 AWG copper wire fast, so you get a clean joint in a few seconds. If you only work on thin sensor wires, 40 watts is enough. If you solder heavy battery cables or ground straps, go to 80 watts or more.
Quick answer for automotive soldering
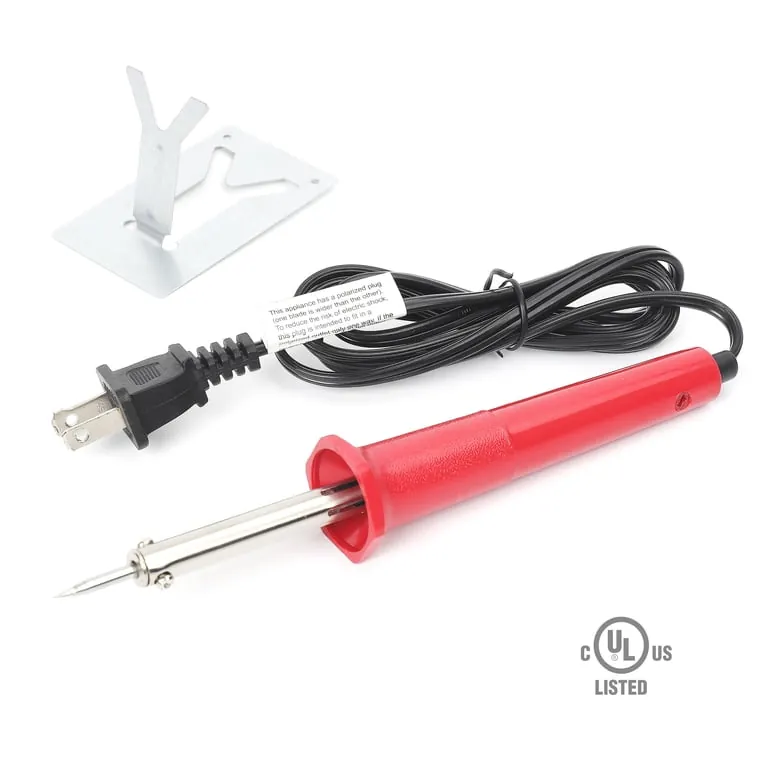
- 60W with adjustable temperature covers almost all car wiring: 14, 16 and 18 AWG. That’s the size range for lights, sensors and radio work.
- 40W fixed is fine for 20–22 AWG sensor and signal wires, but it struggles on anything thicker. You’ll wait too long and cook the insulation.
- 80W or higher is for 8–10 AWG battery cables, starter wires and ground straps. Big copper pulls heat away fast.
- A cheap 30W pencil iron is the wrong tool for anything but the thinnest wire. It can’t hold heat, so joints come out cold and gray.
- Use rosin-core solder, never acid-core solder. Acid-core flux leaves corrosive residue on the copper that must be cleaned off, and the joint can fail months later.
Why soldering iron wattage isn’t the whole story
Wattage tells you how fast the iron can replace heat that the wire steals from the tip. Copper is an excellent heat conductor, so a thick wire pulls heat away the moment you touch it. A 30W iron can’t keep up, and the tip temperature drops right when you need it most.
Temperature control fixes this in a way raw wattage can’t. A controlled iron senses the tip cooling and pushes more power for a second, then backs off. That’s why a 60W station beats a 100W unregulated iron on most car wiring. The station holds its set temperature; the big iron just keeps climbing until it burns something.
The solder alloy sets your target temperature, not the iron’s wattage. The exact range for your solder is printed on the spool by the maker — check it there.
Wire gauge decides how much heat the joint steals. Automotive wire sizes follow SAE standards, which is why a 60W iron works for 18 AWG but not for 8 AWG. If you’re unsure of the alloy or the wire rating, the spool label and the wire’s printed gauge are the two places to read your own numbers.
When a different wattage is the better pick
The simple answer changes with the wire size, the connector type and where you’re working. Use this table to match the iron to the job in front of you.
| Situation | What changes | What to do instead |
|---|---|---|
| 20–22 AWG sensor wire | Thin wire, low heat needed | Use 40W, set 600°F |
| 8–10 AWG battery cable | Thick copper drains heat | Use 80W+ or a torch |
| Soldering outdoors in wind | Air steals tip heat | Add 20W, use a windbreak |
| Lead-free solder only | Melts about 50°F hotter | Raise setting to 700–750°F |
| Butt connectors with solder | Sleeve needs even heat | Use a heat gun, not an iron |
| Working near fuel lines | Spark risk is real | Disconnect battery first |
How to solder car wiring step by step
- Disconnect the battery ground first. A soldering iron tip is hot metal near live 12V circuits. Pull the negative terminal and tuck the cable aside so it can’t touch the post.
- Strip 3/8 inch of insulation from each wire end with strippers sized for that gauge. Don’t nick the copper — a cut strand breaks under vibration. Twist the strands lightly so they stay together.
- Wipe the tip on a damp sponge, then tin it with a thin coat of solder.
- Heat the joint, not the solder. Touch the tip under the twisted wires for 2–3 seconds, then feed solder into the wire from the top. It should flow into the strands and look shiny. Pull the solder away first, then the iron.
- A shiny, smooth surface means a good joint. A dull, grainy or blobby surface means it was too cold — reheat it and add a little fresh solder.
- Slide the heat-shrink over the joint and shrink it with a heat gun on low, moving side to side until it hugs the wire. A lighter works, but keep the flame moving so you don’t burn the tubing.
- Tug test the wire gently. It should hold firm with no movement at the joint. Then reconnect the battery ground and check the circuit works.
Mistakes that ruin automotive solder joints
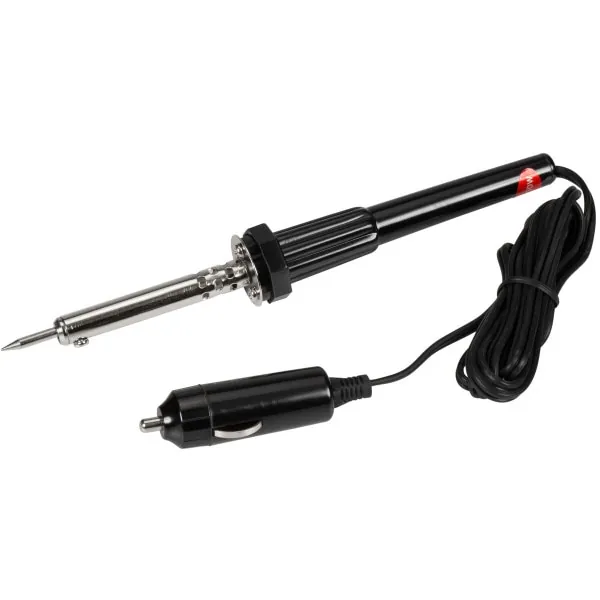
- Using an underpowered iron and holding it on too long. A 30W iron forces you to wait 10+ seconds, and that heat travels up the wire and melts insulation a few inches away. The wire then shorts against nearby metal.
- Using acid-core flux on electrical wiring. Plumbers use it for pipes, not cars. It stays on the copper and corrodes it, so the joint fails weeks or months later, usually somewhere hard to reach.
- Moving the wire while the solder is still wet. A cold, grainy joint looks fine but cracks under vibration. Cars vibrate constantly, so a bad joint fails on the road, not on the bench.
- Skipping the heat-shrink or using electrical tape. Tape unwinds in engine heat and leaves bare copper exposed. Heat-shrink seals the joint and keeps moisture out.
- Soldering near the fuel tank, lines or battery vents. A hot iron can ignite fuel vapor. Work outside, away from the tank, and keep a fire extinguisher within reach.
Related guides
- How to Diagnose Oil Pressure Sensor Wiring: Expert Tips
- Ram 1500 Rebel DIY Light Bar Wiring Kit | Best Deals Guide
- Best Car Window Tint Kits – Perfect DIY Automotive Tinting
Frequently asked questions
Can I use a 30W soldering iron for car wiring?
No, not for most car wiring. A 30W iron only handles 22 AWG and thinner signal wire. On 18 AWG or thicker, it can’t hold temperature, so you’ll hold it on longer and melt the insulation. Use 60W with temperature control for 14–18 AWG.
Why does my solder joint look dull and grainy?
The joint was too cold when the solder set. Either the iron was set too low, the wire pulled heat away faster than the iron could replace it, or you moved the wire while it cooled. Reheat the joint to 650°F and add a little fresh solder.
How long should it take to solder one wire joint?
About 3–5 seconds of heat for 18 AWG wire with a 60W iron set to 650°F. Thicker 12 AWG wire takes 5–8 seconds. If it’s taking 15 seconds or more, your iron is too small for that gauge — step up to a higher wattage.
Is it safe to solder wires while they’re connected to the car battery?
No, disconnect the negative battery terminal first. A soldering iron is hot metal, and a slip can short a live circuit, blow a fuse, or start a fire. Disconnecting the ground takes a minute and removes that risk entirely. Reconnect it only after the joint cools.
What solder should I use for automotive wiring?
Use 60/40 or 63/37 tin-lead rosin-core solder, around 0.032 inch diameter for most car wire. It melts near 370°F and flows easily. Lead-free solder works too, but it needs a hotter setting and doesn’t flow as smoothly for beginners. Never use acid-core flux.
How often should I replace my soldering iron tip?
Replace the tip when it stops holding a shiny coat of solder or the plating wears through to bare copper. That usually happens after heavy use, not on a set schedule. Check the tip before each job — a worn tip transfers heat poorly and ruins joints.
Does it matter if I use a soldering gun instead of an iron?
Yes, it matters for small wires. Soldering guns heat in 1–2 seconds but run 100W+, which is too much for 20–22 AWG wire and can burn it. Guns are better for 10 AWG and thicker. For most car wiring, a temperature-controlled iron is the safer pick.
What happens if I use too much solder on a joint?
The joint gets a thick blob that hides whether the wire is properly heated. Solder should flow into the strands and leave a smooth, slightly bulging shape, not a ball. Too much solder can also wick up the wire and make it stiff, which cracks under vibration.
Conclusion
The right iron is the one that heats your wire fast enough to finish in seconds, not minutes. Match the wattage to your thickest wire, set the temperature to your solder’s melting point, and the joints will come out shiny every time.
Disclosure: As an Amazon Associate, I may earn from qualifying purchases at no extra cost to you. Amazon and the Amazon logo are trademarks of Amazon.com, Inc, or its affiliates.
- Amazon, Amazon Prime, the Amazon logo and Amazon Prime logo are trademarks of Amazon. com, Inc. or its affiliates.

I am Sadman, the founder of CarSensorHub.com, where I share my passion for cars and technology. I specialize in writing detailed reviews and helpful guides on car gadgets, accessories, safety tools and many more. My mission is to help car owners discover the best products and tips to improve their driving experience and stay safe on the road.