For most parking-sensor failures, start with DIY checks: clean the sensor faces, inspect the bumper, check accessible fuses, and reseat the bumper harness connector. If the system still stays silent, use an OBD2 scanner that can read parking-assist or chassis codes before buying parts.
A shop is the better choice when the bumper must come off, wiring is damaged, or a module fault is possible. Replacing one sensor yourself makes sense only when a scan and visual inspection point to that specific sensor.
| Repair path | Best for | Main advantage | Main trade-off |
|---|---|---|---|
| DIY inspection and cleaning | Dirt, ice, minor impact, or moisture | Fast and inexpensive | Does not locate hidden wiring or module faults |
| Shop diagnosis and repair | Harness, connector, bumper, or module problems | More complete testing and access | Adds labor cost |
| Replace one sensor yourself | A confirmed failed sensor | Can avoid unnecessary labor | The wrong sensor or an unaddressed wiring fault can leave the system dead |
Best for a simple failure
Choose this first when the problem began after a car wash, snow, ice, road grime, bumper cleaning, or a minor scrape. Mud, ice, dirt film, and paint overspray can block the sensor face or interfere with its readings. A sensor that looks slightly pushed inward may also be misaligned inside the bumper.
Clean each sensor with mild car wash soap and water, then rinse it. For heavy grime or paint overspray, use a non-abrasive plastic-safe cleaner. Do not scrape the sensor face. Check for cracks, pushed-in sensors, loose bumper clips, and trim that no longer sits straight.
This path costs little and can restore operation immediately, but it will not fix a corroded connector, broken wire, fuse, or failed control module.
Best for an accurate diagnosis
Use an OBD2 scan tool that reads parking-assist or chassis modules when cleaning and visual checks do not solve the problem. Many basic scanners read engine codes only, while parking sensors may store faults in a parking-assist module or another body-related system.
A scan can identify a front or rear sensor, a circuit, or a system fault. That information helps you inspect the right connector and avoid replacing every sensor when only one component or wire has failed.
Scanning is especially useful when the sensors are completely silent, the dash displays “Parking Assist Unavailable,” or the problem comes and goes. A generic OBD2 scanner may not access the relevant module, so confirm that the tool supports parking-assist codes before relying on it.
Best when wiring or the module is involved: Have a shop diagnose it
Choose a shop when the rear bumper harness is hard to access, the bumper cover needs removal, or the scan points to a wiring or module problem. Corroded connectors, moisture intrusion, chafed wires, and poor power or ground connections can mimic a failed sensor.
A shop can also check whether a bumper repair, replacement, or paint job disturbed the sensors or harness. This path costs more than cleaning or replacing one accessible sensor, but it is usually the better choice when several components could be responsible.
Best for a confirmed single-sensor failure
Replacing one sensor yourself can be cost-effective when a scan identifies a specific sensor and inspection confirms damage, misalignment, or moisture inside that sensor. Replace only the failed unit unless testing shows that several sensors have failed.
Sensor type, spacing, mounting style, and part number must match the vehicle. Ultrasonic sensors are not universal. A sensor that does not sit flush, or a bumper cover that interferes with it, can cause another fault even when the replacement part appears to fit.
Why Parking Sensors Stop Working
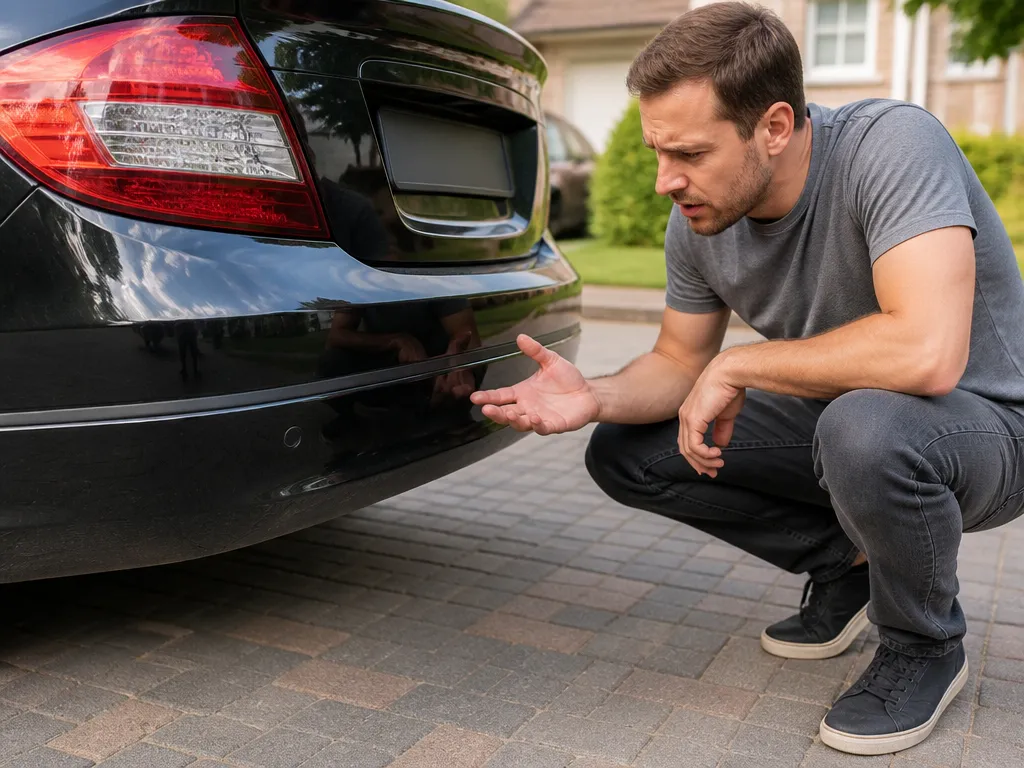
Parking sensors stop working when the vehicle can no longer measure distance reliably. The failed link may be a sensor, connector, wire, fuse, power or ground path, or parking-assist control module.
Most systems use ultrasonic sensors mounted in the front or rear bumper. The sensors send out signals, receive the returning reflections, and pass that information through the wiring to a parking-assist module. If one sensor reports an impossible reading or loses communication, the module may disable the system and display a warning.
“Stopped working” can mean several different things:
- No beeps at all. This can point to a fuse, power supply, module, wiring fault, or multiple sensor failures.
- Random or false beeps. A contaminated, wet, damaged, or intermittently failing sensor is more likely.
- A dash warning such as “Parking Assist Unavailable.” The vehicle has detected a system fault and may have stored a code.
- Only one side or corner stops detecting objects. One sensor, connector, or section of the bumper harness may be affected.
A low-speed bumper impact, curb scrape, loose bumper cover, or recent bodywork can also misalign a sensor or damage the harness behind the bumper.
The Most Likely Causes, Ranked
1. Dirt, ice, or paint on the sensor face
A coating of mud, road film, snow, ice, or paint overspray can interfere with the sensor’s ability to receive ultrasonic reflections. This is the easiest problem to fix and the one to check first.
2. A damaged or misaligned sensor
A parking-lot bump or curb contact can crack a sensor, push it inward, or move the bumper cover around it. A loose bumper clip can change the sensor’s position enough to create false readings or disable the system.
3. A corroded or wet connector
The bumper harness usually connects to the vehicle near the front or rear bumper. Water and road salt can corrode that connection, while moisture can cause an intermittent fault. These problems often appear after winter driving, heavy rain, or a car wash.
4. A broken or chafed wire
Vibration, flexing, impact damage, and previous repair work can break or wear through a wire. A damaged lead can make the system work intermittently or fail completely.
5. A fuse, power, or ground problem
A blown fuse can disable the complete system rather than one sensor. A weak battery can also cause body-control glitches or parking-assist fault codes after voltage dips, especially when other electrical symptoms appear.
6. A parking-assist module fault
The control module may disable the system after detecting a sensor or circuit error. A module problem is less common than contamination or a failed sensor, so check the simpler causes and scan for codes before replacing it.
7. Calibration or initialization trouble
Some vehicles need calibration or initialization after a sensor replacement, bumper removal, or bumper-cover repair. A new sensor may continue to trigger faults if it was installed incorrectly or the vehicle has not completed the required setup.
How to Diagnose the Problem Without Guessing
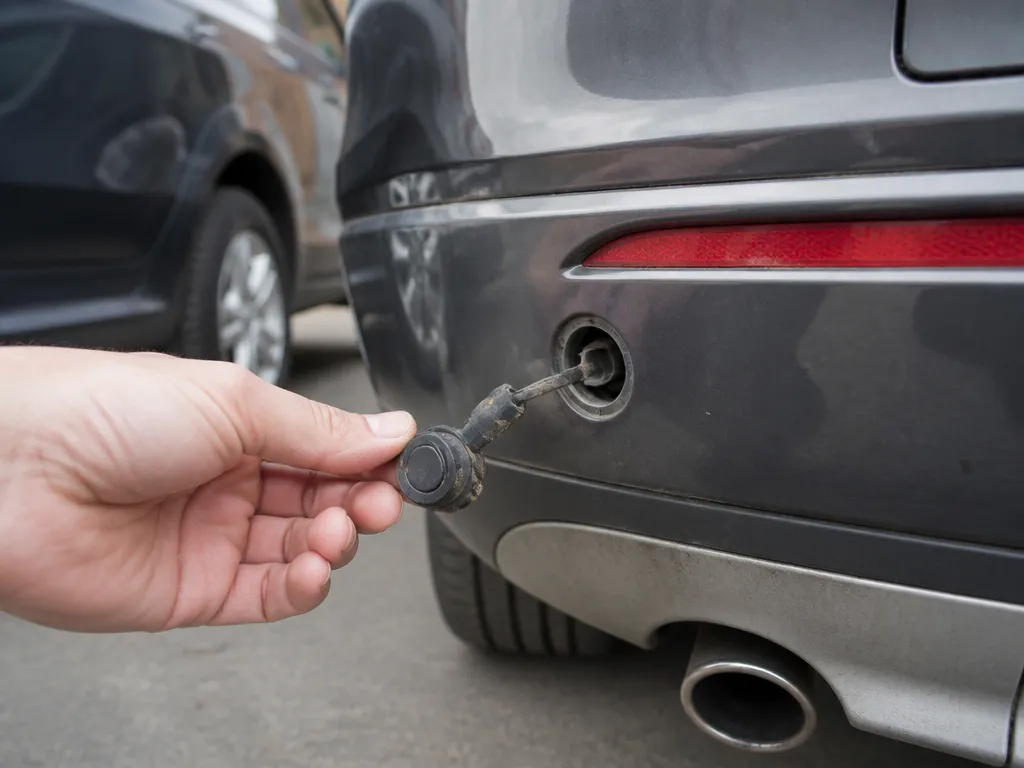
- Record the symptom. Note whether there are zero beeps, random beeps, or a “Parking Assist Unavailable” message. Check whether the problem occurs every time you select reverse or only sometimes.
- Inspect the bumper. Look for cracks, pushed-in clips, misaligned trim, or sensor faces that sit unevenly.
- Clean every sensor face. Use mild car wash soap and water. For heavy grime or paint overspray, use a non-abrasive plastic-safe cleaner. Avoid scraping the sensor.
- Check accessible fuses. A blown fuse can shut down the entire system, which is different from a single-sensor failure.
- Inspect and reseat the connector. If you can safely reach the rear bumper wiring plug, disconnect it and check for moisture, corrosion, or damaged terminals. Let it dry if needed, then reconnect it firmly.
- Scan the correct modules. Use a tool that can read parking-assist or chassis codes, not only engine codes. Note any fault tied to a front or rear sensor or circuit.
- Test after each change. Try the system after cleaning, reseating a connector, or making another repair so you know what solved the problem.
- Replace only verified parts. Match the sensor’s part number, type, mounting style, and position. The wrong sensor can create another fault.
If the sensors are completely silent, the dash shows no obvious explanation, and wiring is suspected, scanning before removing the bumper is the most efficient next step.
💡 Remove the guesswork from parking in tight spaces with this dual laser guide system, ensuring precision every time you pull inside. Fosmon, Wider Angle Upgrade, Dual Laser Garage Parking Assist Guide System, 360-degree Adjustable Parking Sensor with AC Adapter and Battery Backup for Car/Automotive.
What Each Repair Path Costs You in Time and Risk
DIY troubleshooting saves money when the cause is dirt, ice, a loose connector, or visible damage. Its limitation is access: hidden wiring and modules can be difficult to test without the right scan tool or equipment.
A shop diagnosis adds labor cost, particularly when the bumper must come off or several circuits are involved. It can nevertheless prevent repeated sensor replacements and return visits.
Replacing a sensor yourself is inexpensive when the part is accessible, but the wrong part or an undiagnosed wiring fault can leave the system inoperative.

Helpful pick
Your Guess Is Not a Diagnosis: Prove It and HVAC: Hardly Valued, Always Called
This book serves as a humorous reminder that professional diagnosis is key, preventing costly mistakes when troubleshooting complex automotive electrical systems.
Symptoms That Point to the Next
A failure after snow, slush, or a car wash is more consistent with contamination or moisture. Intermittent operation points more strongly to a wet connector, damaged wire, or sensor beginning to fail.
If one rear corner stops beeping after a low-speed scrape, the affected sensor, connector, or bumper cover is more likely than a complete system failure. A pushed-in face, crack, or uneven trim can identify the damaged area.
If the dash displays “Parking Assist Unavailable” and the system never beeps, the fault may involve power, ground, the bumper harness, or the control module rather than the sensors themselves.
If the problem began immediately after bumper repair, replacement, or paintwork, suspect reinstallation, harness damage during bumper removal, or paint on the sensor faces. The repair work may have disturbed a component that was working before the vehicle entered the shop.

Helpful pick
FIMXSD Garage Parking Sensor, Adjustable Garage Car Stop Indicator with Red/Yellow/Green LED Display, Set Stop Distance 6″–6 Ft, Battery (Not Included) or Power Cord Powered (Black)
Avoid future sensor issues caused by garage wall impacts by using this adjustable LED indicator to mark your perfect stopping point.
Final Recommendation
The aim is a focused repair: identify the failed component or circuit before purchasing parts. This avoids paying for sensors that were never the problem and keeps the repair proportional to the fault.

Helpful pick
Sirmpuna Garage Parking Sensor Aid,Adjustable Ultrasonic Car Stop Indicator
Complete your repair process by installing this ultrasonic sensor aid, ensuring your vehicle remains protected from garage wall collisions permanently.
FAQ
What are the most common reasons parking sensors stop working?
The most common causes are sensor faces blocked by dirt, ice, or paint overspray; damaged sensors after a bumper hit; and faulty wiring or corroded connectors near the bumper harness. Less commonly, a parking-assist module fault or blown fuse can disable the entire system. Total silence or a dash warning usually points to a broader system problem.
Can dirty parking sensors stop them from working?
Yes. Mud, road film, and ice can prevent the sensors from detecting returning signals, causing them to stop beeping or produce false readings. If the system remains dead after the faces are cleaned, the fault may be electrical or module-related.
Do parking sensors stop working when the car battery is weak?
A weak battery can trigger body-control glitches and fault codes, but it does not usually damage the sensors themselves. Parking assist may become unavailable after voltage dips, especially when other electrical problems appear. Other low-voltage symptoms make the battery a more relevant suspect.
How do I diagnose a parking sensor problem at home?
Inspect the bumper and sensor faces, check the relevant fuse if it is accessible, and use an OBD2 scanner that can read parking-assist or chassis codes. The affected sensor or circuit can then be inspected before any part is replaced.
Should I replace all parking sensors at once?
Usually no. Replace only the sensor or sensors identified by codes and inspection. Replacing all of them makes sense when several specific sensors have confirmed faults and consistent physical damage. If the fault is in the fuse, harness, power supply, ground, or module, replacing sensors will not solve it.
Disclosure: As an Amazon Associate, I may earn from qualifying purchases at no extra cost to you. Amazon and the Amazon logo are trademarks of Amazon.com, Inc, or its affiliates.
- Amazon, Amazon Prime, the Amazon logo and Amazon Prime logo are trademarks of Amazon. com, Inc. or its affiliates.

Hi, I am AKM Sad. I’m a car enthusiast and reviewer who loves exploring gadgets and accessories. I share honest reviews and practical tips to help you get the best products and enjoy a safer, smoother ride.