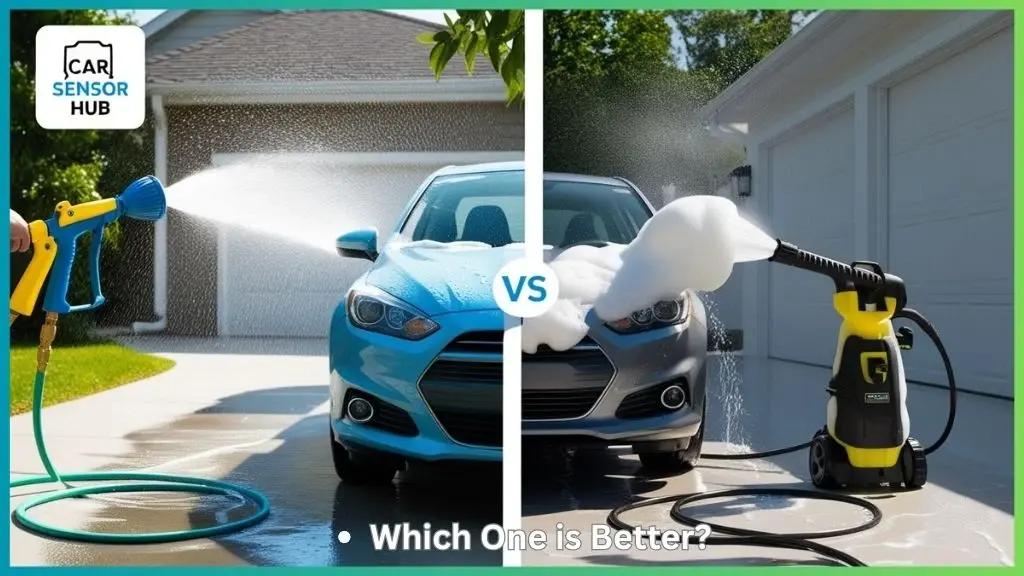
Imagine transforming your car wash routine into a fun and effortless experience. With a foam gun, you can do just that.
Picture your car gleaming under the sun, every inch spotless, without the usual back-breaking scrubbing. Sounds amazing, right? But it gets better. Using a foam gun not only saves you time but also protects your car’s paint, all while being incredibly satisfying to use.
If you’re curious about elevating your car cleaning game and achieving professional results from the comfort of your driveway, this guide is for you. Ready to discover the secret to a spotless car with minimal effort? Let’s dive in and see how you can master the art of using a foam gun for your car wash.
Benefits Of Using A Foam Gun
Foam guns simplify car washing, offering efficient dirt removal and even soap distribution. They create a thick lather that clings to surfaces, ensuring thorough cleaning with minimal effort. Using a foam gun reduces the risk of scratches, as it lifts grime away gently, providing a safer wash for your vehicle.
Using a foam gun for car washing can transform your cleaning routine. It offers a range of benefits that can enhance the car wash experience. Whether you’re a car enthusiast or just someone who wants to keep their vehicle looking its best, using a foam gun can make the process more effective and enjoyable.
Efficient Cleaning
A foam gun provides a more efficient clean than traditional methods. The foam clings to the car’s surface, breaking down dirt and grime quickly. This means you spend less time scrubbing and more time enjoying a spotless car.
Paint Protection
Using a foam gun helps protect your car’s paint. The thick foam acts as a cushion, reducing the risk of scratches. This is particularly beneficial if you wash your car frequently, as it minimizes paint damage over time.
Water Conservation
Foam guns can help conserve water compared to traditional hose methods. The foam application requires less rinsing. This not only saves water but also reduces your water bill.
Enhanced Shampoo Performance
A foam gun maximizes the effectiveness of car shampoo. The foam ensures even distribution over the entire car. This means no spot is left untreated, providing a more thorough clean.
Fun And Satisfaction
Washing your car with a foam gun can be unexpectedly fun. Watching the foam cover your car feels rewarding, and the results speak for themselves. If you’re looking for a way to make car washing less of a chore, this might be it.
Cost-effective Solution
Investing in a foam gun can be cost-effective in the long run. By reducing the need for professional car washes, you save money over time. Plus, with proper care, a foam gun can last for years, making it a smart buy. Considering these benefits, isn’t it time you tried a foam gun for your next car wash? You might find it changes the way you look at car maintenance.

Credit: www.amazon.com
Choosing The Right Foam Gun
Choosing the right foam gun is crucial for an effective car wash. A foam gun helps cover your car with soap, making the cleaning process easier. With the right foam gun, you can achieve a spotless shine. Understanding the different types and key features is essential.
Types Of Foam Guns
Foam guns come in various types. There are hose-end foam guns and pressure washer foam cannons. Hose-end foam guns attach to a regular garden hose. They’re easy to use and ideal for quick washes. Pressure washer foam cannons require a pressure washer. They provide more foam and better cleaning power.
Key Features To Consider
Consider the foam gun’s material. Durable materials ensure the gun lasts longer. Check the gun’s compatibility with your hose or pressure washer. Some guns offer adjustable spray patterns. These allow you to control foam coverage. Look for guns with easy-to-use connectors. This feature saves time during setup.
This Article May Help You More: Portable Foam Gun for SUV Cleaning
Preparing Your Car
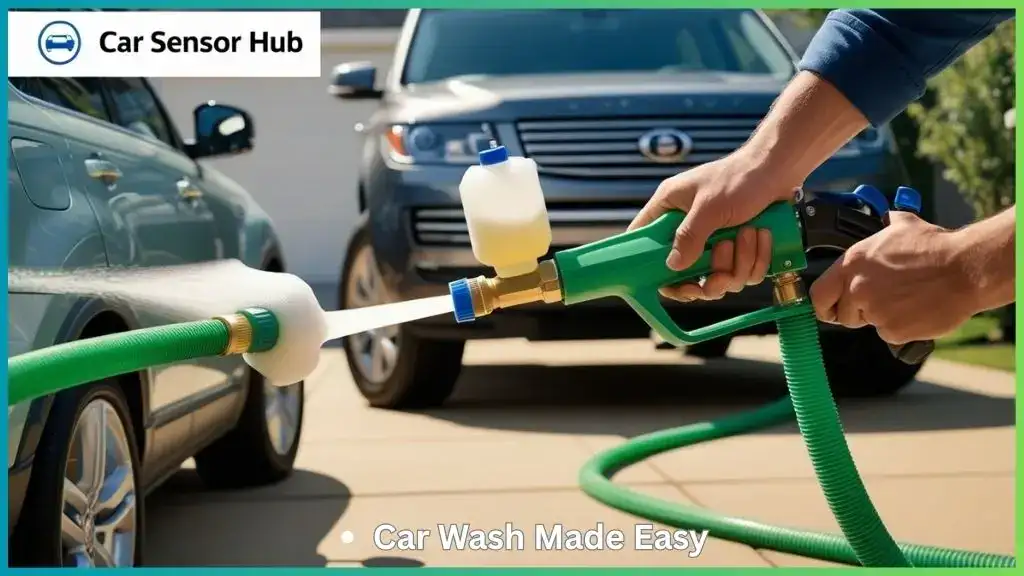
Foam guns make car washing easy. Attach the foam gun to a hose, fill with soap, and spray. This method covers the car with a thick foam, loosening dirt effectively. Rinse thoroughly to reveal a clean, shiny surface.
Preparing your car for a foam gun wash is a crucial step to achieve that spotless finish you desire. It’s more than just spraying soap; it’s about setting the stage for an effective clean. Preparing properly ensures you don’t miss any spots and can prevent potential damage to your car’s paint. Let’s dive into the steps that will make your vehicle gleam.
Initial Rinse
Start with a good rinse to remove loose dirt and debris. This step is essential as it prevents scratching the paint when you apply the foam. Use a hose to spray water over the entire car, paying special attention to the lower panels where dirt accumulates most. Use a wide spray setting on your hose for an even rinse. This ensures every part of your car gets a good wash. Have you ever noticed how skipping this step leads to a streaky finish? Taking a few minutes now saves time later in buffing out imperfections.
Identifying Problem Areas
After rinsing, take a moment to identify areas that need extra attention. Look for bug splatters, bird droppings, or tar spots. These are not only unsightly but can be harmful to the paint if left unaddressed. Do a quick walk-around of your car. Use a soft cloth to touch and feel areas that might need scrubbing.
Have you ever thought about how these small steps can prolong your car’s shine? Highlighting these spots ensures a thorough clean, making the foam gun more effective. By preparing your car with these steps, you’re setting yourself up for success. So, next time you wash your car, remember the importance of a good prep. Your vehicle—and its shine—will thank you.

Credit: www.walmart.com
Setting Up The Foam Gun
Setting up a foam gun is easy for a car wash. Connect the foam gun to your garden hose, fill the container with car soap, and adjust the settings for desired foam thickness. Enjoy a thorough, efficient clean with this simple tool.
Setting up your foam gun for a car wash might seem a bit daunting at first, but it’s simpler than you think. When you have the right setup, washing your car becomes more efficient and fun. Remember the first time you used a tool and nailed it? Imagine that satisfaction as you see the foam covering your car, knowing you did it right.
Assembling The Equipment
First, gather all the necessary components of your foam gun. Typically, you’ll need the foam gun itself, a garden hose, and your preferred car wash soap. Start by attaching the foam gun to your garden hose. Ensure it’s secured tightly to avoid leaks. A loose connection can lead to water wastage and less foam on your car. Double-check all fittings. A small oversight can mean the difference between a flawless wash and a frustrating experience. Have you ever been halfway through a project and realized you missed a step? Avoid that with a thorough check.
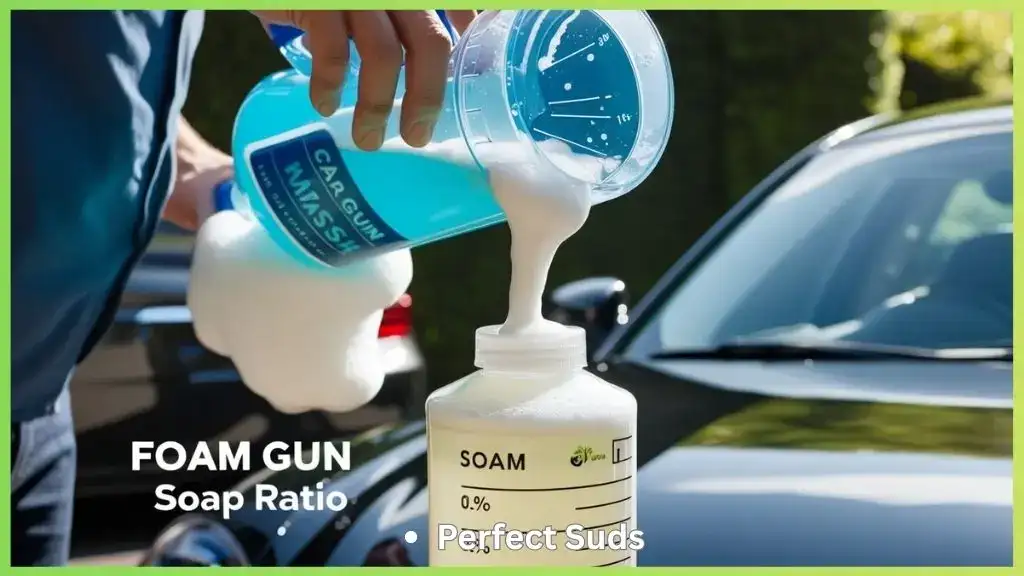
Mixing Soap And Water
Now, let’s get into the fun part: creating that foamy mixture. Start by adding the recommended amount of car wash soap to the container of your foam gun. Manufacturers often provide guidelines on the bottle. Fill the rest of the container with water. Use warm water if possible, as it helps dissolve the soap better, resulting in a thicker foam. Does your foam seem too thin?
You might need to adjust the soap-to-water ratio. Shake the container gently to mix the soap and water thoroughly. You should see a uniform liquid without any soap clumps. Think of it like preparing a good cup of coffee; you want everything just right. Taking these steps ensures your foam gun is ready to perform at its best. Are you ready to see your car shine like new?
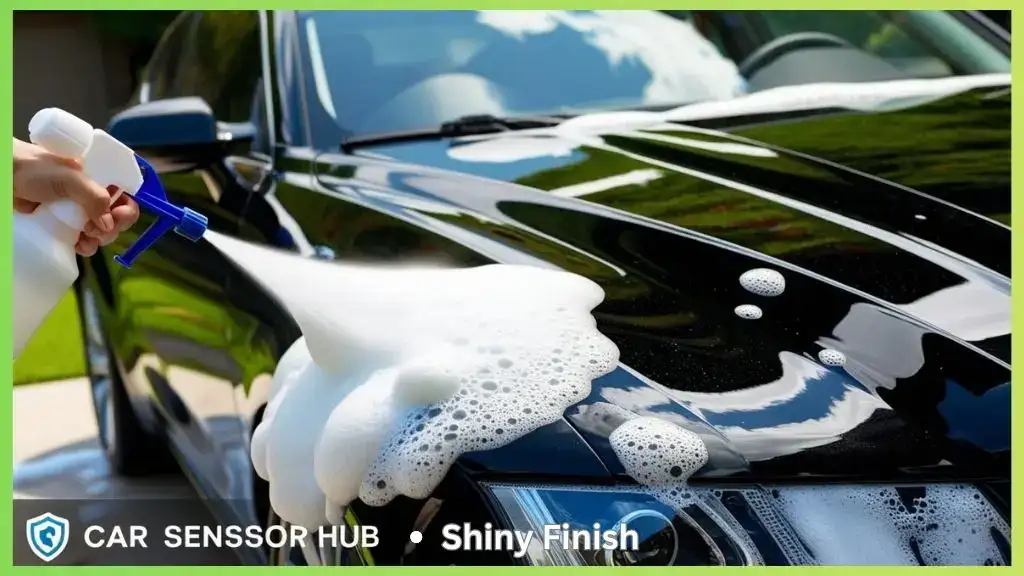
Applying Foam To Your Car
Applying foam to your car is a crucial step in the washing process that enhances cleanliness and efficiency. Foam acts as a gentle cleanser, lifting dirt and grime without scratching the paintwork. This section will guide you through effective techniques to ensure your car is evenly covered with foam, and how to adjust the foam consistency for optimal results.
Techniques For Even Coverage
Achieving even coverage is vital for a thorough clean. Start by holding the foam gun at a slight angle to the car’s surface. This technique ensures the foam spreads evenly and clings to the paint.
Work systematically, moving the gun from top to bottom. This prevents streaks and ensures no spot is missed. Don’t rush; a steady pace allows the foam to penetrate dirt, giving you a sparkling finish.
Have you ever noticed missed spots when rinsing? Taking your time with foam application reduces the risk of overlooked areas. Remember, thoroughness now saves effort later.
Adjusting Foam Consistency
Foam consistency is not one-size-fits-all. Adjusting the mixture can make a big difference in cleaning performance. Aim for a thick foam that sticks to your car, as this helps lift dirt effectively.
Too watery, and it will slide off without cleaning. Test your foam on a small section first. A good foam should be thick enough to cover without dripping immediately.
Think about the last time your car felt truly clean. Was the foam thin and ineffective? A simple adjustment in consistency can enhance the cleaning power significantly.
Using the right foam consistency can also conserve product. Less waste means more washes from the same bottle. Isn’t it satisfying when efficiency meets effectiveness?
So, next time you prep your foam gun, ask yourself: is your foam ready to cling and clean?
Letting The Foam Dwell
Using a foam gun for a car wash can transform your cleaning routine into an efficient and enjoyable experience. A crucial step is letting the foam dwell on your vehicle’s surface. This allows the foam to work its magic by breaking down dirt and grime, making it easier to wash away.
What Does Letting The Foam Dwell Mean?
Letting the foam dwell means allowing the soap suds to sit on your car for a few minutes. This simple act enhances the cleaning power of the foam. It gives the soap more time to lift contaminants off the surface.
Why Is Dwell Time Important?
Dwell time is essential because it helps loosen stubborn dirt. When foam sits, it penetrates deeper into tough stains and road grime. This makes the washing process easier and more effective.
How Long Should You Let The Foam Dwell?
Generally, letting the foam dwell for 5 to 10 minutes is ideal. This timeframe allows the foam to do its job without drying out. If you live in a hot climate, keep an eye on the foam, as it might dry faster.
Personal Experience With Dwell Time
I once washed my car after a road trip without letting the foam dwell. The result was disappointing, as the dirt remained stubbornly stuck. The next time, I allowed the foam to sit for 10 minutes, and the wash was noticeably smoother.
Tips For Maximizing Dwell Time
- Choose a shady spot to prevent the foam from drying quickly.
- Use a high-quality foam that clings to the surface longer.
- Consider the weather; on colder days, you might need less dwell time.
What Happens If You Skip Dwell Time?
Skipping dwell time can lead to unsatisfactory results. Dirt and grime may not lift effectively, requiring more elbow grease later. It’s worth asking yourself, is skipping this step worth the extra effort?
Letting the foam dwell is a simple yet powerful step in achieving a sparkling clean car. By understanding the importance and techniques of dwell time, you can enhance your car washing routine. So next time, give your foam a few minutes to work, and notice the difference in your car’s shine.
Rinsing Off The Foam
Using a foam gun for car wash simplifies cleaning by evenly spreading soap. Rinse off the foam to reveal a spotless, shiny car surface. This step ensures all soap and dirt are completely removed, leaving no residue behind.
Rinsing off the foam is a critical step in achieving a spotless car wash. After you’ve generously applied foam with your foam gun, the next move is to ensure it’s thoroughly washed away, leaving your car gleaming. Proper rinsing not only prevents streaks but also ensures that your car’s surface is free from soap residue. Let’s dive into how you can perfect this step to get the best results.
Best Practices For Rinsing
Start with a steady stream of water to gently wash away the foam. Use a hose with adjustable pressure settings to avoid damaging your car’s paint. Lower pressure is effective yet safe. Imagine the satisfaction of seeing the foam slide off, revealing the clean surface beneath. Work from top to bottom, allowing gravity to assist in the rinsing process. This ensures that dirt and soap don’t linger on lower sections. Make sure you cover all areas. It’s easy to miss spots, especially around mirrors and under door handles. A thorough rinse is crucial for a perfect finish.
Checking For Residue
Once rinsing is complete, inspect your car for any leftover foam or soap spots. Residue can lead to unsightly streaks if not properly addressed. It’s worth taking a moment to ensure every inch is spotless. Have you ever noticed streaks on your car after a wash? That’s often due to residue. Avoid this by double-checking areas that might not have been rinsed thoroughly.
Pay close attention to crevices and seams. These spots can trap foam, requiring extra attention. Use a microfiber cloth to wipe down these areas, ensuring no soap remains. Rinsing off foam isn’t just about washing away soap; it’s about maintaining your car’s shine. What tricks have you discovered that make rinsing more effective? Share your thoughts and experiences below!
Drying And Final Touches
Drying and final touches are crucial steps in achieving that showroom shine after using a foam gun for your car wash. These steps can make the difference between a good wash and a great one. Once you’ve rinsed off all the suds, it’s time to focus on drying and adding those final touches that ensure your car looks its absolute best.
Towel Drying Techniques
Using the right towel can prevent scratches and streaks. Microfiber towels are perfect for this job. They are soft, absorbent, and gentle on your car’s surface.
Start at the top and work your way down. This technique helps you catch any drips before they create water spots on the lower parts.
Pat drying is safer than rubbing. It reduces the risk of swirls and scratches. Have you ever noticed those tiny lines in the sunlight? Pat drying helps prevent them.
Applying Wax Or Sealant
After drying, consider adding a layer of wax or sealant. It adds shine and protects your car’s paint. Do you feel the glossy finish on a newly waxed car? That’s the magic of a good wax.
Use a foam applicator pad for even application. A thin, even layer is key. Too much wax can be difficult to remove and may leave residue.
Buff the wax off with a clean microfiber towel. It enhances the shine and gives that smooth feel. Have you ever run your fingers over a freshly waxed surface? It’s smooth and satisfying.
So, what’s your drying technique? Do you give your car the final touch with a wax or sealant? These steps might seem small, but they make a big difference in your car’s appearance. Give them a try and see how your car stands out.
Maintenance Of Foam Gun
Foam gun simplifies car washing by evenly spreading soap across surfaces. Regular cleaning ensures the nozzle remains unclogged. Proper storage protects the gun from damage, extending its lifespan.
Maintaining your foam gun is crucial if you want it to last long and perform well with every car wash. Proper care ensures that the equipment operates efficiently, providing that thick, luxurious foam coat for your car every time. Neglecting maintenance can lead to decreased performance, or worse, a broken tool.
Cleaning The Equipment
After each use, it’s essential to clean your foam gun to prevent soap residue from clogging the nozzle. Start by detaching the container from the spray gun. Rinse the container thoroughly with warm water to remove any leftover soap. Next, fill the container with clean water, reattach it to the gun, and spray until only clear water comes out. This helps flush out any soap within the gun itself. Don’t forget to wipe down the exterior with a damp cloth to remove any grime.
Storing Tips
Proper storage of your foam gun can extend its life significantly. Once cleaned, ensure all components are completely dry before putting them away. Moisture can lead to mold growth or corrosion, which can damage the equipment. Store your foam gun in a cool, dry place. Avoid areas with extreme temperatures, like a garage that gets too hot or a basement that’s too damp. Consider hanging the gun or placing it in a dedicated storage bin to keep it safe from accidental damage.
Have you ever found your foam gun not working as well as it did when it was new? This might be due to improper maintenance. Following these simple steps can keep your tool in top shape. What’s your routine for keeping your car wash tools in excellent condition? Share your tips and tricks in the comments!
Troubleshooting Common Issues
Foam guns can leave streaks if not used correctly. Ensure proper water pressure and mix soap evenly. Adjust nozzle for even foam coverage to enhance cleaning efficiency.
When you’re using a foam gun for your car wash, running into issues is not uncommon. Whether you’re a seasoned car enthusiast or a beginner, troubleshooting can be straightforward with the right guidance. Let’s dive into some common problems you might face and how to solve them effectively.
Weak Foam Output
Have you ever wondered why your foam gun isn’t producing that thick, luxurious foam? One common reason could be the soap-to-water ratio. Ensure you’re using the right amount of soap recommended by the manufacturer. Another aspect to consider is the water pressure. Low pressure can affect foam quality. Check if your hose is kinked or if there’s a blockage in the gun’s nozzle. Sometimes, the foam gun itself might be the culprit.
Inspect it for any clogs or dirt buildup. Cleaning it regularly can maintain optimal performance. Have you checked if the soap you’re using is compatible with your foam gun? Some soaps are specially formulated for this purpose and can make a significant difference.
Leaks And Repairs
Noticing leaks while using your foam gun can be frustrating. Often, it can be as simple as a loose connection between the hose and the gun. Tighten it securely to prevent water from escaping. Inspect the O-rings regularly. These small rubber rings can wear out over time and cause leaks. Replacing them is a quick fix and can save you from bigger issues down the road. Do you see cracks or damage on any parts of your foam gun?
Repair kits are available, which include sealants and replacement parts. They can be a lifesaver and extend the life of your equipment. With these insights, you’re better equipped to handle common issues with your foam gun. Remember, regular maintenance is key to a smooth car washing experience. What other challenges have you faced while using your foam gun?
Frequently Asked Questions
How To Use A Foam Gun For Car Wash?
Attach the foam gun to a garden hose. Fill the bottle with car wash soap and water. Adjust the nozzle for desired foam consistency. Spray the car evenly, covering all surfaces. Let the foam dwell for a few minutes, then rinse thoroughly with water to remove all soap residue.
Do You Wet The Car Before Using A Foam Cannon?
Yes, wet the car first for better foam coverage. Pre-rinsing removes loose dirt, enhancing foam adhesion. This helps in effective cleaning and reduces the risk of scratching. Using a foam cannon on a dry car may lead to less foam sticking and inefficient cleaning results.
Always ensure thorough rinsing afterwards.
Are Foam Guns Good For Car Washing?
Foam guns are excellent for car washing. They apply soap evenly, reducing scratches and enhancing cleaning efficiency. Ideal for home use, they save time and water. Foam guns also make washing fun and effective, ensuring a spotless finish. Perfect for maintaining your car’s appearance.
Do You Dilute Car Wash In Foam Cannon?
Yes, you should dilute car wash soap in a foam cannon. Follow the manufacturer’s instructions for the correct ratio. This ensures optimal performance, foam consistency, and efficient cleaning. Always use warm water to mix the solution for better results. Adjust the foam cannon settings for desired foam thickness.
What Is A Foam Gun For Car Wash?
A foam gun is a tool. It sprays soap foam onto vehicles, making washing easier.
How Do I Attach A Foam Gun To My Hose?
Simply connect the foam gun to the garden hose. Twist until secure. Test water flow.
What Soap Works Best With A Foam Gun?
Use car wash soap. It creates thick foam. Avoid dish soap. It can harm paint.
Can A Foam Gun Damage My Car’s Paint?
No, it won’t damage paint. It reduces the need for scrubbing, which can cause scratches.
Do I Need A Special Hose For A Foam Gun?
No special hose is needed. Standard garden hoses work fine with foam guns.
How Much Soap Should I Use In A Foam Gun?
Fill the foam gun reservoir with the recommended soap amount. Usually, it’s a few ounces.
Final Thoughts
Using a foam gun makes car washing simple and fun. It helps remove dirt efficiently without scratching your car’s paint. Always read the instructions for your foam gun. Choose the right soap for the best results. Use gentle motions while washing to avoid damage.
Rinse thoroughly to remove all soap residue. Dry with a soft towel to prevent water spots. Practice makes perfect, so try different techniques. Enjoy a clean and shiny car every time. Keep your foam gun clean for longer use. Happy car washing!
Disclosure: As an Amazon Associate, I may earn from qualifying purchases at no extra cost to you. Amazon and the Amazon logo are trademarks of Amazon.com, Inc, or its affiliates.

I am Sadman, the founder of CarSensorHub.com, where I share my passion for cars and technology. I specialize in writing detailed reviews and helpful guides on car gadgets, accessories, safety tools and many more. My mission is to help car owners discover the best products and tips to improve their driving experience and stay safe on the road.