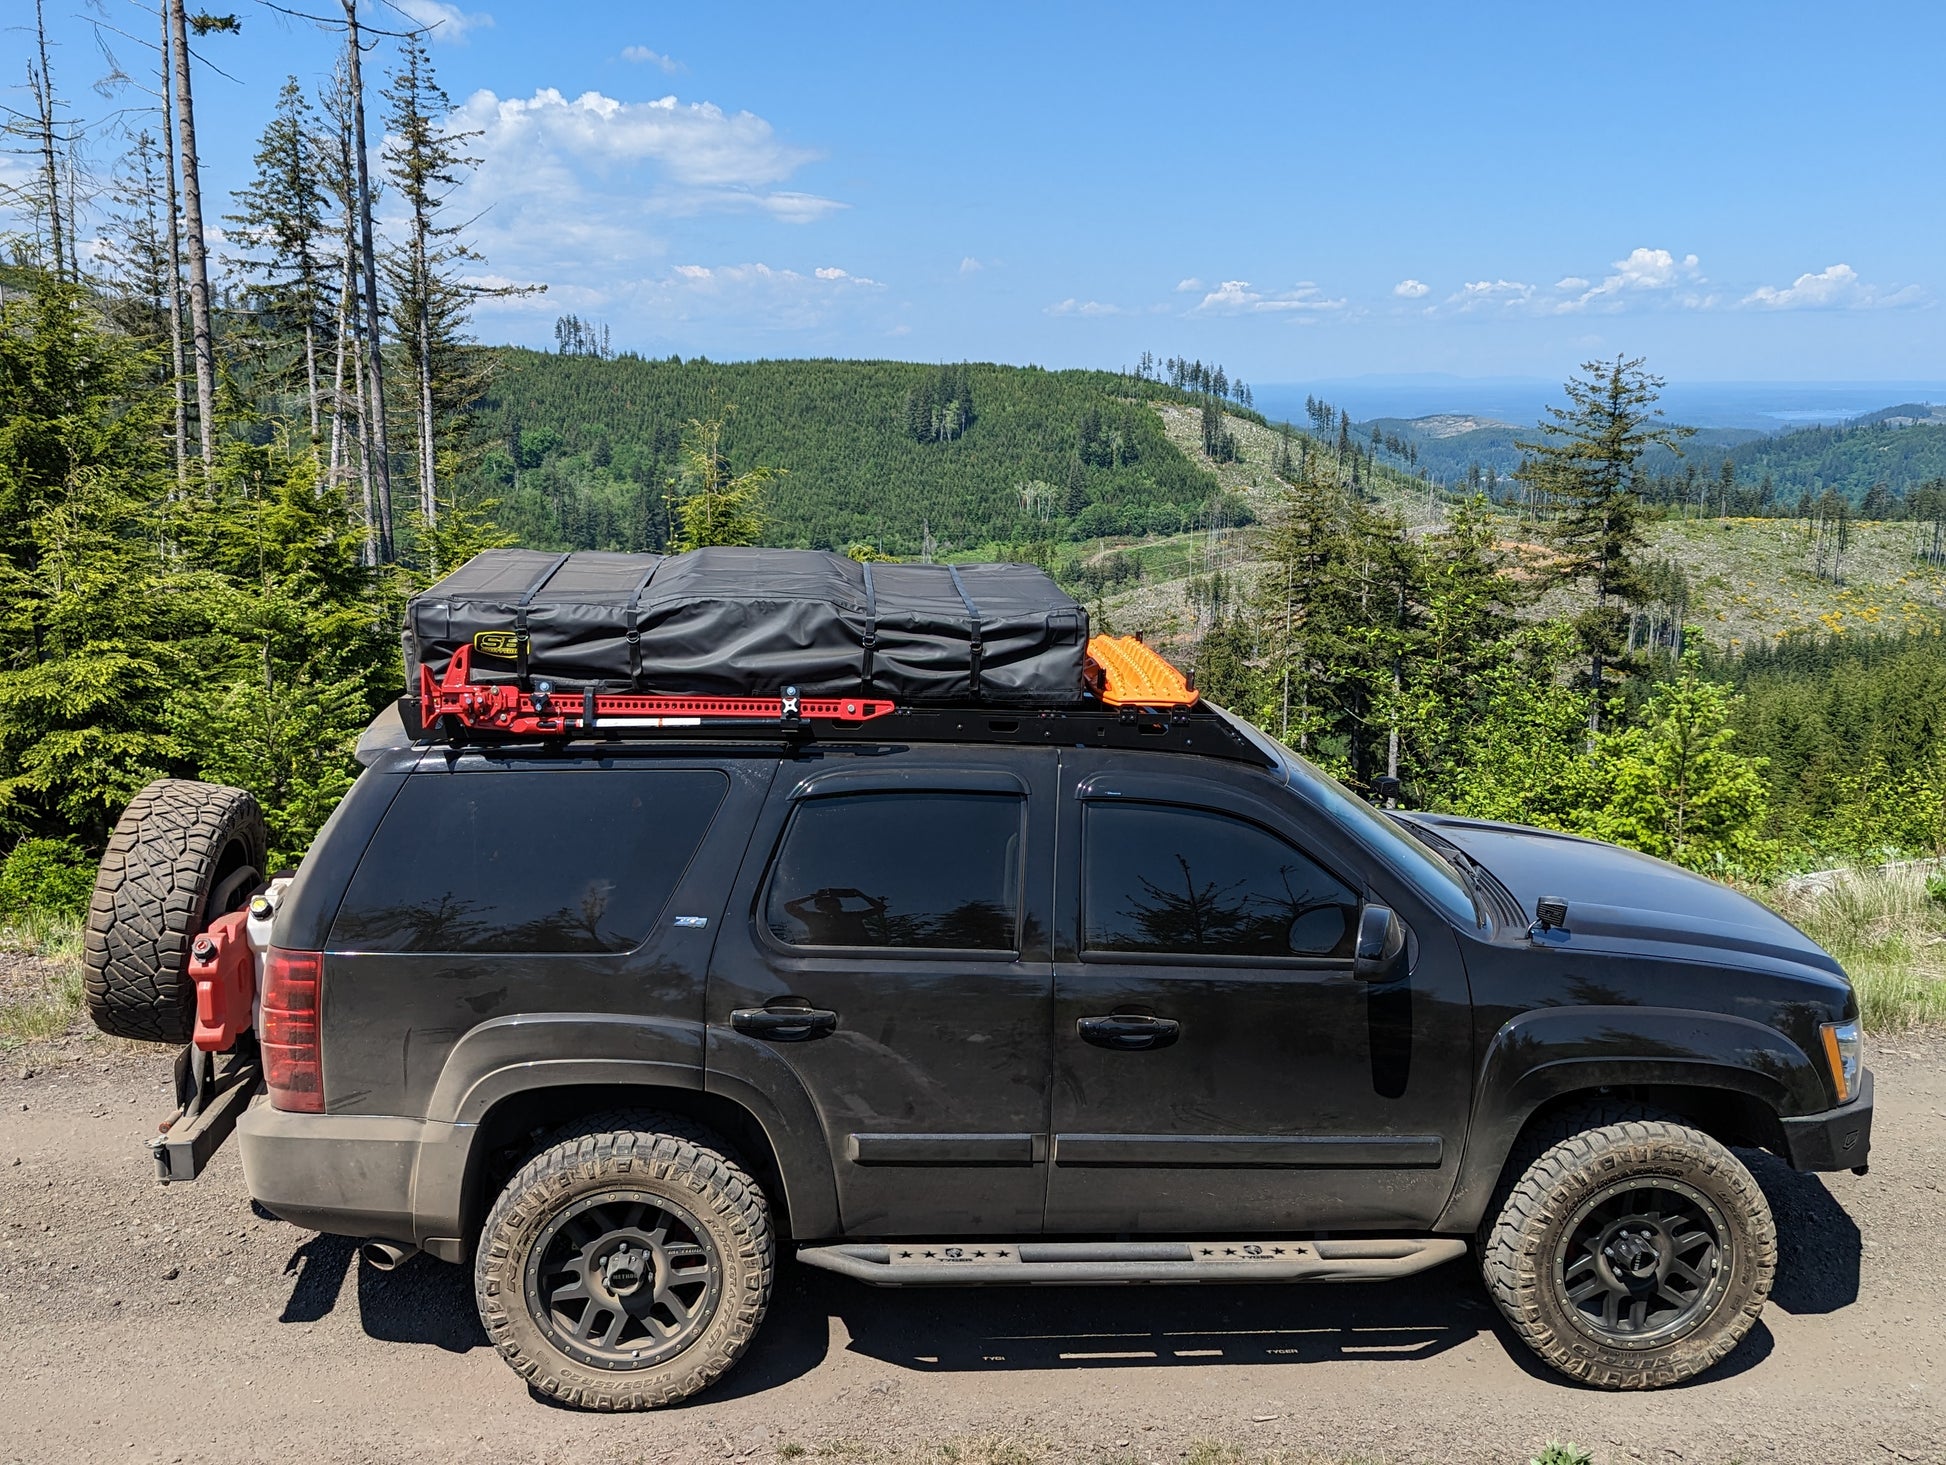
Looking to add extra storage space to your Chevrolet Tahoe? Installing a roof rack is the perfect solution to carry more gear, whether it’s luggage, bikes, or camping equipment.
But if you’re unsure where to start or worried about making a mistake, don’t worry—you’re in the right place. This guide will walk you through every step, making the process simple and stress-free. By the end, you’ll have a sturdy roof rack ready to handle your next adventure.
Ready to boost your Tahoe’s carrying power? Let’s get started!

Credit: www.youtube.com
Choosing The Right Roof Rack
Choosing the right roof rack for your Chevrolet Tahoe is important. It helps carry extra gear safely. The right rack fits well and lasts long. It makes trips easier and more fun.
Many roof racks work with the Tahoe. Each type fits different needs. Knowing the types and what to check before buying saves time and money.
Types Of Roof Racks For Chevrolet Tahoe
There are several roof rack types for the Tahoe. Crossbars are the most common. They attach across the roof and hold cargo. Roof baskets add extra space for bulky items. They sit on top of crossbars. Roof rails come built-in on some models. You can add crossbars to them. A cargo box is a closed container. It protects items from weather. Choose a type that fits your gear and use.
Factors To Consider Before Purchase
Check the weight capacity of the roof rack. It must support your cargo safely. Think about the ease of installation. Some racks need tools; others are simple. Look for racks that fit the Tahoe’s roof style. Consider the rack’s material for durability. Aluminum racks are light and rust-resistant. Steel racks are stronger but heavier. Price is important but don’t choose cheap racks. Quality affects safety and longevity. Finally, read reviews to know other users’ experiences.
Preparing Your Chevrolet Tahoe
Preparing your Chevrolet Tahoe is the first step to install a roof rack safely. This part is important to make sure the rack fits well and stays secure. It helps prevent damage to your vehicle and ensures the rack works properly. Taking time to prepare can save effort later.
Gathering Required Tools And Materials
Start by collecting all tools and materials needed for the job. You will need the roof rack kit that fits the Tahoe model. Common tools include a screwdriver, a wrench, and a measuring tape. Some kits may require a drill or special bolts. Check the instructions that come with the rack. Having everything ready avoids interruptions during installation.
Cleaning The Roof Surface
Clean the roof of your Tahoe before installation. Use a soft cloth and mild soap to remove dirt and dust. Dirt can cause scratches or prevent the rack from sticking properly. Dry the surface well with a clean towel. A clean roof helps the rack fit tightly and reduces noise while driving.
Installing Roof Rack Mounts
Installing roof rack mounts on a Chevrolet Tahoe is a key step to safely carry extra gear. Properly placed mounts ensure the rack stays steady on the roof. This section guides you through the process of finding mount points and securing the mounts with care.
Locating Mount Points On The Roof
Start by checking the roof for factory-installed mount points. These are often covered by plastic caps or trim pieces. Use your hands to feel for small indentations or bolts under these covers. The owner’s manual can also show exact locations. Mark these spots lightly with a pencil or tape to help during installation.
Using existing mount points saves time and keeps the roof sealed. Avoid drilling new holes unless necessary, as it can cause leaks or damage. Always double-check that the points are strong enough to hold the rack and cargo.
Securing The Mounts Properly
Attach the mounts firmly to the located points. Align each mount carefully to avoid uneven stress on the roof. Use the supplied bolts or screws, tightening them with a wrench or screwdriver. Tighten until secure but avoid overtightening, which can crack plastic parts.
Check the mounts for any movement by gently shaking them. If they move, tighten the bolts more or adjust the position. Apply a sealant around mounts if recommended to prevent water leaks. Properly secured mounts create a safe base for the roof rack and your gear.
Credit: baselineoverland.com
Attaching Crossbars And Accessories
Attaching crossbars and accessories is a key step in installing a roof rack on your Chevrolet Tahoe. This part ensures your gear stays safe and secure during travel. Proper placement and strong fastening of crossbars improve stability and usability.
Follow clear steps to position the crossbars correctly. Then, tighten all parts firmly to avoid movement. This process makes your roof rack ready for any adventure.
Positioning The Crossbars
Start by measuring the distance between the roof rails. Place the crossbars evenly to balance the load. Align them parallel to the vehicle’s width for best fit.
Check that the crossbars do not block the sunroof or antenna. Adjust their position to avoid interference. Make sure they sit flat against the roof rails.
This careful positioning prevents noise and wind drag. It also helps the roof rack last longer by reducing stress points.
Tightening And Securing Components
Use the provided bolts and screws to fasten the crossbars. Tighten each connection firmly but avoid over-tightening. Over-tightening can damage the rails or crossbars.
Double-check all fasteners after the first tightening. Use a torque wrench if available for proper force. Secure any accessories like bike racks or cargo boxes to the crossbars.
Reinspect the roof rack before every trip. This keeps all parts safe and prevents accidents on the road.
Safety Checks And Maintenance Tips
Installing a roof rack on your Chevrolet Tahoe adds great utility. Safety checks and regular maintenance keep it secure and reliable. Follow simple steps to avoid damage and accidents. Proper care extends the life of your roof rack. Stay safe while carrying extra gear on the road.
Ensuring Stability And Load Capacity
Check that the roof rack fits tightly on the Tahoe. Tighten all bolts and clamps firmly. Avoid overloading the rack beyond the set weight limit. Spread weight evenly across the rack. Use straps or tie-downs to secure your load. Stability reduces the risk of shifting or falling items.
Regular Inspection And Care
Look over the roof rack for rust or cracks often. Clean the rack with mild soap and water. Dry it completely to stop rust growth. Inspect mounting points for wear or looseness. Replace any damaged parts quickly. Regular care keeps the roof rack safe and functional.

Credit: aghassociates.in
Frequently Asked Questions
How Do I Choose The Right Roof Rack For Chevrolet Tahoe?
Select a roof rack compatible with your Tahoe’s model year and roof type. Consider weight capacity and intended use for best fit.
What Tools Are Needed To Install A Roof Rack On Tahoe?
You typically need a wrench, screwdriver, measuring tape, and possibly an Allen key for installation. Check the rack’s instructions.
Can I Install A Roof Rack On My Tahoe Without Professional Help?
Yes, many roof racks come with easy-to-follow instructions. Basic tools and patience make DIY installation feasible and cost-effective.
How Do I Ensure The Roof Rack Is Securely Attached?
Tighten all bolts firmly but avoid over-tightening. Double-check alignment and stability before loading any cargo on the rack.
Conclusion
Installing a roof rack on your Chevrolet Tahoe is simple and useful. It adds extra space for gear and luggage. You just need the right tools and follow steps carefully. Tighten bolts securely to keep the rack steady. Check your work before driving to stay safe.
A roof rack helps with trips, sports, and daily use. Now, you can carry more without crowding inside the vehicle. Enjoy the extra room and convenience on every ride.
Disclosure: As an Amazon Associate, I may earn from qualifying purchases at no extra cost to you. Amazon and the Amazon logo are trademarks of Amazon.com, Inc, or its affiliates.
- Amazon, Amazon Prime, the Amazon logo and Amazon Prime logo are trademarks of Amazon. com, Inc. or its affiliates.

I am Sadman, the founder of CarSensorHub.com, where I share my passion for cars and technology. I specialize in writing detailed reviews and helpful guides on car gadgets, accessories, safety tools and many more. My mission is to help car owners discover the best products and tips to improve their driving experience and stay safe on the road.


