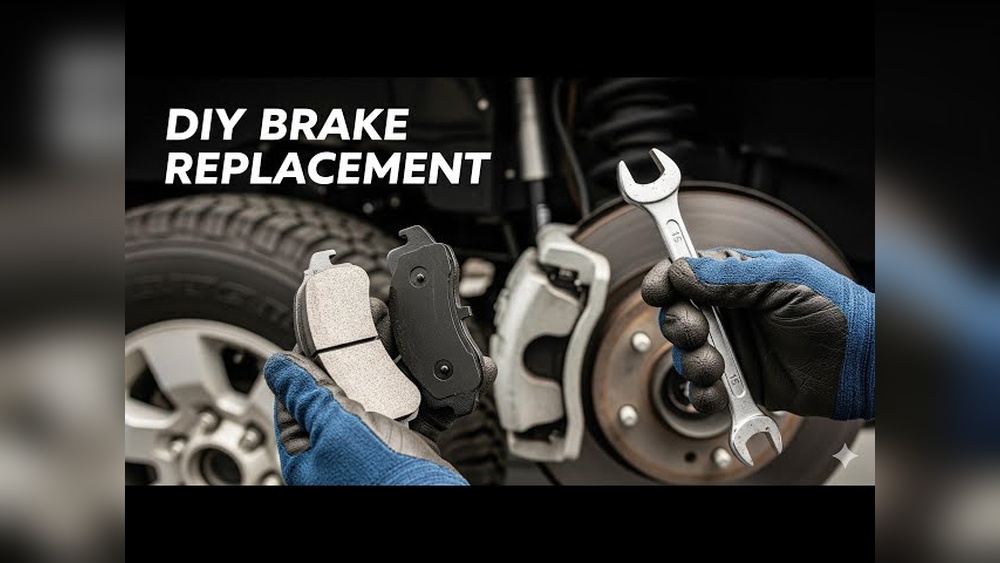
If you own a Ford F-250 and want to tow heavy loads with confidence, installing a gooseneck hitch is a smart move. But how do you get it done right?
You might feel overwhelmed by the tools and steps involved, or worry about damaging your truck. Don’t worry—this guide will walk you through every step clearly and simply. By the end, you’ll know exactly how to install a gooseneck hitch that fits perfectly and works safely.
Keep reading, and you’ll be ready to take your towing game to the next level.
Prepare Your Truck
Preparing your Ford F-250 for a gooseneck hitch installation is a key first step. This ensures the process is smooth and safe. Proper preparation saves time and helps avoid mistakes. Follow these steps to get your truck ready.
Check Truck Compatibility
Not all trucks fit every gooseneck hitch. Confirm your Ford F-250 model supports the hitch type. Check the year, bed size, and weight capacity. This prevents buying the wrong parts. Consult your owner’s manual or official Ford resources.
Gather Required Tools
Having the right tools ready makes installation easier. Common tools include a drill, socket set, torque wrench, and safety glasses. Also, get a measuring tape and marker for precise placement. Organize your tools before starting work.
Choose The Right Hitch Kit
Select a hitch kit designed specifically for the Ford F-250. Kits vary by model year and truck bed length. Pick one that matches your towing needs and truck specifications. A correct kit fits well and performs better.
Remove Existing Components
Removing existing components is the first step to install a gooseneck hitch on your Ford F-250. You need a clear workspace to fit the new hitch properly. This process involves clearing the truck bed, taking off the spare tire, and removing any obstructions underneath the truck.
Clear The Truck Bed
Start by emptying the truck bed completely. Remove any tools, mats, or debris. A clean surface helps you see where the hitch will go. It also prevents damage to your truck and new hitch parts.
Take Off Spare Tire
Next, lower the spare tire from its mount. Use the tire tool to loosen the bolts carefully. Set the tire aside in a safe place. Removing it gives you access to the frame and parts under the bed.
Remove Obstructions Underneath
Check under the truck for any wires, bolts, or brackets blocking the hitch area. Use a wrench or screwdriver to remove these parts carefully. Clearing all obstructions makes it easier to install the hitch securely.
Position The Hitch
Positioning the gooseneck hitch correctly is important for safe towing. The hitch must sit in the right spot on your Ford F-250. This step sets the stage for a strong and stable connection. Taking time here avoids problems later.
Follow each step carefully to place the hitch properly.
Locate The Mounting Area
Open the truck bed and find the center above the rear axle. This spot holds the most weight during towing. Use a tape measure to find the exact middle between the wheel wells. Clean this area to see the surface clearly.
Mark Drill Points
Hold the hitch plate over the mounting area. Check the holes on the hitch base. Use a marker or pencil to mark where you will drill. Mark each hole carefully. These marks guide the drilling and ensure a perfect fit.
Double-check Alignment
Before drilling, verify the marks are centered and straight. Measure twice to avoid mistakes. Check that the hitch sits level with the truck bed. Confirm the hitch lines up with the truck frame below. Correct alignment prevents uneven wear and improves safety.
Drill And Install Hardware
Drilling and installing hardware is a key step in fitting a gooseneck hitch on your Ford F-250. This process ensures the hitch stays strong and safe. Take your time and follow each step carefully. Proper drilling and secure hardware installation will keep your hitch stable for heavy towing.
Drill Holes Carefully
Mark the spots for drilling clearly on the truck bed. Use a drill bit size that matches the bolts exactly. Drill slowly to avoid cracking the metal. Clean metal shavings after drilling to prevent rust. Check holes for smooth edges. Smooth edges help bolts fit better and last longer.
Install Support Brackets
Position the support brackets under the truck bed. Align them with the drilled holes. Use the bolts supplied with the hitch kit. Tighten bolts by hand first to avoid cross-threading. Then, use a wrench to secure them firmly. These brackets add strength to your hitch setup.
Secure Hitch Base
Place the hitch base on top of the truck bed. Align it with drilled holes and support brackets. Insert bolts through the base and brackets. Tighten all bolts evenly using a torque wrench. This prevents uneven pressure and keeps the hitch stable. Double-check all bolts before finishing.
Attach The Gooseneck Ball
Attaching the gooseneck ball is a key step in installing your hitch on the Ford F-250. This part connects your trailer to the truck securely. Proper placement and tightening of the ball are essential for safety and performance.
Place The Ball In Position
Start by placing the gooseneck ball into the hitch opening on the truck bed. Align the ball so it fits flush with the base plate. Make sure the ball is centered to avoid uneven pressure.
Tighten Ball Assembly
Use the provided hardware to secure the ball. Hand-tighten the nuts first to hold the ball in place. Then, use a wrench to firmly tighten the bolts. This step ensures the ball will not move during travel.
Verify Tightness
Check each bolt to confirm it is tight. Use a torque wrench if possible for precise tightening. Make sure there is no wobble or play in the gooseneck ball. This guarantees a safe connection for towing.
Reinstall Removed Parts
After installing the gooseneck hitch on your Ford F-250, it is important to put back all removed parts. This step ensures your truck stays safe and ready for use. Taking time to reinstall parts correctly helps avoid future problems. Follow the simple steps below to complete your installation.
Put Back Spare Tire
Start by lowering the spare tire back into its original place. Make sure the tire is secure and tight. Use the proper tools to fasten any bolts or fasteners. A loose spare tire can cause noise or damage while driving.
Clear The Truck Bed
Remove any tools, parts, or debris from the truck bed. Clean the area to avoid scratches or rust. A clean bed also makes it easier to use your gooseneck hitch. Check the bed for any leftover items that might block the hitch.
Inspect Installation Area
Look closely at the hitch installation area. Check for loose bolts or parts that need tightening. Ensure the hitch is aligned and securely attached. A careful inspection prevents safety issues on the road. Double-check everything before driving your truck.
Test The Hitch Setup
Testing the hitch setup is a crucial step after installation. It ensures safety and proper function. Skipping this step can lead to accidents or damage. Always verify the hitch works correctly before towing anything.
Check For Stability
Start by inspecting the hitch for any loose bolts or parts. Push and pull the hitch to see if it moves. The hitch should feel solid and not wobble. Tighten any bolts that seem loose. A stable hitch keeps your load secure on the road.
Perform Load Test
Attach a trailer or a similar load to the hitch. Drive slowly in a safe area to test the connection. Listen for unusual noises or shaking. The hitch should hold the load without shifting. This test shows if your setup can handle real towing conditions.
Adjust If Needed
If the hitch feels loose or unstable, adjust it immediately. Recheck the bolts and tighten them properly. Lower or raise the hitch height if the load is not level. Small adjustments can improve safety and towing comfort. Repeat the tests until the hitch feels secure.

Credit: www.amazon.com
Maintain Your Gooseneck Hitch
Maintaining your gooseneck hitch keeps it safe and working well. Regular care helps avoid problems and extends the hitch’s life. This section covers simple steps to keep the hitch in top shape.
Regular Inspection Tips
Check the hitch before every trip. Look for cracks, rust, or loose bolts. Tighten any loose parts. Inspect the ball and coupler for wear. Replace damaged parts quickly to stay safe.
Lubrication Guidelines
Keep moving parts smooth with proper lubrication. Use grease designed for hitches. Apply it to the ball and locking mechanisms. Lubricate every few months or after heavy use. Clean old grease before adding new.
Troubleshooting Common Issues
Strange noises or difficulty locking the hitch signal trouble. Clean dirt and debris from the hitch. Check for worn or broken parts. Fix or replace faulty components. Test the hitch’s function before use to ensure safety.
Frequently Asked Questions
What Tools Are Needed To Install A Gooseneck Hitch?
You need a drill, socket set, torque wrench, measuring tape, and safety glasses. These tools ensure a safe and accurate hitch installation.
Can I Install A Gooseneck Hitch Myself?
Yes, if you follow the instructions carefully. Basic mechanical skills and proper tools are required for a successful DIY installation.
How Long Does It Take To Install A Gooseneck Hitch?
Installation usually takes 2 to 4 hours, depending on your experience. Taking your time ensures a secure and safe fit.
Will Installing A Gooseneck Hitch Affect My Truck Warranty?
Generally, no. However, check your Ford F-250 warranty terms to confirm. Proper installation by a certified professional is recommended to avoid issues.
Conclusion
Installing a gooseneck hitch on your Ford F-250 is easier than you think. Follow each step with care and take your time. Use the right tools and double-check your work. A proper install keeps your truck safe on the road.
You can tow bigger trailers and carry heavier loads. Enjoy the power and flexibility your truck now offers. Stay safe and happy towing with your new hitch.
Disclosure: As an Amazon Associate, I may earn from qualifying purchases at no extra cost to you. Amazon and the Amazon logo are trademarks of Amazon.com, Inc, or its affiliates.

I am Sadman, the founder of CarSensorHub.com, where I share my passion for cars and technology. I specialize in writing detailed reviews and helpful guides on car gadgets, accessories, safety tools and many more. My mission is to help car owners discover the best products and tips to improve their driving experience and stay safe on the road.