Aftermarket parking sensors add close-range obstacle alerts to cars that did not come with them from the factory. Most kits use ultrasonic sensors mounted in the rear bumper, plus a buzzer, dashboard display, or both. They usually detect objects at a short range, commonly under about 2-3 meters.
The best option depends on your bumper, the coverage you want, and how much installation work you will accept. Confirm your exact year-make-model and trim, decide whether you want rear-only or front-and-rear coverage, and choose between a simple buzzer and a distance display. Some kits require drilling into the bumper, while others use different mounting methods that still demand careful alignment.
Key Takeaways
- Ultrasonic sensors are most common. They provide short-range distance alerts for typical parking situations.
- Warning styles differ. Buzzer-only systems are simple; digital readouts and color guides are easier to interpret at a glance.
- Installation method matters. Drilling is common, and every mounting method requires accurate sensor alignment.
- Quality affects reliability. Look for matched components, clear wiring instructions, and useful documentation.
- Warranty coverage varies. Check the terms before buying, because aftermarket policies differ widely by brand.
What Aftermarket Parking Sensors Include
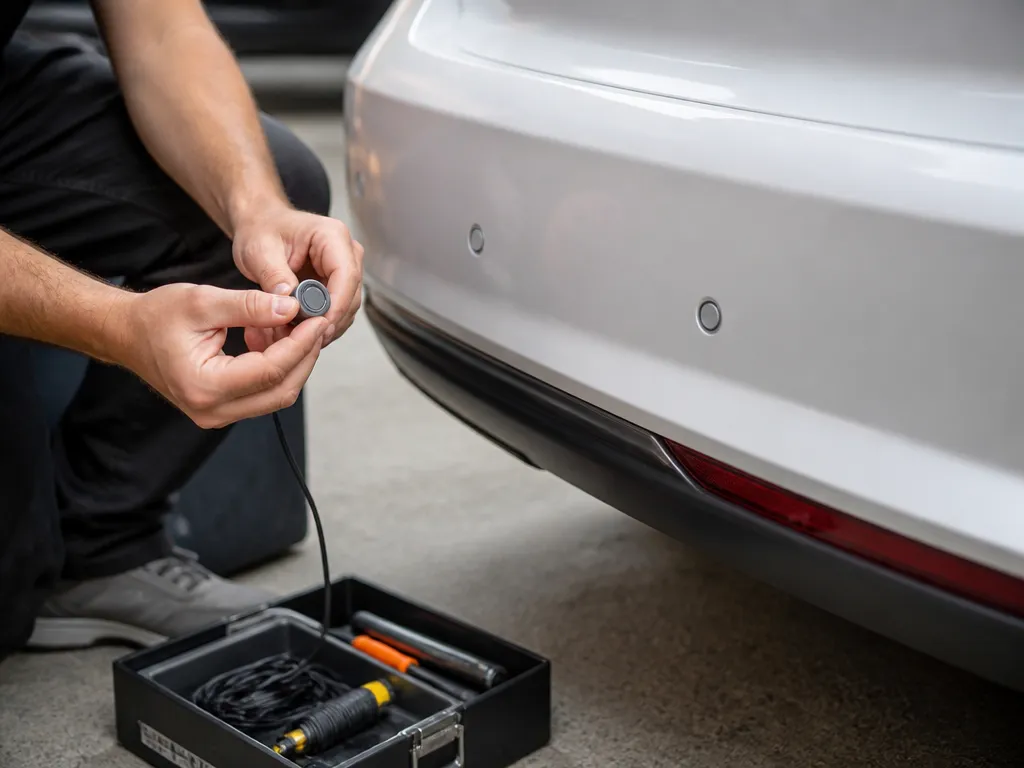
Aftermarket parking sensors are third-party add-ons rather than parts supplied by your vehicle manufacturer. They are widely available and usually cost less than OEM systems, but compatibility is not guaranteed to be a perfect match. The main differences between kits are brand quality, sensor count, warning style, and installation method.
Most kits include ultrasonic sensors, a control module, wiring, and either a buzzer, display, or both. The sensors measure the distance to nearby objects and send that information to the control module, which changes the beep pattern or display as you get closer. Detection can vary between kits, particularly when sensors are mounted at the wrong angle or paired with a bumper they were not designed for.

Helpful pick
A-Premium Parking Assist Sensor Compatible with Chevy, GMC, Buick, Cadillac
This parking assist sensor is a high-quality aftermarket replacement designed to integrate seamlessly with various vehicle makes, offering a reliable alternative to OEM parts.
Use these as your minimum buying requirements:
- The kit must match your vehicle’s rear bumper shape and trim.
- The sensors must sit straight and at the correct depth.
- The wiring and control module must be routed and connected cleanly to avoid intermittent errors.
- The kit should include clear instructions for power, ground, reverse-light connections, and sensor placement.

Helpful pick
Dorman 684-025 Rear Parking Aid Sensor
This Dorman parking aid sensor is built to meet strict quality standards, ensuring it fits correctly and functions reliably within your vehicle’s existing bumper configuration.
Choosing Sensor Coverage and Warning Style
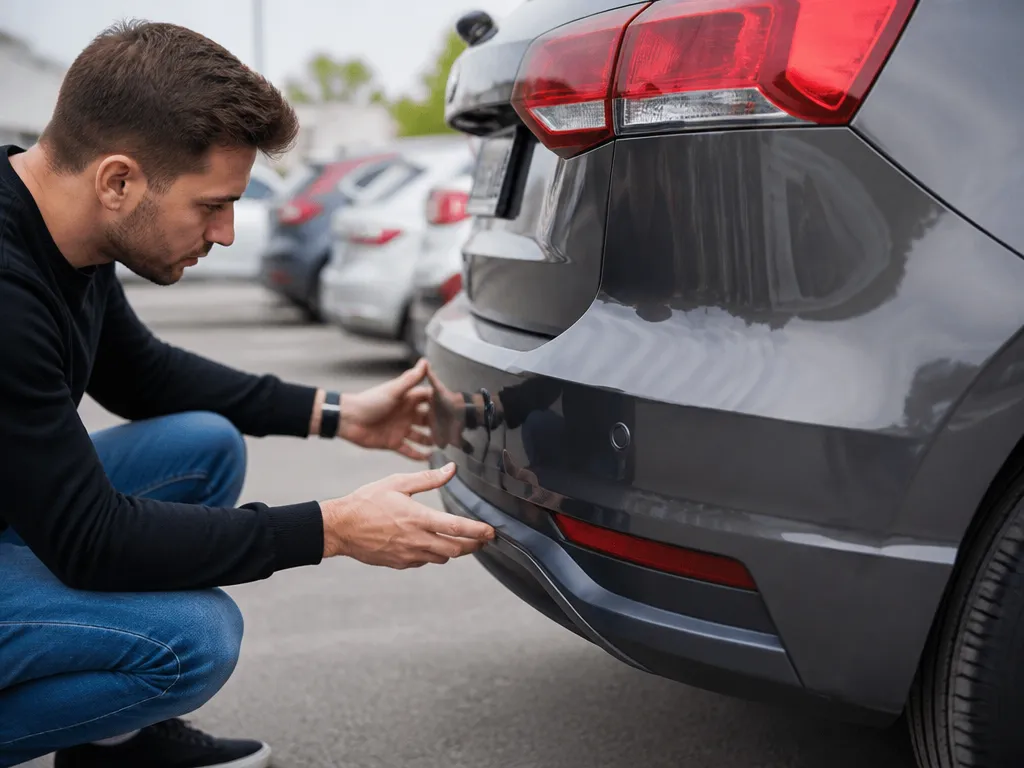
Most consumer kits use ultrasonic sensors mounted in the rear bumper area. They are designed for close-approach alerts, not radar-like detection or long-range blind-spot coverage. They work well for common parking targets such as walls, vehicles, curbs, and other nearby objects, but they are not a substitute for an advanced driver-assistance system.
Sensor count affects coverage. Many rear kits use a 3-sensor or 4-sensor layout, while some wider bumpers use a 5-sensor configuration. More sensors can cover more of the bumper, but they also create more mounting points and more opportunities for incorrect alignment.
The warning method is just as important as the sensor layout:
- Buzzer-only systems are usually simpler and cheaper, but they provide less information about the remaining distance.
- Digital displays may use bars, colors, or numbers to show how close an object is.
- Combined systems provide both audible and visual feedback, which can help in noisy parking lots or when you do not want to watch the display constantly.
Plan for the installation before ordering. Some kits are intended for DIY work with a mounting template and straightforward instructions. Others require you to run wires to power, ground, and the reverse-light circuit or an included harness. If your bumper is difficult to remove or drilling is a deal-breaker, those limitations should determine your choice before price does.
Check these details before placing the order:
- Check whether the kit covers the rear only or both the front and rear.
- Decide whether you want beeps, a digital distance readout, or both.
- Look for a clear harness diagram and mounting template.
Installation Details That Affect Accuracy
Sensor alignment has a direct effect on how the system behaves. A sensor mounted slightly off-center, at the wrong angle, or too deep in the bumper can warn too early, warn too late, or detect the bumper itself. Follow the template precisely instead of spacing the sensors by eye.
The reverse-light trigger usually activates the system when you select reverse. A poor connection or an incorrect circuit can cause constant beeping when the car is not in reverse or prevent the sensors from working when you need them. Check the wiring diagram before making any taps, and protect connections from moisture and movement.
Test the system before fully reassembling the car. After mounting the sensors and connecting the wiring, use a consistent object such as a wall or garage door. Move the vehicle closer in controlled steps and confirm that the beeps or display change smoothly. Testing at this stage can reveal a failed sensor, incorrect wiring, or a placement problem before you have to remove the bumper again.
If the kit requires drilling, verify the hole diameter and placement marks twice. A misplaced hole can mean replacing a bumper insert or reworking the opening. Read the template instructions twice, then drill once.
These choices make the installation easier:
- For the simplest DIY job, prioritize a kit with a mounting template and vehicle-specific harness.
- In areas with heavy mud or snow, look for well-sealed sensors and instructions for waterproofing.
- If you dislike noise, choose a display or graduated alert system instead of a single continuous beeper.
- Route wires away from sharp edges, heat sources, and parts that flex or move.
Why Add an Aftermarket Parking Sensor System?
The main advantages are lower cost and broader availability. Aftermarket sensors can add a missing feature to an older car or to a trim level that did not include factory sensors. You can usually find kits through online retailers and auto parts stores without sourcing discontinued OEM components.
Choice is another advantage. You can select the sensor count, warning style, and installation approach that fit your driving habits. One driver may prefer a basic beep while backing up, while another may want a numerical distance display for tight garage maneuvers.
Installation may also be easier when the bumper is already being removed for another repair. With the bumper accessible, you can route the harness more cleanly and position the sensors more accurately. That can reduce duplicated labor and make the final system easier to troubleshoot.
Aftermarket warranties offer some flexibility, but they are inconsistent. A longer or clearer warranty may be worth choosing over the cheapest kit, especially when the installation requires drilling. Read what the policy covers, how long it lasts, and whether it includes the sensors, control module, and wiring.
Aftermarket Parking Sensor Options
The practical choices come down to coverage, warning method, and installation.
Common Aftermarket Parking Sensor Kit Types
- Ultrasonic rear-only kits: The most common option and usually the easiest starting point.
- Front-and-rear kits: Useful for tight driveways and low-speed maneuvers from either direction, but they require more wiring and mounting.
- Buzzer-only systems: Simple and usually less expensive.
- Digital display systems: Easier to interpret when you want more than a changing beep pattern.
- Drill-mount kits: The typical installation style, requiring accurate holes in the bumper.
Two kits described as rear parking sensor systems can perform differently because of variations in sensor quality, controller design, and fit. Vehicle-specific kits are generally easier to install because their sensor locations and harness are better matched to the bumper.
How to Choose Quickly
For the most straightforward setup, choose a rear kit with its own control hardware and matching harness. Avoid buying loose sensors and assuming they will work with a separate controller. The warning style should also match what you will actually use. A display is pointless if you will never look at it, and a buzzer is a poor choice if you need exact distance information.
| Option type | Key spec you’ll notice | Best for | Main trade-off |
|---|---|---|---|
| Rear ultrasonic kit | Usually 3 or 4 sensors | Most cars, everyday parking | Rear-only coverage |
| Front + rear kit | Sensor set for both ends | Tight driveways, frequent low-speed maneuvers | More wiring and mounting points |
| Buzzer-only kit | One alert tone or beep pattern | Budget installs | Harder to interpret exact distance |
| Digital display kit | Distance bars or numbers | People who want clarity | Slightly higher cost, more components |
| Drill-mount kit | Requires holes in bumper | Most common DIY kits | Permanent modification if you mess up |
How to Improve Reliability After Installation
Buy a complete, matched system rather than a pile of individual sensors. The controller, sensors, wiring, and mounting positions are designed to work together. A controller that powers on does not prove that unrelated sensors will detect distance correctly.
Ultrasonic systems can respond differently to unusual surfaces, heavy texture, or materials that absorb sound. Smooth, solid objects are generally easier for them to detect than irregular or sound-absorbing surfaces. Set expectations accordingly: these kits are useful for normal parking targets, but no sensor system handles every edge case perfectly.
Mounting and wiring deserve equal attention. A poor ground connection can cause false triggers and intermittent failures, while a sensor at the wrong angle can distort detection even when the electrical connections are sound. A warped, cracked, or misaligned bumper can also produce unusual behavior.
Inspect the harness route before closing everything up. Keep wires away from sharp edges, heat sources, and heavily flexing areas. If a harness rubs against plastic clips or a trunk-lid hinge, the resulting damage can look like a failed sensor later.
For a lower-risk DIY installation, choose a simpler warning style and a kit with clear documentation.

Helpful pick
Promata PS01 Car Front Parking Sensor Kit with Buzzer,4 58KHz OE Standard Sensors,Radio Mute & Bull-bar Recognition Function,Detection Distance(13~39 inch)
This front parking sensor kit is designed as a matched system, ensuring all components work together effectively to provide accurate and reliable distance detection.
Aftermarket Parking Sensor Choices for Different Drivers
A 2016-2018 sedan owner with no rear sensors might choose a vehicle-specific rear ultrasonic kit with a 4-sensor layout. That setup suits drivers who want alerts for curbs and low objects rather than forward-collision technology. Installation is more likely to go smoothly when the kit includes a mounting template and clearly explains the wiring taps.
A compact SUV owner who parks in a tight garage might choose a front-and-rear kit to reduce the chance of front bumper scrapes. A digital distance display may be more useful than a beep pattern when small steering corrections quickly change the available space. The trade-off is a longer installation with additional sensors, wiring, and testing from both ends.
A truck owner who occasionally tows might prefer a buzzer-only kit because it keeps the system simple while backing. Aftermarket bumpers, tow equipment, and other accessories can change where sensors should sit, so this buyer needs to verify compatibility with the actual bumper configuration rather than relying only on the vehicle model.
Before paying, confirm three things:
- The kit fits your exact bumper style.
- The number of sensors provides the coverage you want.
- The warning style suits the way you park.
FAQ About Best Aftermarket Parking Sensors
What’s the cheapest aftermarket parking sensor option?
The least expensive choice is usually a rear ultrasonic kit with a buzzer-style warning and fewer sensors, often 3 or 4. You still need a controller, wiring harness, and correctly mounted sensors. A kit with no vehicle-specific fit information or mounting template may create enough installation trouble to erase the initial savings.
How long does it take to install aftermarket parking sensors?
A straightforward DIY rear-only installation typically takes a few hours. The time depends largely on bumper access and your comfort with drilling or mounting components. Front-and-rear kits can take longer because they require extra sensors and more harness routing. Allow time to test the system before reinstalling every bumper and trim piece.
Will aftermarket parking sensors work as reliably as OEM?
They can work very well, but fit and quality vary by brand, and compatibility is not always a perfect match. Reliability depends on accurate sensor placement, solid wiring connections, and a harness that suits the vehicle. A kit installed according to its mounting template gives you the best chance of consistent operation.
Do aftermarket parking sensors require drilling into the bumper?
Many kits use drill-mount sensors, which require holes in the bumper cover. Other kits use different mounting approaches, but they still require precise alignment and proper sealing. If you do not want to drill, look specifically for a kit that states it uses a non-drill mounting method for your bumper style.
What’s the most common installation mistake?
Misalignment is the most common problem. A sensor at the wrong angle or depth can produce false beeps or make warnings change unpredictably as you move slightly. Sloppy wiring, especially a poor ground or routing near moving parts, is another frequent cause of unreliable operation.
Are there alternatives to ultrasonic aftermarket sensors?
Yes. Some aftermarket systems use cameras or other sensing methods. Cameras avoid many sound-reflection issues, but they require more integration and a screen or other display setup. For a straightforward upgrade, a rear ultrasonic kit is usually the simplest option. A camera can provide a clearer view when the available space is especially tight.
Disclosure: As an Amazon Associate, I may earn from qualifying purchases at no extra cost to you. Amazon and the Amazon logo are trademarks of Amazon.com, Inc, or its affiliates.
- Amazon, Amazon Prime, the Amazon logo and Amazon Prime logo are trademarks of Amazon. com, Inc. or its affiliates.

Hi, I am AKM Sad. I’m a car enthusiast and reviewer who loves exploring gadgets and accessories. I share honest reviews and practical tips to help you get the best products and enjoy a safer, smoother ride.