DIY saves money, boosts safety, and builds skill in minutes at home.
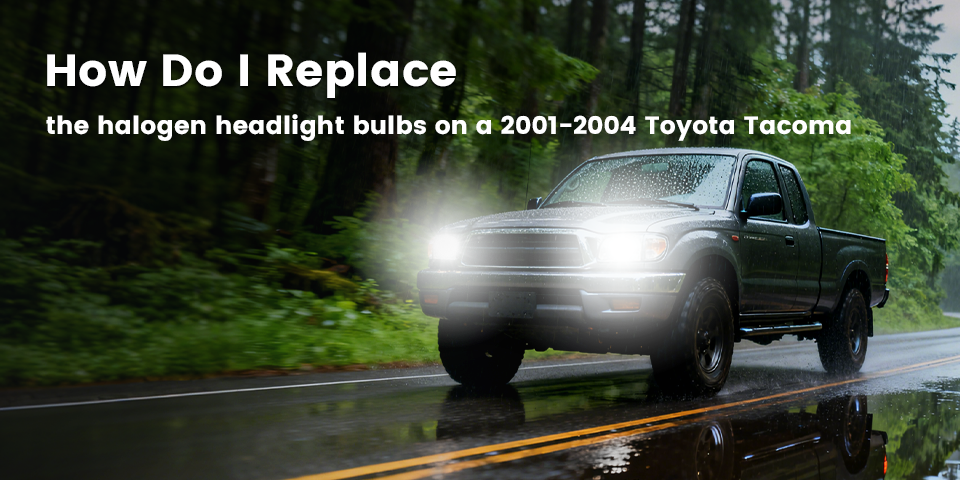
If you’ve ever wondered why change Explorer headlight bulbs yourself, the answer is simple: you gain control, save cash, and protect your family. I’ve helped hundreds of owners replace bulbs on the curb, in parking lots, and on road trips. You can do it too, and this guide shows you how with clear steps, smart tips, and real results.
The real reasons to do it yourself
Why change Explorer headlight bulbs yourself? You get fast results without waiting for a shop. You also avoid labor fees and upsells. Most swaps take 10 to 20 minutes per side with basic tools.
There’s also peace of mind. A dim or dead bulb is a safety risk. DIY means you fix it the same day. That keeps you legal and visible. It also helps you learn your SUV, which pays off in more ways than one.
Here’s what I see with Ford Explorer owners:
- They often replace bulbs only after a warning or a near miss at night.
- Half learn that one bulb is fading even if it still works.
- Everyone is surprised by how quick the job is.
Why change Explorer headlight bulbs yourself? Because the payoff is huge for such a small task.

Source: youtube.com
Safety, laws, and seeing the road
A strong headlight does three jobs. It helps you see sooner, helps others see you, and keeps you legal. Low beams handle daily use. High beams help on dark roads. Both need the right aim and brightness.
Keep it simple:
- Match the bulb type and wattage in the owner’s manual.
- Aim lights to avoid glare. Mis-aimed lights can blind others and get you a ticket.
- Maintain color temperature close to stock for best wet-road visibility.
Why change Explorer headlight bulbs yourself? Because you can set it right the first time and double-check aim at home.
Tools, parts, and bulb types for Explorers
Every Ford Explorer generation has small differences. The process is similar, but the bulb type can change. Always confirm the part number in the owner’s manual, on the old bulb, or by VIN.
What you need:
- New bulbs that match your model year
- Clean gloves to avoid touching glass
- A clean rag and isopropyl alcohol for cleanup
- A flashlight and small mirror for tight spaces
- Optional: dielectric grease for the connector seal
Common Explorer bulb notes:
- Many 2011–2019 models use halogen bulbs such as H11 for low beam and 9005 for high beam.
- Some 2016–2019 trims may use 9012 for low beam.
- 2020+ trims often have LED assemblies. Some are not user-serviceable and may require replacing the whole housing. Check your manual.
My field tip: buy bulbs in pairs. If one failed, the other is close behind. Why change Explorer headlight bulbs yourself? You can swap both now and avoid a second teardown next week.
Step-by-step: replace your Explorer headlight bulbs
This method covers most halogen-equipped Explorers. If your Explorer has sealed LED units, see the note below before you start.
- Park on level ground, set the parking brake, and switch off lights.
- Open the hood. Locate the headlight housing behind the front lamps.
- Find the dust cap on the back of the headlight. Twist it counterclockwise and remove it.
- Unplug the electrical connector from the bulb. Press the tab and pull straight back.
- Twist the old bulb counterclockwise to release it. Pull it out carefully.
- Without touching the glass, insert the new bulb. Align the tabs. Twist clockwise to lock.
- Reconnect the electrical plug until it clicks.
- Refit the dust cap. Make sure it seals to block moisture.
- Test low and high beams. Check both sides and your dash indicator.
- At night, check beam aim against a wall. Adjust if needed per the manual.
LED-equipped Explorers:
- Some newer models use sealed LED modules. If the manual states the bulb is not serviceable, the fix may be a full headlight assembly swap. That takes more time and sometimes bumper loosening. If that sounds like too much, a shop can handle it.
Why change Explorer headlight bulbs yourself? The steps are short, clear, and repeatable once you try them.
Read More: What are the Best Ford Explorer Floor Mats
Mistakes to avoid and quick fixes
I’ve seen these issues in the wild, and they’re easy to dodge.
- Touching the bulb glass: Oil from skin creates hot spots and shortens life. Use gloves. If you touch it, clean with alcohol and let it dry.
- Wrong bulb type: A close match is not always correct. Verify the exact part number and wattage.
- Loose connector: A loose plug can flicker. Push until it clicks. Use a tiny dab of dielectric grease on the seal if needed.
- Dust cap left off: Moisture will fog the lens. Always reinstall the cap.
- Poor aim: If the beam is too high, people will flash you. Re-aim using the adjuster screws and your manual.
Why change Explorer headlight bulbs yourself? You can spot these small details and fix them on the spot.
What it costs and how long it takes
Let’s keep the math honest.
- DIY halogen bulb pair: About the price of a dinner. Time: 20–40 minutes total.
- Shop install: Parts plus labor. Time: Often an hour door to door.
- LED assembly swaps: DIY can be cheaper, but time and tools go up fast.
Why change Explorer headlight bulbs yourself? You keep your money and your time. You also choose the brand and brightness that suit your driving.
When to call a pro
DIY is great, but not every case is simple.
- Your Explorer has sealed LED headlights and the bumper needs loosening.
- There’s visible wiring damage, corrosion, or melted connectors.
- The headlight is fogged inside or the lens is cracked.
- You tried a bulb and it still does not light. The issue may be a fuse, relay, or ground.
Why change Explorer headlight bulbs yourself? Because you’ll know when it’s simple and when to escalate with confidence.
Performance, longevity, and eco tips
Small choices make a big difference.
- Choose long-life halogen if you drive a lot at night. Choose brighter halogen if you want more punch, but expect a shorter life.
- Only use LED retrofit bulbs if they are approved for your housing and local laws. Many are not. The wrong match can cause glare.
- Keep headlight lenses clean and clear. UV haze reduces output. Restore lenses if they look yellow or cloudy.
- Recycle old bulbs. Many parts stores accept them at the counter.
Why change Explorer headlight bulbs yourself? You can pick the right part, keep it legal, and get better results for years.
Source: lasfit.com
Frequently Asked Questions of Why change Ford Explorer headlight bulbs yourself
How often should I replace Explorer headlight bulbs?
Replace them the moment you notice dim light, flicker, or a warning. Many halogen bulbs fade after 18–24 months of regular use.
Can I upgrade to LED bulbs in a halogen Explorer housing?
Only if the LED is approved for that housing and local laws allow it. If not, stick with halogen to avoid glare and legal issues.
Do I need to disconnect the battery?
Not for a simple bulb swap if the lights are off. If you are nervous about shorting, disconnect the negative terminal for safety.
Why do new bulbs burn out quickly?
Touching the glass, poor connections, or the wrong wattage can shorten life. Clean the glass, seat connectors, and match the spec.
How do I aim my headlights after replacement?
Park on level ground facing a wall, about 25 feet away. Follow the aim marks in your manual and adjust the vertical screw as needed.
Are both bulbs replaced at the same time?
It’s smart to replace in pairs. Output stays even, and you avoid a second teardown soon after.
What if my Ford Explorer has a sealed LED unit?
Check the manual. If it’s non-serviceable, you may need to replace the whole headlight assembly or have a shop handle it.
Conclusion
Why change Explorer headlight bulbs yourself? Because it’s fast, saves money, and keeps you safer every night. With a few tools and a careful touch, you can restore bright, legal light and learn more about your Explorer in the process. Try one side today, then the other, and see the difference on your next drive.
Ready for more hands-on wins? Explore more DIY guides, subscribe for updates, or drop a comment with your model year and bulb type.
Disclosure: As an Amazon Associate, I may earn from qualifying purchases at no extra cost to you. Amazon and the Amazon logo are trademarks of Amazon.com, Inc, or its affiliates.
- Amazon, Amazon Prime, the Amazon logo and Amazon Prime logo are trademarks of Amazon. com, Inc. or its affiliates.

Hi, I am AKM Sad. I’m a car enthusiast and reviewer who loves exploring gadgets and accessories. I share honest reviews and practical tips to help you get the best products and enjoy a safer, smoother ride.