Soldering a car’s wiring is where good repairs go bad, and the most common mistake is treating a joint like a quick splice. Heat it too long and the copper wicks solder up the strands, turning a flexible wire into a stiff, crack-prone stick. The right way: strip, clean, twist or crimp a support, then heat the joint and feed solder in — not the iron.
Common soldering mistakes to avoid
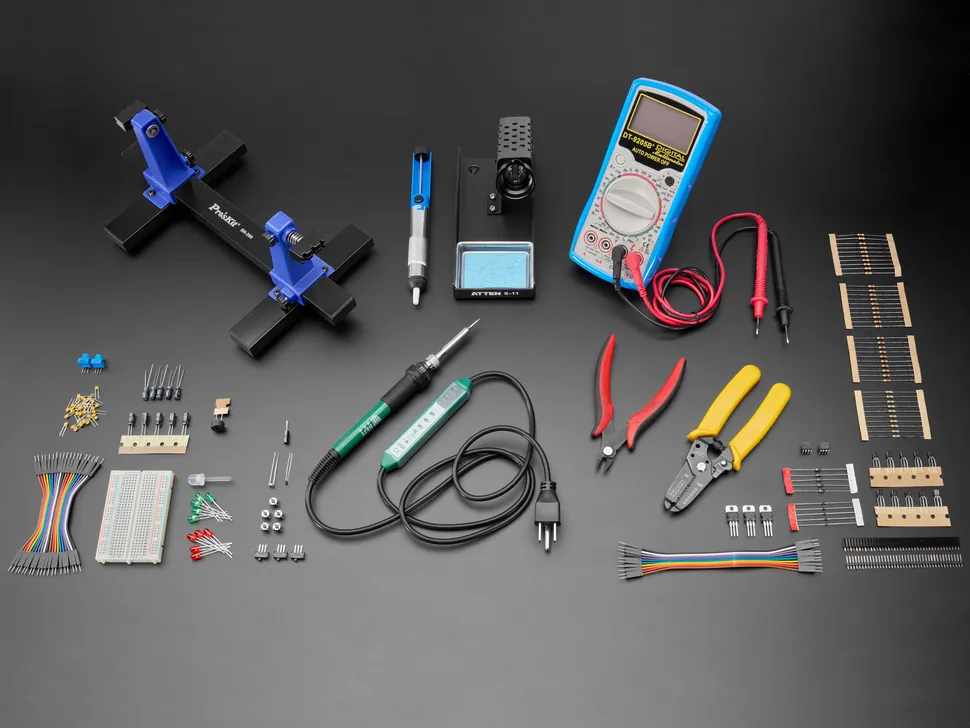
Most harness damage comes from habits that feel fast and correct. The table below sets the usual shortcut against the method that actually holds up, and the real cost of getting it wrong.
| What most people do | What to do instead | Why it matters |
|---|---|---|
| Hold the iron on until solder flows everywhere | Pull the iron off within 2–3 seconds of flow | Longer heat wicks solder up the strands |
| Use an acid-flux plumbing solder | Use rosin-core electronics solder only | Acid flux eats copper over months |
| Solder a wire that’s still vibrating loose | Support the joint, then solder | A moving joint cracks at the edge |
| Skip cleaning the copper | Wipe strands shiny before soldering | Oxidation blocks solder, forcing more heat |
| Leave a sharp solder spike | Reflow to a smooth, shiny fillet | Spikes puncture tape and short out |
| Tape over a hot, messy joint | Let it cool, then seal with heat-shrink | Tape traps flux and hides corrosion |
| Twist wires and solder with no strain relief | Add a crimp or support sleeve first | The wire breaks right beside the joint |
Don’t let heat travel up the wire
The mistake here is holding the iron on the joint until the whole thing is hot enough to flow by itself. What actually happens is the solder creeps up under the insulation, turning the flexible stranded wire into a rigid rod. That stiff section then cracks the first time the harness flexes.
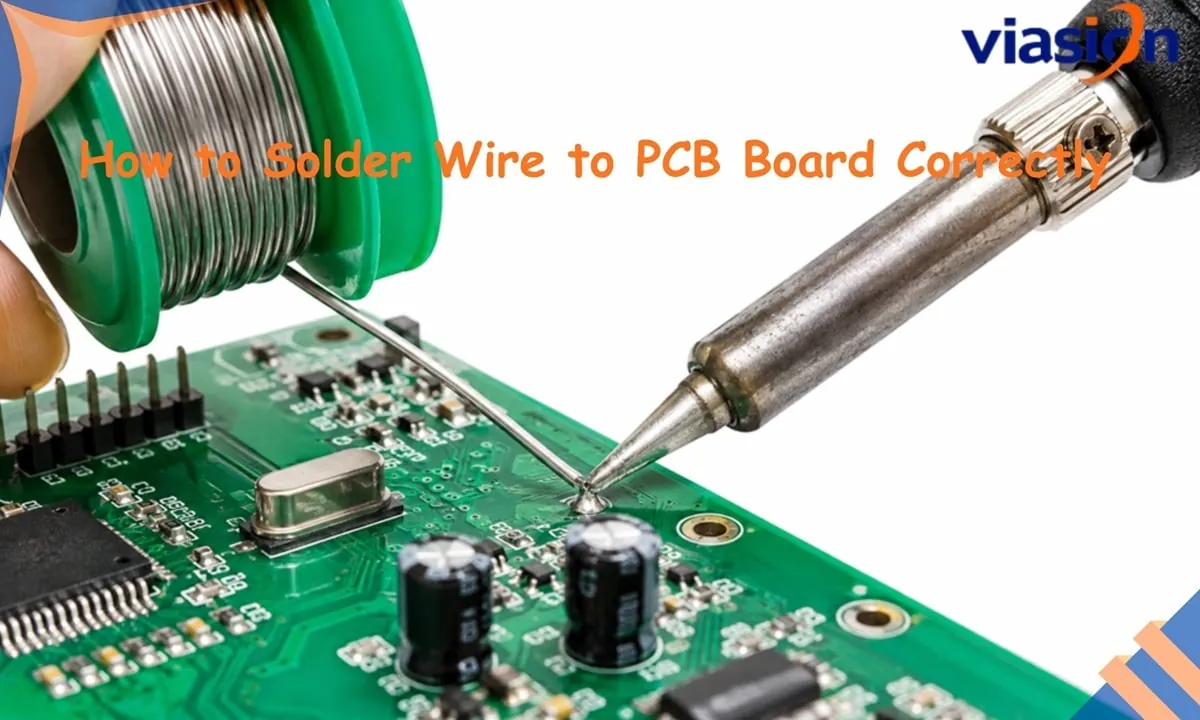
The fix is to heat the joint, not the wire. Touch the iron tip to the twisted strands until the copper is hot enough to melt solder, then feed rosin-core solder into the joint. The solder should melt on contact with the hot copper, not on the tip itself.
Pull the iron away as soon as the solder flows and turns shiny, usually 2–3 seconds total on a typical 18–22 AWG automotive wire. For heavier wire, like 10–12 AWG battery cable, allow a little longer, but the same rule applies: pull off the moment it flows.
Stop using the wrong solder and flux
Plumbing solder and acid flux are the second big trap. The problem is the flux. Acid-based flux stays active after the joint cools, and it keeps eating the copper and the solder over months.
Use rosin-core solder labeled for electronics. If you need extra flux, use a rosin or no-clean electronics flux.
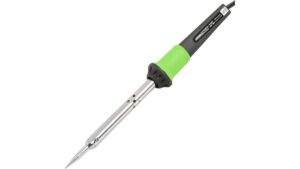
A good iron for this job runs 60–80 watts with a temperature around 700–800°F (370–425°C).
Support the joint before you heat it
A solder joint isn’t a mechanical connection, and treating it like one is where wires snap. If the joint carries any pull or vibration, it cracks at the edge of the solder.
So make the wire hold itself first. Then solder for the electrical connection only.
After the joint cools, cover it with adhesive-lined heat-shrink, not electrical tape. Heat-shrink with glue inside seals against water and vibration. The UL Solutions wire and cable standards cover the insulation and temperature ratings that tell you which shrink and wire are rated for engine-bay heat.
Popular soldering tips that don’t hold up
Some advice circulates widely and quietly ruins joints. Here’s what to skip, and why.
- “More solder makes a stronger joint.” A fat blob hides a cold joint underneath and adds no strength. A thin, shiny fillet that shows the wire shape is the goal.
- “Twist and tape is fine for a quick fix.” Twisted wires loosen with vibration and corrode at the contact points. It’s half-right only if you crimp it properly afterward — tape alone isn’t a connection.
- “Any flux works.” Acid flux is for pipes, not wires. It keeps corroding the copper long after you’ve sealed the joint.
- “A hotter iron means faster work.” Too hot burns the insulation and oxidizes the tip. Check your iron’s rated range in its manual rather than guessing.
- “You can solder a live circuit.” Never solder a wire that’s still connected to the battery. Disconnect the negative terminal first — a live joint can spark, and a short can damage modules.
The full method, start to finish
- Disconnect the battery. Remove the negative terminal first. Check with a test light that the wire you’re working on is dead before you touch it.
- Strip about 3/8 inch (10 mm) of insulation. Use wire strippers sized to the gauge so you don’t nick the copper strands — a nick becomes a crack point.
- Clean the copper. Wipe the strands with fine abrasive or a clean cloth until they’re bright. Dull copper needs more heat to accept solder.
- Add mechanical support. Twist the strands tight, or fit a crimp connector or support sleeve. This takes the pull, not the solder.
- Heat and feed solder. Touch the iron to the joint until the copper is hot enough to melt solder, then feed rosin-core solder into the joint. Pull off within 2–3 seconds of flow. Check: the joint is shiny and shows the wire outline.
- Let it cool without moving it. Hold the wire still for a few seconds. A grainy, dull surface means it moved — reheat once and hold.
- Seal with adhesive heat-shrink. Slide it over the joint, shrink it evenly until glue squeezes out both ends. Check: no gaps, no exposed copper.
- Reconnect and test. Refit the negative terminal, then test the circuit with a multimeter. Check: voltage reads normal and the joint stays cool under load.
Related guides
FAQs About Common Mistakes Soldering Automotive Wiring Harness
Can you solder automotive wiring?
Yes, for a stationary, sealed joint it works well. Solder gives a solid electrical connection when the wire is supported and sealed with heat-shrink. The catch is that solder alone isn’t mechanical — if the joint flexes or vibrates, it cracks. Add a crimp or support sleeve first, then solder for the connection.
Why does my solder joint look dull and grainy?
It moved while cooling, or the joint wasn’t hot enough. A dull, grainy surface means the solder froze before bonding. Reheat the joint once, feed a little fresh rosin-core solder, and hold the wire completely still until it sets shiny. If it stays dull after two tries, the copper is likely dirty.
How long should I hold the soldering iron on the wire?
About 2–3 seconds total for typical 18–22 AWG wire. Touch the tip to the joint until the copper is hot enough to melt solder, feed the solder, and pull off the moment it flows. Heavier wire like 10–12 AWG takes a little longer. Holding on past that wicks solder up the strands and stiffens the wire.
Is it safe to solder a car wire with the battery connected?
No. Disconnect the negative battery terminal first. A live circuit can spark at the iron tip, and a slip can short against nearby metal and damage control modules. Always confirm the wire is dead with a test light before you start, then reconnect only after the joint is sealed.
What happens if I use plumbing solder on car wiring?
The acid flux inside it keeps corroding the copper after the joint cools. Use rosin-core solder labeled for electronics instead — the flux stays inside the wire and doesn’t keep eating the metal.
Does solder make a stronger connection than a crimp?
No, not for a joint that moves. A proper crimp handles vibration better because it’s a mechanical grip, not a brittle bond. Solder wins on a fixed, sealed joint where you want a solid electrical path. For harness connectors that flex, a crimp is the safer choice.
How do I know if a solder joint is good?
Look for a shiny, smooth fillet that shows the outline of the wire. A good joint is bright silver, not dull or grainy, and has no sharp spikes or blobs. Tug it gently — it shouldn’t move. Then check it stays cool under load with a multimeter reading normal voltage.
Can I solder two different wire sizes together?
Yes, but expect the larger wire to need more heat. The thicker copper takes longer to reach soldering temperature, so hold the iron on the joint until both wires are hot, then feed solder. Check that the joint is shiny and the smaller wire isn’t overheated or stiffened.
Conclusion
Good soldering on a harness comes down to three habits: heat fast and pull off fast, use the right solder, and let something other than the solder carry the strain. Get those right and your joints will outlast the wire around them. Get them wrong and you’ll be back under the dash in a few months, chasing a fault you already fixed once.
Disclosure: As an Amazon Associate, I may earn from qualifying purchases at no extra cost to you. Amazon and the Amazon logo are trademarks of Amazon.com, Inc, or its affiliates.
- Amazon, Amazon Prime, the Amazon logo and Amazon Prime logo are trademarks of Amazon. com, Inc. or its affiliates.

I am Sadman, the founder of CarSensorHub.com, where I share my passion for cars and technology. I specialize in writing detailed reviews and helpful guides on car gadgets, accessories, safety tools and many more. My mission is to help car owners discover the best products and tips to improve their driving experience and stay safe on the road.