Have you noticed those annoying scratches on your Ford Explorer’s paint and wondered how to fix them? Scratches can make your vehicle look older and less cared for, but the good news is—you don’t have to spend a fortune or visit a shop to restore its shine.
In this guide, you’ll discover simple, effective steps to repair those scratches yourself. By the end, your Explorer will look fresher and more vibrant, and you’ll feel proud of the work you’ve done. Ready to bring back that smooth, flawless finish?
Let’s get started.
Identify Scratch Type
Before fixing paint scratches on your Ford Explorer, you must identify the scratch type. Different scratches need different repair methods. Knowing the scratch type helps you choose the right tools and products. This saves time and protects your vehicle’s finish.
Surface Scratches
Surface scratches only affect the clear coat layer. They do not go deep into the paint. These scratches feel smooth if you run your finger over them. Surface scratches are easier to fix with polishing or scratch remover products. They do not require repainting.
Deep Scratches
Deep scratches cut through the clear coat and paint layers. They expose the metal or primer underneath. You can feel the scratch with your fingernail. Deep scratches need more work. They may require sanding, filling, and repainting to fix properly.
Clear Coat Damage
Clear coat damage looks like peeling, bubbling, or fading. It happens from sun exposure or harsh chemicals. This damage weakens the paint’s protection. Clear coat damage often needs a clear coat reapplication. Fixing this stops further paint damage.
Credit: www.aliexpress.com
Gather Necessary Materials
Before fixing paint scratches on your Ford Explorer, gather all needed materials. Having the right tools makes the repair easier and better. Prepare everything before starting the work.
This step saves time and helps you avoid mistakes. Here are the key materials to collect for a smooth repair process.
Scratch Repair Kits
Scratch repair kits include tools and products for small to medium scratches. Most kits have sandpaper, rubbing compound, and applicators. They help remove scratches and smooth the surface quickly.
Choose a kit made for automotive use. Read the instructions carefully before use. Scratch repair kits work best on shallow scratches.
Polishing Compounds
Polishing compounds restore shine and blend repaired spots with the rest of the paint. They remove minor surface imperfections and dullness. Use a soft cloth or a polishing pad to apply the compound.
Polishing makes the paint look fresh and smooth. Select a compound suitable for your car’s paint type.
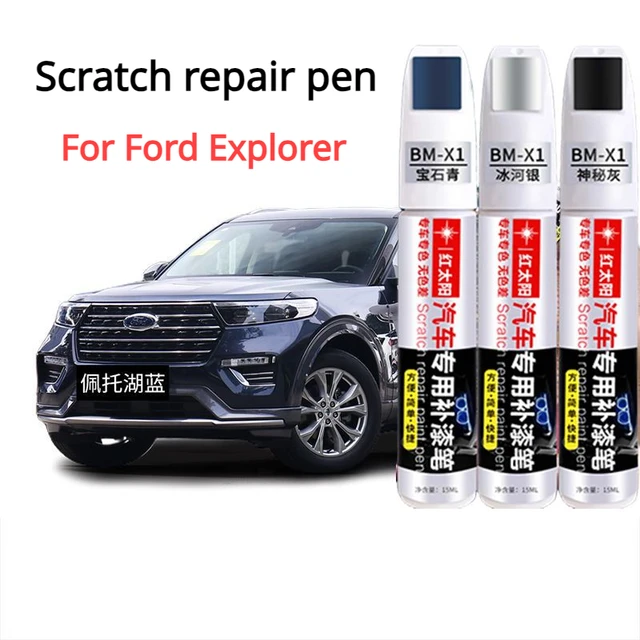
Touch-up Paint
Touch-up paint fills in deep scratches and small chips. Match the paint color code of your Ford Explorer to get the right shade. Use a fine brush or pen to apply paint carefully on damaged areas.
Allow the paint to dry fully before polishing. This step helps hide scratches and protect the metal underneath.
Read More: Which Cargo Liner Is Waterproof for Ford Explorer
Prepare The Vehicle
Before fixing paint scratches on your Ford Explorer, preparing the vehicle is essential. This step ensures better results and prevents further damage. Proper preparation helps the paint repair materials stick well to the surface.
Take your time during this stage. Clean and check the scratched area carefully. A clean surface allows you to see the scratch depth and decide the best repair method.
Clean The Scratched Area
Start by washing the scratched spot with soap and water. Use a soft cloth or sponge to remove dirt and grime. Avoid scrubbing hard as it can worsen the scratch. Cleaning removes dust and grease that block paint from sticking.
Rinse the area well with clean water. Dry it gently with a microfiber towel. This step makes sure no moisture remains before repair.
Dry And Inspect
After cleaning, let the area dry completely. Use natural air drying or a soft towel. Check the scratch under good light. Look closely at the edges and depth.
Understanding the scratch size helps choose the right repair method. A shallow scratch may only need polishing. Deeper scratches might require touch-up paint or professional help.
Repair Surface Scratches
Surface scratches on your Ford Explorer can spoil its look. Fixing these scratches is easier than you think. Small scratches often stay on the clear coat, not deep into the paint. This means you can repair them without repainting. Follow simple steps to restore your vehicle’s shine and smoothness.
Use Scratch Removal Products
Start by cleaning the scratched area with water and soap. Dry it well before applying any product. Choose a scratch remover made for car paint. Apply a small amount to a clean cloth. Rub the product gently over the scratch in a circular motion. Keep rubbing until the scratch fades. Wipe off any extra product with a clean microfiber cloth. Repeat if needed for better results.
Polish And Buff
After using the scratch remover, polishing helps to smooth the surface. Use a car polish that suits your paint type. Apply a small amount to a soft cloth or a polishing pad. Rub it gently over the repaired area in circles. Buff the area with a clean cloth to bring back shine. Polishing also protects the paint from future damage. Take your time to get a smooth and glossy finish.
Fix Deep Scratches
Deep scratches on your Ford Explorer can expose metal and cause rust. Fixing these scratches requires careful steps. Proper repair keeps your car looking great and protects it from damage. Follow these simple steps to fix deep scratches effectively.
Apply Primer
Start by cleaning the scratched area well. Use a fine sandpaper to smooth the edges of the scratch. Apply a thin layer of primer to the exposed metal. Primer helps paint stick better and stops rust. Let the primer dry completely before moving on.
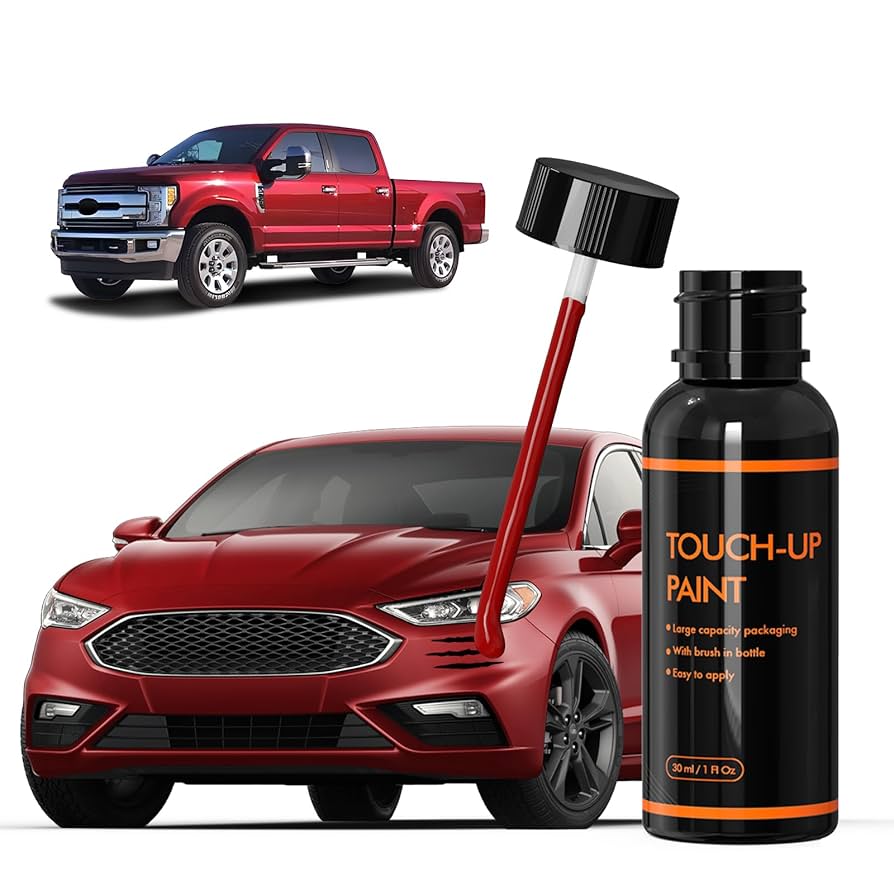
Use Touch-up Paint
Find the exact color match for your Ford Explorer. Use a small brush or pen to apply the touch-up paint carefully. Cover the scratch fully but avoid applying too much paint. Allow the paint to dry for several hours. Multiple thin layers work better than one thick layer.
Seal With Clear Coat
After the paint dries, apply a clear coat over the repaired area. The clear coat protects the paint and gives it a shine. Use a small brush to spread it evenly. Let the clear coat dry completely. This step makes the scratch less visible and protects your repair.
Final Touches
After repairing paint scratches on your Ford Explorer, the final touches make a big difference. These steps help smooth the surface and protect the paint. They bring back the shine and keep the car looking fresh.
Wet Sanding
Wet sanding removes tiny bumps and rough spots on the paint. Use very fine sandpaper with water to avoid damage. Gently rub the scratched area in small circles. This step smooths the surface for a perfect finish. Always keep the sandpaper wet during the process. After sanding, wipe the area clean with a soft cloth.
Waxing For Protection
Waxing seals the paint and adds a protective layer. Apply car wax evenly with a soft applicator pad. Let it dry until it forms a haze. Then, buff the surface with a clean microfiber cloth. Wax helps prevent dirt and water from harming the paint. Regular waxing keeps your Ford Explorer’s paint bright and safe.
Prevent Future Scratches
Preventing future scratches on your Ford Explorer’s paint keeps the vehicle looking new. Small actions daily help protect the paint from damage. Careful habits reduce the risk of costly repairs later.
Regular Washing
Wash your Explorer often to remove dirt and debris. Dirt can scratch the paint if left on the surface. Use a soft cloth or sponge with mild soap. Rinse the car well to avoid soap spots. Dry the car with a clean towel to prevent water marks.
Use Protective Films
Protective films add a clear shield over your paint. These films stop scratches from keys, branches, and stones. Apply the film on areas prone to damage, like the hood and bumpers. Choose high-quality films for better durability and look. Films are easy to clean and keep the paint safe.
Safe Parking Tips
Park in safe areas away from tight spaces. Avoid parking near shopping carts or busy streets. Look for spots with no overhanging tree branches. Use garages or covered parking when possible. Careful parking lowers the chance of accidental scratches.
Credit: www.amazon.com
Frequently Asked Questions
How Can I Repair Minor Scratches On Ford Explorer Paint?
For minor scratches, use a scratch remover or polishing compound. Clean the area, apply the product, and buff gently. This restores the paint’s smoothness and hides scratches effectively without repainting.
What Materials Do I Need To Fix Explorer Paint Scratches?
You need sandpaper, primer, touch-up paint, clear coat, and polishing compound. Also, have clean cloths, masking tape, and gloves. These tools help you repair scratches professionally and protect the paint finish.
Can I Fix Deep Scratches On My Ford Explorer?
Yes, deep scratches require sanding, primer, touch-up paint, and clear coat. Sand the scratch, apply primer, then paint in layers. Finish with a clear coat to seal and protect the repair.
How Long Does It Take To Fix Paint Scratches On A Ford Explorer?
Fixing scratches can take 30 minutes to a few hours. Minor scratches are quicker, while deep scratches need more drying time between steps. Patience ensures a smooth, durable finish.
Last Thoughts
Fixing paint scratches on your Ford Explorer can save you money. Small scratches often disappear with simple DIY methods. Use the right tools and products for the best results. Take your time to clean and prepare the area well. A steady hand helps avoid new scratches.
Regular care keeps your car looking fresh longer. Remember, patience and proper steps make a big difference. Enjoy your smooth, shiny Ford Explorer again.
Disclosure: As an Amazon Associate, I may earn from qualifying purchases at no extra cost to you. Amazon and the Amazon logo are trademarks of Amazon.com, Inc, or its affiliates.
- Amazon, Amazon Prime, the Amazon logo and Amazon Prime logo are trademarks of Amazon. com, Inc. or its affiliates.

I am Sadman, the founder of CarSensorHub.com, where I share my passion for cars and technology. I specialize in writing detailed reviews and helpful guides on car gadgets, accessories, safety tools and many more. My mission is to help car owners discover the best products and tips to improve their driving experience and stay safe on the road.